Перейти к основному содержанию
Присоединяйся к сообществу ремонтников - Создай аккаунт

Samsung NP-130-JA01US RAM Replacement

Выберете то, что вам нужно

    1. Samsung NP-130-JA01US RAM Replacement, Battery: шаг 1, изображение 1 из 1
      • Turn off the computer.

      • Disconnect the charger cable from the computer.

      • Failure to disconnect the charger cable from the computer could result in an electric shock.

      • Flip the computer over so the underside is facing up.

      Спросите у FixBot

      Добавить комментарий

    2. Samsung NP-130-JA01US RAM Replacement: шаг 2, изображение 1 из 2 Samsung NP-130-JA01US RAM Replacement: шаг 2, изображение 2 из 2
      • Slide the left and right slider buttons fully away from each other.

      Спросите у FixBot

      Добавить комментарий

    3. Samsung NP-130-JA01US RAM Replacement: шаг 3, изображение 1 из 1
      • Pull the battery out of the computer.

      Спросите у FixBot

      Добавить комментарий

    1. Samsung NP-130-JA01US RAM Replacement, RAM: шаг 4, изображение 1 из 2 Samsung NP-130-JA01US RAM Replacement, RAM: шаг 4, изображение 2 из 2
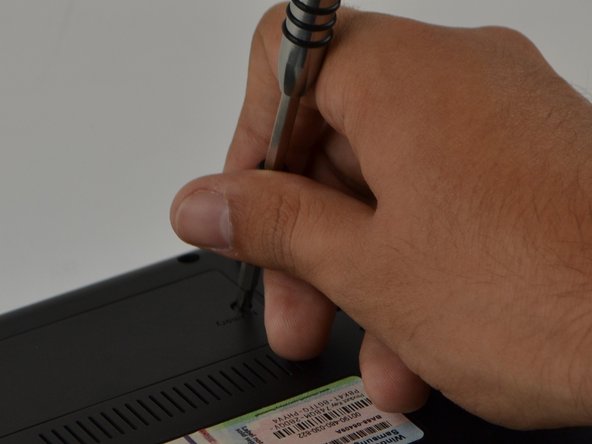
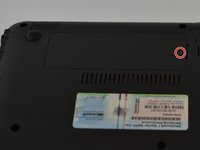
      • Locate the "Memory" panel on the bottom right corner.

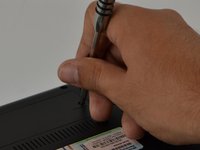
      • Use the Phillips 01 screwdriver to remove the screw.

      • The screw is a Phillips 1 (PH 1) with a length of 60 millimeters (mm)

      Спросите у FixBot

      Добавить комментарий

    2. Samsung NP-130-JA01US RAM Replacement: шаг 5, изображение 1 из 1
      • With your hand, lift panel and remove it.

      Спросите у FixBot

      Добавить комментарий

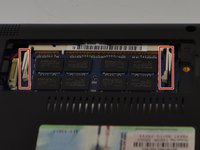
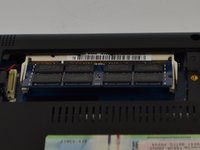
    3. Samsung NP-130-JA01US RAM Replacement: шаг 6, изображение 1 из 2 Samsung NP-130-JA01US RAM Replacement: шаг 6, изображение 2 из 2
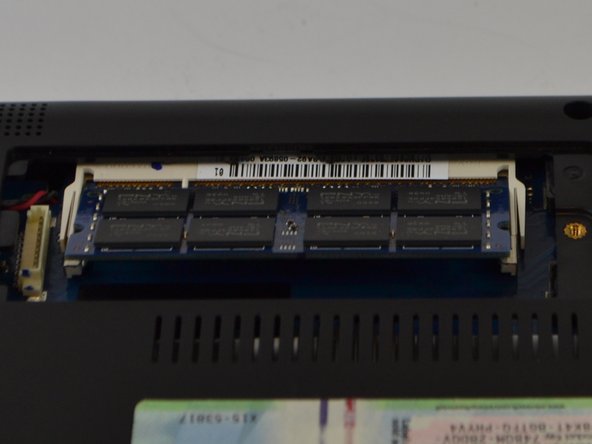
      • Slide metal prongs (marked in red squares) away from each other with your fingers.

      • The RAM chip will automatically lift up at an angle for easy ejection.

      Спросите у FixBot

      Добавить комментарий

    4. Samsung NP-130-JA01US RAM Replacement: шаг 7, изображение 1 из 1
      • With your hands, carefully slide the RAM chip out to remove.

      • The RAM chip is delicate, do not force it when removing it.

      Спросите у FixBot

      Добавить комментарий

Заключение

To reassemble your device, follow these instructions in reverse order.

Отменить: Я не выполнил это руководство.

Еще один человек закончил это руководство.

Jason Schnebelen

Участник с: 09/18/16

267 Репутация

Автор 2 руководств

Команда

USF Tampa, Team 9-6, Lacy Fall 2016 Участник USF Tampa, Team 9-6, Lacy Fall 2016

USFT-LACY-F16S9G6

3 членов

Автор 20 руководств

0 Комментарии к руководству

Добавить комментарий

Статистика просмотров:

За последние 24 часов: 1

За последние 7 дней: 8

За последние 30 дней: 27

За всё время: 537