Перейти к основному содержанию
Присоединяйся к сообществу ремонтников - Создай аккаунт

Samsung NP-NC10-KA02US Fan Replacement

Выберете то, что вам нужно

    1. Samsung NP-NC10-KA02US Fan Replacement, Battery: шаг 1, изображение 1 из 2 Samsung NP-NC10-KA02US Fan Replacement, Battery: шаг 1, изображение 2 из 2
      • Locate the external battery on the bottom side of the device.

      • Locate the tab on the right side of the battery.

      • Shift the tab to the left.

      Спросите у FixBot

      Добавить комментарий

    2. Samsung NP-NC10-KA02US Fan Replacement: шаг 2, изображение 1 из 1
      • Locate the tab on the left side of the device's battery.

      • Push the left tab to the right.

      Спросите у FixBot

      Добавить комментарий

    3. Samsung NP-NC10-KA02US Fan Replacement: шаг 3, изображение 1 из 1
      • Pull the battery up from the device.

      Спросите у FixBot

      Добавить комментарий

    1. Samsung NP-NC10-KA02US Fan Replacement, Back Plate: шаг 4, изображение 1 из 1
      • Locate the 14, 3.93 mm, screws that need to be removed on the base of the computer.

      Спросите у FixBot

      Добавить комментарий

    2. Samsung NP-NC10-KA02US Fan Replacement: шаг 5, изображение 1 из 1
      • Remove all 14 of the 3.93 mm screws using a PH1 screw bit.

      Спросите у FixBot

      Добавить комментарий

    3. Samsung NP-NC10-KA02US Fan Replacement: шаг 6, изображение 1 из 2 Samsung NP-NC10-KA02US Fan Replacement: шаг 6, изображение 2 из 2
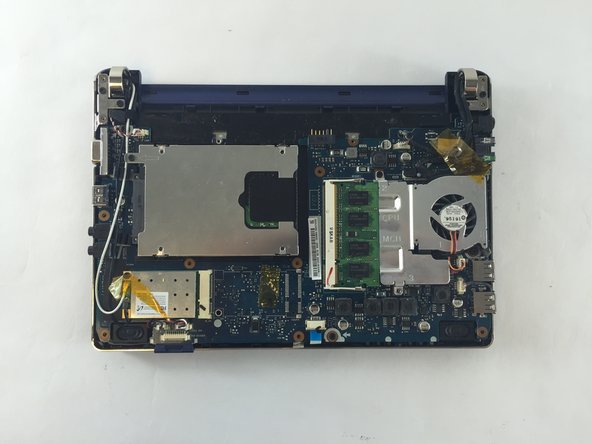
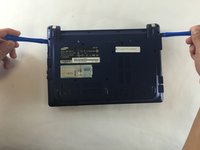
      • Using two plastic opening tools remove the back plate.

      • These plastic opening tools have a flat-head that extends as a wedge which are utilized to separate pressure fit plastic components without causing any damage to them.

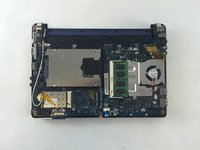
      • The back plate is now removed exposing all of the hardware components.

      Спросите у FixBot

      Добавить комментарий

    1. Samsung NP-NC10-KA02US Fan Replacement, Fan: шаг 7, изображение 1 из 2 Samsung NP-NC10-KA02US Fan Replacement, Fan: шаг 7, изображение 2 из 2
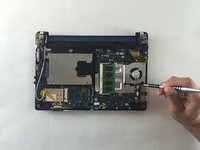
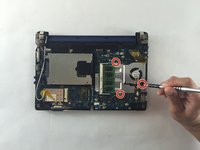
      • Remove the three screws holding the fan using a 3.9mm screwdriver.

      • All three screws need to be removed in order to continue on to next step.

      Спросите у FixBot

      Добавить комментарий

    2. Samsung NP-NC10-KA02US Fan Replacement: шаг 8, изображение 1 из 1
      • Unplug the wires connected to the fan using a plastic opening tool.

      Спросите у FixBot

      Добавить комментарий

    3. Samsung NP-NC10-KA02US Fan Replacement: шаг 9, изображение 1 из 1
      • You are now able to carefully detach the fan from the base.

      Спросите у FixBot

      Добавить комментарий

Заключение

To reassemble your device, follow these instructions in reverse order.

Отменить: Я не выполнил это руководство.

2 человек успешно провели ремонт по этому руководству.

JHOAN USECHE

Участник с: 10/03/16

372 Репутация

Автор 2 руководств

Команда

USF Tampa, Team 1-1, Sullivan Fall 2016 Участник USF Tampa, Team 1-1, Sullivan Fall 2016

USFT-SULLIVAN-F16S1G1

3 членов

Автор 54 руководств

0 Комментарии к руководству

Добавить комментарий

Статистика просмотров:

За последние 24 часов: 2

За последние 7 дней: 8

За последние 30 дней: 36

За всё время: 1,126