Перейти к основному содержанию
Присоединяйся к сообществу ремонтников - Создай аккаунт

Samsung NP300E5C Screen Replacement

Выберете то, что вам нужно

    1. Samsung NP300E5C Screen Replacement, Battery: шаг 1, изображение 1 из 1
      • Lay laptop down so that the bottom is facing the sky.

      Спросите у FixBot

      Добавить комментарий

    2. Samsung NP300E5C Screen Replacement: шаг 2, изображение 1 из 3 Samsung NP300E5C Screen Replacement: шаг 2, изображение 2 из 3 Samsung NP300E5C Screen Replacement: шаг 2, изображение 3 из 3
      • Push both tabs away from the center of the device.

      • While both are in the fully unlocked position, slide the battery out.

      Спросите у FixBot

      Добавить комментарий

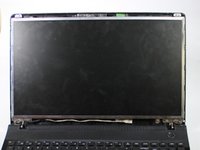
    1. Samsung NP300E5C Screen Replacement, Screen: шаг 3, изображение 1 из 1
      • Turn the laptop over and open it so that you can see the keyboard and screen.

      • Using a Phillips #000 screwdriver, remove the two 4 mm Phillips #8 screws that are under the black covers on the front of your screen.

      • You can remove the black covers by simply pushing your screwdriver into them.

      Спросите у FixBot

      Добавить комментарий

    2. Samsung NP300E5C Screen Replacement: шаг 4, изображение 1 из 3 Samsung NP300E5C Screen Replacement: шаг 4, изображение 2 из 3 Samsung NP300E5C Screen Replacement: шаг 4, изображение 3 из 3
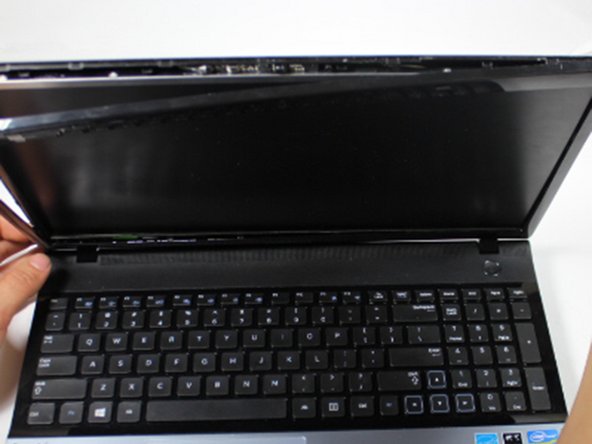
      • Insert the plastic opening tool into the seam on the top of the screen.

      • The seam is where the back screen cover and the plastic bezel around the edges of the screen meet.

      • Use the plastic opening tool to pop open the clasps that keep the casing on the screen.

      • It helps to use the plastic opening tool like a crowbar.

      • Follow this seam around the laptop's screen with the plastic opening tool until the plastic cover comes off.

      • Don't be afraid to use your fingers to help pop open the clips.

      Спросите у FixBot

      Добавить комментарий

    3. Samsung NP300E5C Screen Replacement: шаг 5, изображение 1 из 1
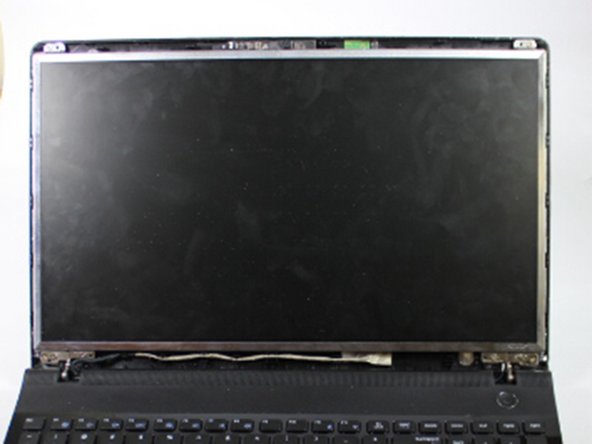
      • Using a Phillips #000 screwdriver, remove the top two 4 mm Phillips #8 screws that join the LCD screen to the plastic casing.

      • Using the same screwdriver, remove the bottom four 4 mm Phillips #8 screws that mount the screen onto the base of the laptop.

      • As you remove these bottom 4 screws, support the screen! As the screws come off, the screen will begin to fall backwards.

      Спросите у FixBot

      Добавить комментарий

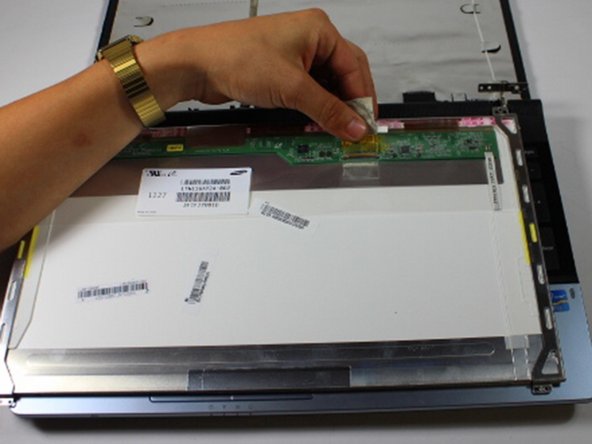
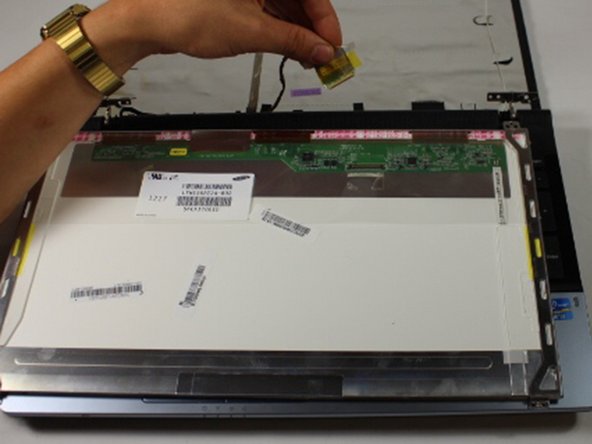
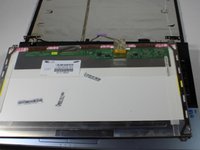
    4. Samsung NP300E5C Screen Replacement: шаг 6, изображение 1 из 3 Samsung NP300E5C Screen Replacement: шаг 6, изображение 2 из 3 Samsung NP300E5C Screen Replacement: шаг 6, изображение 3 из 3
      • Gently lay the LCD on the keyboard, and lay down the back panel of the screen as well. They are not attached and will separate easily.

      • The LCD and the back panel must remain close to one another due to the video connector at the bottom that links the two.

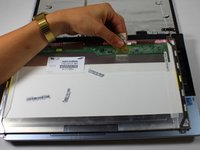
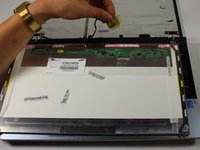
      • Remove the tape that secures the video connector to the LCD.

      • While maintaining a firm grip on the LCD, grasp the video connector at its base, and pull it away from you.

      • Don't be afraid to pull, the video connector is not soldered onto the LCD.

      Спросите у FixBot

      Добавить комментарий

Заключение

To reassemble your device, follow these instructions in reverse order.

Отменить: Я не выполнил это руководство.

10 человек успешно провели ремонт по этому руководству.

aliahsan95

Участник с: 09/23/15

937 Репутация

Автор 4 руководств

Команда

Baylor, Team 10-13, Williams Fall 2015 Участник Baylor, Team 10-13, Williams Fall 2015

BU-WILLIAMS-F15S10G13

3 членов

Автор 20 руководств

0 Комментарии к руководству

Добавить комментарий

Статистика просмотров:

За последние 24 часов: 0

За последние 7 дней: 19

За последние 30 дней: 63

За всё время: 6,797