Введение
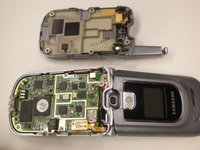
This guide is a step by step process to remove the back cover of the phone, and is necessary to gain access to parts such as the logic board, keypad, and the external speaker.
Выберете то, что вам нужно
-
-
Remove the battery by pinching and unlatching the clip located above the Verizon logo on the back of the phone.
-
Lift the battery off the back of the device.
-
-
-
Remove all the screws with a size 00 screwdriver. There are five screws total. Four are easily visible on the four corners of the back plate. The fifth is located in the upper left corner of the device.
-
-
-
-
Once all the screws are removed, slowly and carefully lift off the back plate. Do this by inserting a spudger between the front and back plates of the device on both sides of the phone.
-
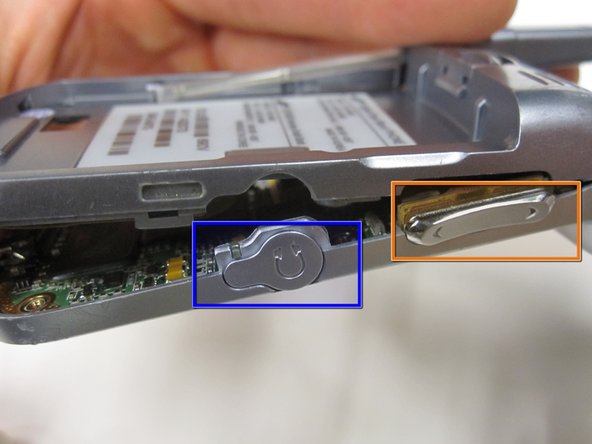
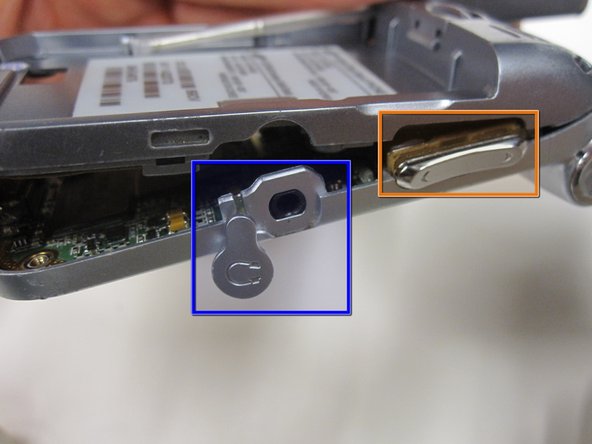
Once back plate is lifted, the small, silver volume and camera buttons located on the sides of the device will fall off. They are only connected to the phone by the back plate. Remove and do not lose these pieces.
-
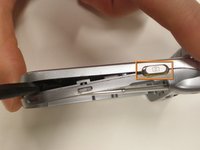
Locate the cover of the head phone jack. The cover is silver and circular and has a headphone image on the front of it. Open the cover to the headphone jack and peel it off the device. Do not lose this piece.
-
-
-
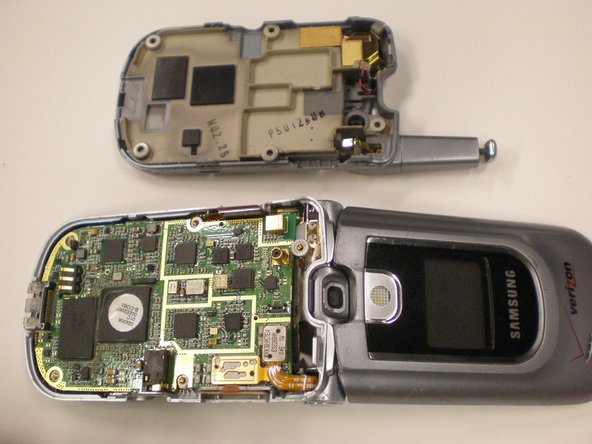
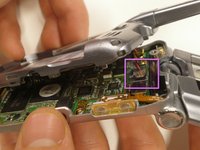
Gently unplug the external speaker wire from the logic board. After the wire is unplugged the back cover should come off easily.
-


To reassemble your device, follow these instructions in reverse order.

Команда

Cal Poly, Team 5-10, Forte Winter 2010 Участник Cal Poly, Team 5-10, Forte Winter 2010
CPSU-FORTE-W10S5G10
5 членов
Автор 13 руководств