Перейти к основному содержанию
Присоединяйся к сообществу ремонтников - Создай аккаунт

Samsung SGH-X105 Keypad Replacement

Выберете то, что вам нужно

    1. Samsung SGH-X105 Keypad Replacement, Battery: шаг 1, изображение 1 из 1
      • Rotate the phone onto its front side so that the LCD screen is facing away from you.

      Спросите у FixBot

      Добавить комментарий

    2. Samsung SGH-X105 Keypad Replacement: шаг 2, изображение 1 из 3 Samsung SGH-X105 Keypad Replacement: шаг 2, изображение 2 из 3 Samsung SGH-X105 Keypad Replacement: шаг 2, изображение 3 из 3
      • Remove the battery by pressing down on the battery release button while sliding the battery downwards.

      Спросите у FixBot

      Добавить комментарий

    1. Samsung SGH-X105 Keypad Replacement, Front & Back Panels: шаг 3, изображение 1 из 1
      • Remove the four small black screws that secure the back phone panel using the Phillips #00 screwdriver.

      • Complete removal of screws may not be necessary.

      Спросите у FixBot

      Добавить комментарий

    2. Samsung SGH-X105 Keypad Replacement: шаг 4, изображение 1 из 3 Samsung SGH-X105 Keypad Replacement: шаг 4, изображение 2 из 3 Samsung SGH-X105 Keypad Replacement: шаг 4, изображение 3 из 3
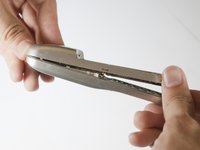
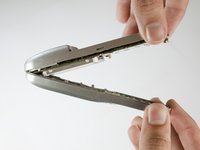
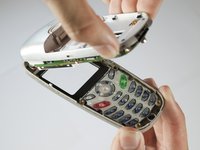
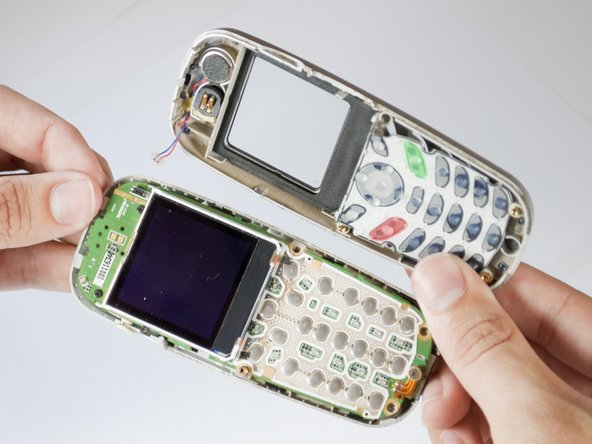
      • Carefully separate the front and back panels by gently prying them apart. Start at the bottom of the phone (near the AC charger input).

      • Volume control button will be unsecured and may fall out as soon as the panels are separated.

      • Gentle force may be required to separate the panels at the top latch.

      • There are two wires connecting the front and back panels. Be careful not to rip these wires out when separating the panels.

      Спросите у FixBot

      Добавить комментарий

    3. Samsung SGH-X105 Keypad Replacement: шаг 5, изображение 1 из 2 Samsung SGH-X105 Keypad Replacement: шаг 5, изображение 2 из 2
      Инструмент, используемый на этом этапе:
      Tweezers
      $4.99
      • Using your nails, tweezers, or any precise grabbing tool, pinch the antenna wire connector (clear plastic plug) and pull gently. It should pop out rather easily.

      Спросите у FixBot

      Добавить комментарий

    1. Samsung SGH-X105 Keypad Replacement, Keypad: шаг 6, изображение 1 из 1
      • Put aside the back panel. You will only be working with the front panel from here on.

      Спросите у FixBot

      Добавить комментарий

    2. Samsung SGH-X105 Keypad Replacement: шаг 7, изображение 1 из 2 Samsung SGH-X105 Keypad Replacement: шаг 7, изображение 2 из 2
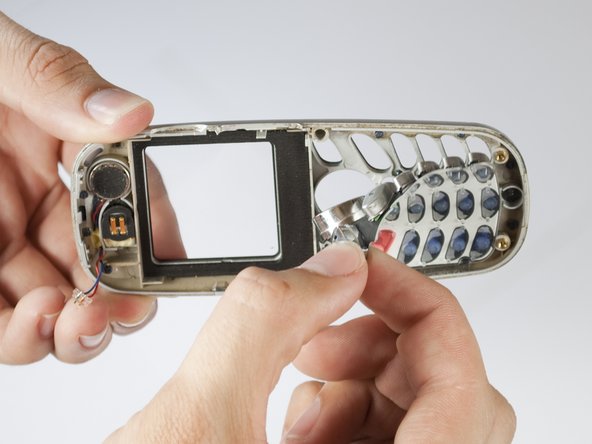
      • Take out the key pad by pressing the keys on the face of the phone and pulling the rubber keypad from the other side.

      Спросите у FixBot

      Добавить комментарий

Заключение

To reassemble your device, follow these instructions in reverse order.

Отменить: Я не выполнил это руководство.

Alex Martinez

Участник с: 04/15/10

1 Репутация

1 руководство автора

Команда

Cal Poly, Team 28-29, Regan Spring 2010 Участник Cal Poly, Team 28-29, Regan Spring 2010

CPSU-REGAN-S10S28G29

4 членов

Автор 54 руководств

0 Комментарии к руководству

Добавить комментарий

Статистика просмотров:

За последние 24 часов: 0

За последние 7 дней: 5

За последние 30 дней: 25

За всё время: 1,602