Перейти к основному содержанию
Присоединяйся к сообществу ремонтников - Создай аккаунт

Sanyo SCP-8100 Camera Replacement

Выберете то, что вам нужно

  1. Sanyo SCP-8100 Camera Replacement, Earpiece: шаг 1, изображение 1 из 2 Sanyo SCP-8100 Camera Replacement, Earpiece: шаг 1, изображение 2 из 2
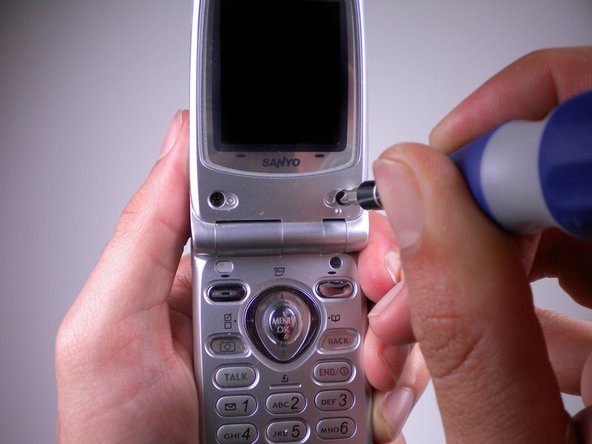
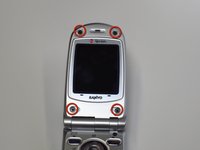
    • Open the phone and remove the four stickers that hide the four 0.5 mm screws.

    • On the bottom two, use a push pin to pull out the stickers.

    • Do this slowly and gently. You may damage the phone screen or tear the sticker.

    Спросите у FixBot
  2. Sanyo SCP-8100 Camera Replacement: шаг 2, изображение 1 из 1
    • For the top two, use the same push pin and gently pull out the stickers.

    • These are a bit harder to pull out, so you might need to use more force. However, be gentle or else you may tear the rubber off of the sticker instead of the whole plug.

    Спросите у FixBot
  3. Sanyo SCP-8100 Camera Replacement: шаг 3, изображение 1 из 2 Sanyo SCP-8100 Camera Replacement: шаг 3, изображение 2 из 2
    • Use the Tri-Wing Y1 screwdriver to unscrew the now uncovered four 0.5 mm screws.

    Спросите у FixBot
  4. Sanyo SCP-8100 Camera Replacement: шаг 4, изображение 1 из 2 Sanyo SCP-8100 Camera Replacement: шаг 4, изображение 2 из 2
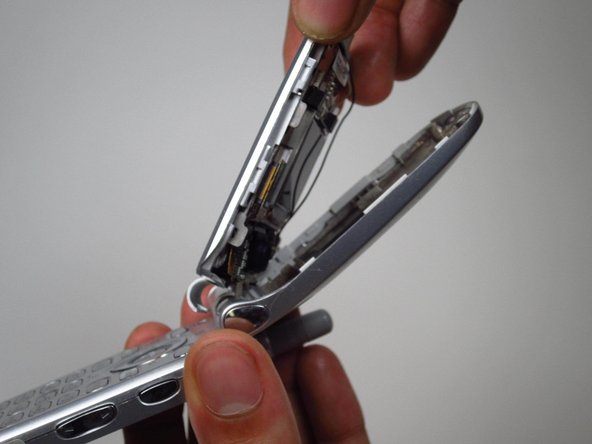
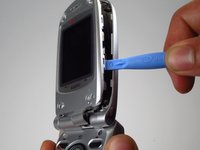
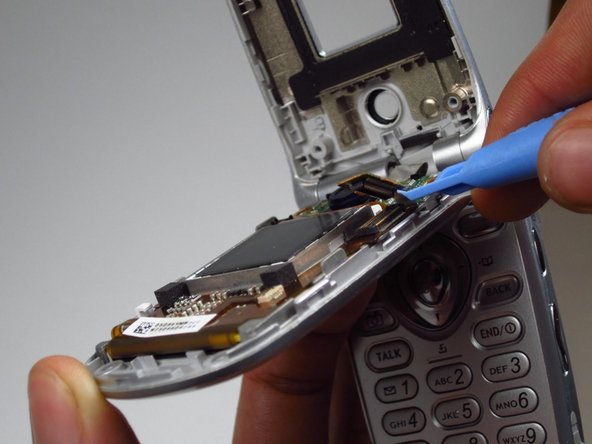
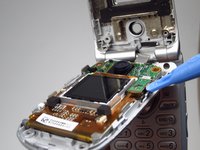
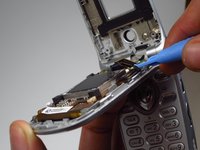
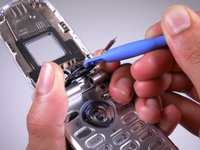
    • Use the opening tool to pry open the front panel.

    • You might need to use some force. If it won't budge, try the other side of the panel. You may need to pry open more than one spot to get it completely open.

    • Don't completely remove the panel, it is still connected to the phone.

    Спросите у FixBot
  5. Sanyo SCP-8100 Camera Replacement: шаг 5, изображение 1 из 2 Sanyo SCP-8100 Camera Replacement: шаг 5, изображение 2 из 2
    Инструмент, используемый на этом этапе:
    Tweezers
    $4.99
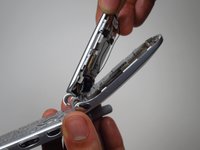
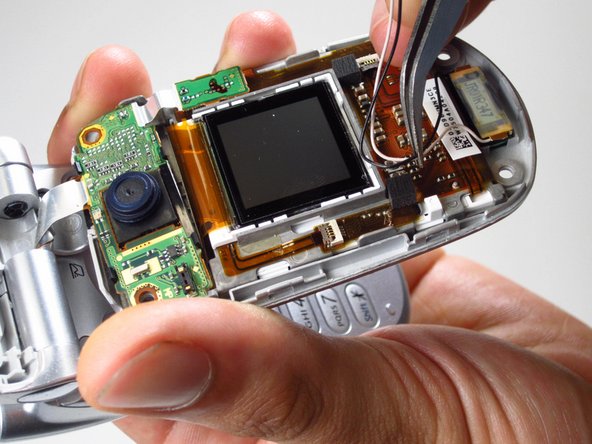
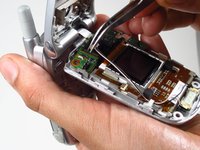
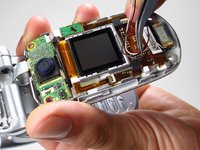
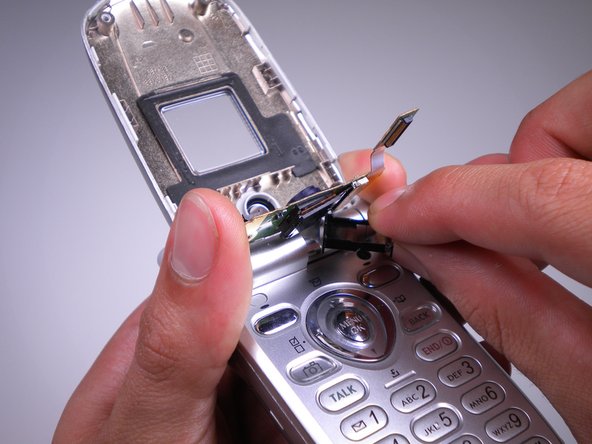
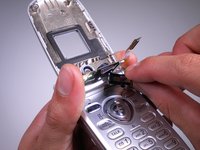
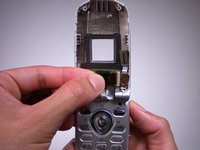
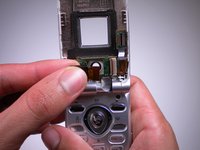
    • Use tweezers to detach the plastic connector.

    • With the tweezers, pull the wires from the plastic clamp.

    Спросите у FixBot
  6. Sanyo SCP-8100 Camera Replacement: шаг 6, изображение 1 из 2 Sanyo SCP-8100 Camera Replacement: шаг 6, изображение 2 из 2
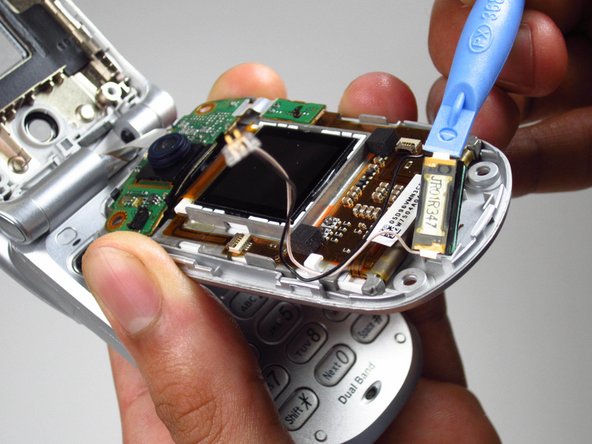
    • Use the opening tool to pull the earpiece off of the top panel.

    • You may need to use some force to take this out.

    Спросите у FixBot
  7. Sanyo SCP-8100 Camera Replacement, Camera: шаг 7, изображение 1 из 2 Sanyo SCP-8100 Camera Replacement, Camera: шаг 7, изображение 2 из 2
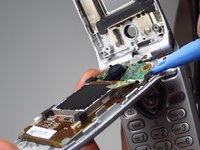
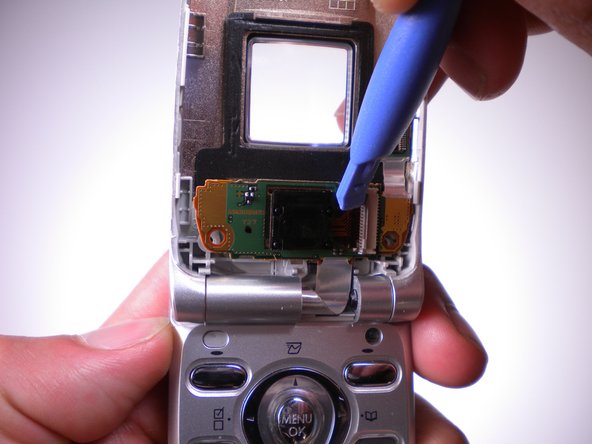
    • Use plastic opening tool to lift the chip on the right side.

    Спросите у FixBot
  8. Sanyo SCP-8100 Camera Replacement: шаг 8, изображение 1 из 2 Sanyo SCP-8100 Camera Replacement: шаг 8, изображение 2 из 2
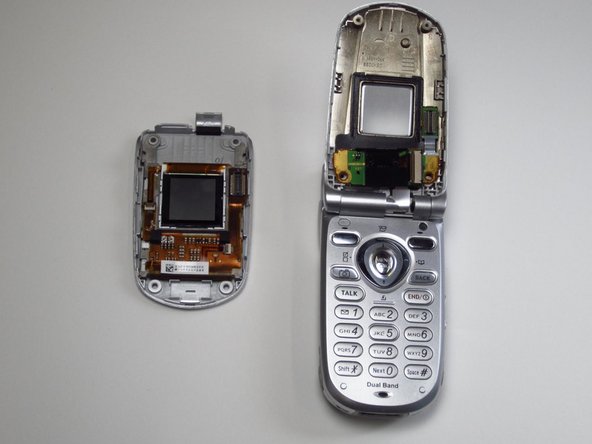
    • Use plastic opening tool to pry the board off of the front panel.

    • You may need to use force.

    • Completely remove the screen from the phone.

    Спросите у FixBot
  9. Sanyo SCP-8100 Camera Replacement: шаг 9, изображение 1 из 2 Sanyo SCP-8100 Camera Replacement: шаг 9, изображение 2 из 2
    • Use the opening tool to take off the black plastic frame around the camera lens.

    Спросите у FixBot
  10. Sanyo SCP-8100 Camera Replacement: шаг 10, изображение 1 из 2 Sanyo SCP-8100 Camera Replacement: шаг 10, изображение 2 из 2
    • Use the plastic opening tool to flip the ZIF connector to the right.

    Спросите у FixBot
  11. Sanyo SCP-8100 Camera Replacement: шаг 11, изображение 1 из 2 Sanyo SCP-8100 Camera Replacement: шаг 11, изображение 2 из 2
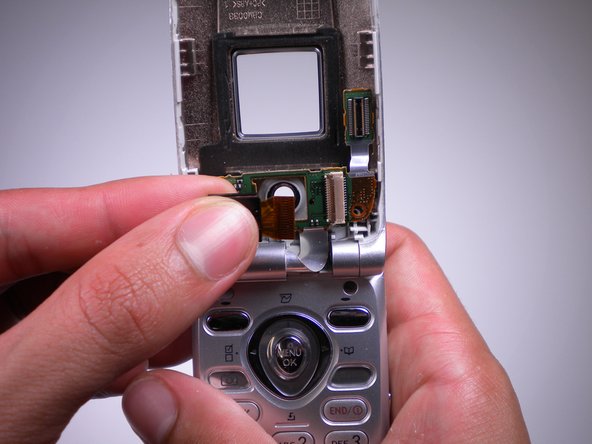
    • Lift the camera from the opening.

    • Detach and pull the camera from the ZIF connector.

    Спросите у FixBot
Заключение

To reassemble your device, follow these instructions in reverse order.

Paul Truong

Участник с: 04/15/13

1 Репутация

Автор 2 руководств

Команда

Cal Poly, Team 10-41, Amido Spring 2013 Участник Cal Poly, Team 10-41, Amido Spring 2013

CPSU-AMIDO-S13S10G41

4 членов

Автор 12 руководств

0 Комментарии к руководству

Добавить комментарий

Статистика просмотров:

За последние 24 часов: 2

За последние 7 дней: 11

За последние 30 дней: 52

За всё время: 678