Введение
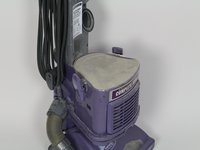
Dirty filters will cause the vacuum to work less efficiently. Make sure to replace your filter on a regular basis.
-
-
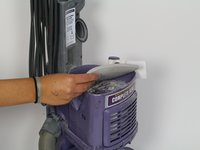
Lift the latches on both sides of the vacuum to release the dust canister.
 Спросите у FixBot
-
-
-
-
Tilt the dust canister forward to release it from its position.
-
Carefully lift away the dust canister and set it aside.
-
-
-
Remove the upper filter by lifting upwards on it.
-
Now that the lower filter is exposed, remove it by pulling it upwards.
-


To reassemble your device, follow these instructions in reverse order.
Отменить: Я не выполнил это руководство.
5 человек успешно провели ремонт по этому руководству.

Команда

Cal Poly, Team S18-G5, Forte Fall 2017 Участник Cal Poly, Team S18-G5, Forte Fall 2017
CPSU-FORTE-F17S18G5
4 членов
Автор 10 руководств