Перейти к основному содержанию
Присоединяйся к сообществу ремонтников - Создай аккаунт

Slingbox SOLO Motherboard Replacement

Выберете то, что вам нужно

    1. Slingbox SOLO Motherboard Replacement, Motherboard: шаг 1, изображение 1 из 1
      • Use the plastic opening tool to remove the four rubber pads from the bottom of the device.

      Спросите у FixBot

      Добавить комментарий

    2. Slingbox SOLO Motherboard Replacement: шаг 2, изображение 1 из 3 Slingbox SOLO Motherboard Replacement: шаг 2, изображение 2 из 3 Slingbox SOLO Motherboard Replacement: шаг 2, изображение 3 из 3
      • The Slingbox has four black 5mm screws, one on each corner of the case.

      • Remove the four black 5mm screws using the PH1 screwdriver.

      • Gently pull and separate the two case covers.

      Спросите у FixBot

      Добавить комментарий

    3. Slingbox SOLO Motherboard Replacement: шаг 3, изображение 1 из 3 Slingbox SOLO Motherboard Replacement: шаг 3, изображение 2 из 3 Slingbox SOLO Motherboard Replacement: шаг 3, изображение 3 из 3
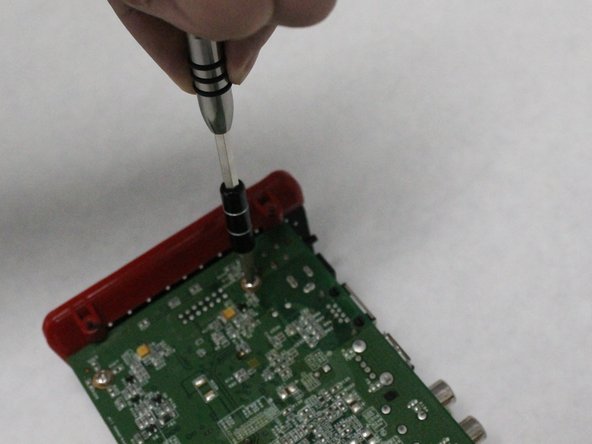
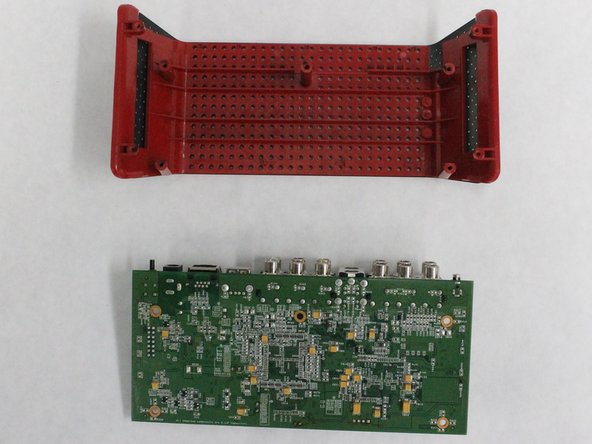
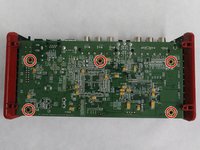
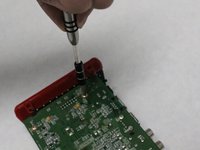
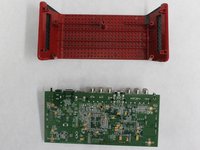
      • The motherboard has five silver 5.5mm screws connecting it to the base of the Slingbox.

      • Remove the five silver screws on the motherboard using the PH1 screwdriver.

      • Gently slide and separate the motherboard from the base.

      Спросите у FixBot

      Добавить комментарий

Заключение

To reassemble your device, follow these instructions in reverse order.

Отменить: Я не выполнил это руководство.

Nitin Muralidhar

Участник с: 07/18/16

222 Репутация

Автор 2 руководств

Команда

IUPUI, Team 2-2, Harley SU 2016 Участник IUPUI, Team 2-2, Harley SU 2016

IUPUI-HARLEY-SU16S2G2

5 членов

Автор 18 руководств

0 Комментарии к руководству

Добавить комментарий

Статистика просмотров:

За последние 24 часов: 0

За последние 7 дней: 8

За последние 30 дней: 31

За всё время: 885