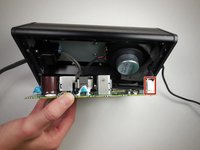
Перейти к основному содержанию
Присоединяйся к сообществу ремонтников - Создай аккаунт

Sony CPF-IP001 Subwoofer Replacement

Выберете то, что вам нужно

  1. Sony CPF-IP001 Subwoofer Replacement, Subwoofer Housing Disassembly: шаг 1, изображение 1 из 2 Sony CPF-IP001 Subwoofer Replacement, Subwoofer Housing Disassembly: шаг 1, изображение 2 из 2
    • Remove fourteen 8 mm Phillips #2 screws from the bottom of the subwoofer.

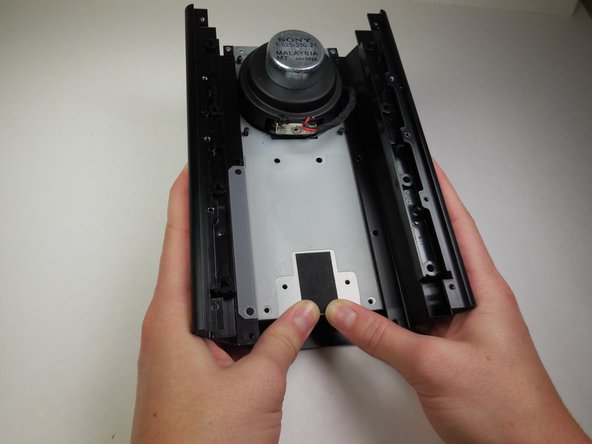
    • Once all of the screws are removed, the cover can be taken off using a metal spudger.

  2. Sony CPF-IP001 Subwoofer Replacement: шаг 2, изображение 1 из 2 Sony CPF-IP001 Subwoofer Replacement: шаг 2, изображение 2 из 2
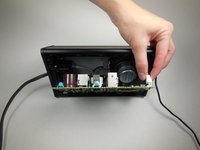
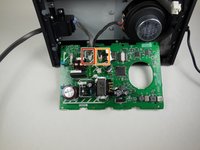
    • Remove eight 14 mm Phillips #2 screws holding the circuit board in place.

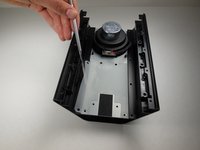
    • Using the plastic opening tool, carefully remove the circuit board.

    • There will be 3 wires connected to the opposite side of the circuit board. Be careful not to pull the board out of the device too far and damage these wires.

  3. Sony CPF-IP001 Subwoofer Replacement: шаг 3, изображение 1 из 2 Sony CPF-IP001 Subwoofer Replacement: шаг 3, изображение 2 из 2
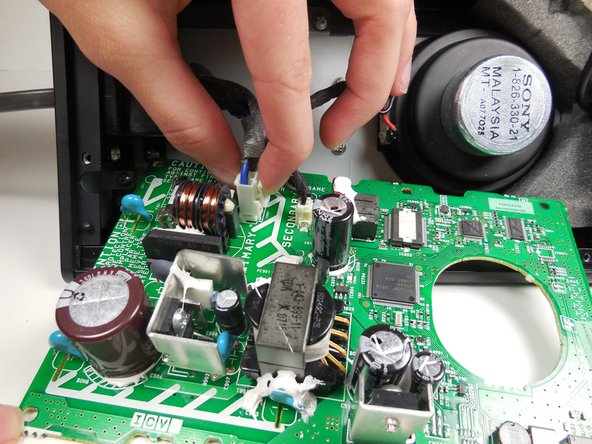
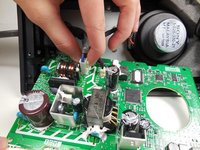
    • Remove the first of the three wires by squeezing the clip and pulling it out.

    • After disconnecting the first wire, the two attached wires can be more easily accessed.

  4. Sony CPF-IP001 Subwoofer Replacement: шаг 4, изображение 1 из 3 Sony CPF-IP001 Subwoofer Replacement: шаг 4, изображение 2 из 3 Sony CPF-IP001 Subwoofer Replacement: шаг 4, изображение 3 из 3
    Инструмент, используемый на этом этапе:
    Tweezers
    $4.99
    • Remove the wire furthest to the left by squeezing the clip and pulling it out.

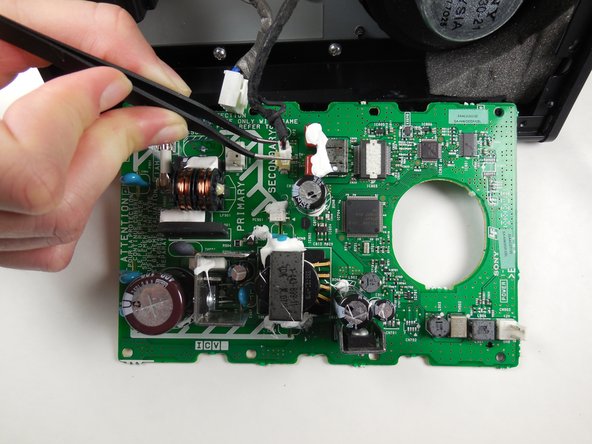
    • Detach the third wire by carefully using the tweezers.

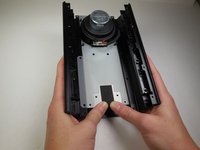
    • The circuit board is now completely detached and can be set aside.

  5. Sony CPF-IP001 Subwoofer Replacement: шаг 5, изображение 1 из 2 Sony CPF-IP001 Subwoofer Replacement: шаг 5, изображение 2 из 2
    • Remove six 8 mm Phillips #2 screws.

    • Slide the side panel with the power cord out from the housing.

    • The side panel with the power cord will come out as a whole unit with the subwoofer air tunnel.

  6. Sony CPF-IP001 Subwoofer Replacement, Subwoofer: шаг 6, изображение 1 из 1
    • Remove two 8 mm Phillips #2 screws holding the side panel in place.

  7. Sony CPF-IP001 Subwoofer Replacement: шаг 7, изображение 1 из 1
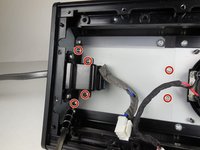
    • Remove eight 8 mm Phillips #2 screws holding the subwoofer tray to the housing.

  8. Sony CPF-IP001 Subwoofer Replacement: шаг 8, изображение 1 из 2 Sony CPF-IP001 Subwoofer Replacement: шаг 8, изображение 2 из 2
    • Using a metal spudger, slightly peel back the plastic the has been glued to the tray and the housing.

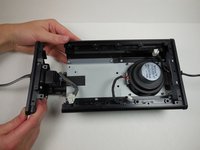
    • Slide the tray containing the subwoofer out of the housing.

  9. Sony CPF-IP001 Subwoofer Replacement: шаг 9, изображение 1 из 2 Sony CPF-IP001 Subwoofer Replacement: шаг 9, изображение 2 из 2
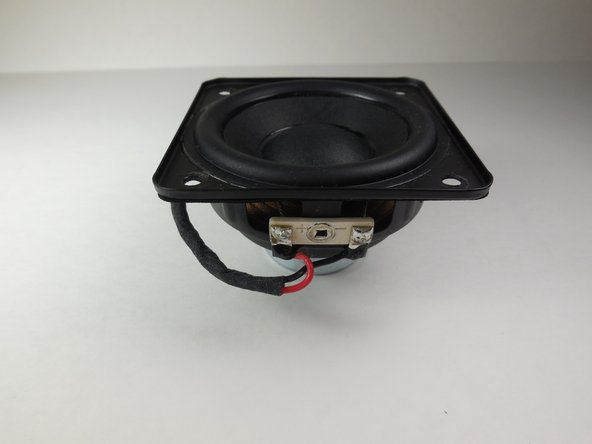
    • After removing the tray, flip it over and you will find four screws connecting the subwoofer.

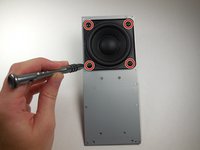
    • Remove four 7.5 mm Phillips #2 screws.

  10. Sony CPF-IP001 Subwoofer Replacement: шаг 10, изображение 1 из 2 Sony CPF-IP001 Subwoofer Replacement: шаг 10, изображение 2 из 2
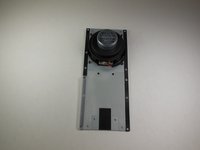
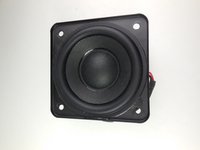
    • The subwoofer has now been removed from the device and can be replaced.

Заключение

To reassemble your device, follow these instructions in reverse order.

3 человек успешно провели ремонт по этому руководству.

Mike Bolton

Участник с: 04/14/15

473 Репутация

Автор 4 руководств

Команда

Cal Poly, Team 6-14, Maness Spring 2015 Участник Cal Poly, Team 6-14, Maness Spring 2015

CPSU-MANESS-S15S6G14

4 членов

Автор 8 руководств

0 Комментарии к руководству

Добавить комментарий

Статистика просмотров:

За последние 24 часов: 1

За последние 7 дней: 4

За последние 30 дней: 19

За всё время: 934