Введение
If your camera's screen isn't working properly, you may need to replace it. Follow this guide to do so!
Выберете то, что вам нужно
-
-
-
Remove battery by sliding the tab to open the cover
 Спросите у FixBot
-
-
-
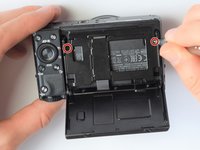
Using the screwdriver, remove all screws (black 2.5mm) from outermost layer of the assembly.
-
-
-
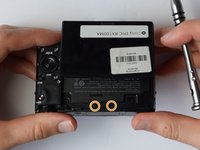
Also using the screwdriver, remove screws (black 1mm) underneath articulated LCD screen.
-
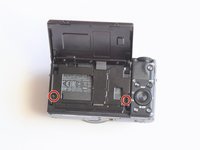
Remove the marked 2.5 mm screws with the screwdriver
-
-
-
-
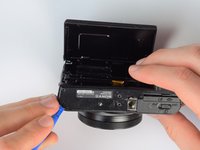
Using the plastic opening tools, carefully pry off the bottom plate.
-
-
-
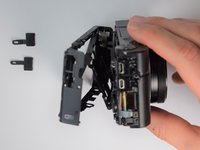
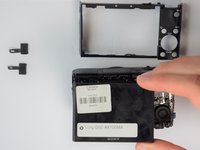
Using the same plastic opening tools, separate the screen and back assembly from the front portion of the camera
-
Once the back assembly is slightly detached, pull the media covers for the HDMI and Multimedia ports
-
-
-
-
-
Move side panel to get access to screws
-
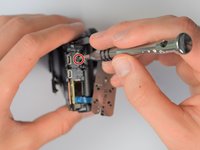
Remove two screws (black 2.5mm) with PH #0 screwdriver
-
-
-
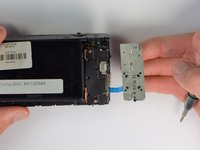
Remove back panel assembly while still keeping ribbon cable attached
-
-
-
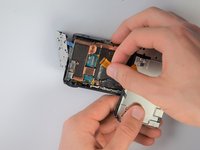
Carefully unplug ribbon connector to fully detach LCD screen assembly from camera
-
-




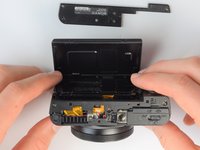


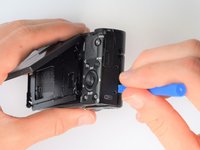
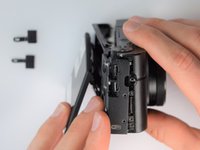
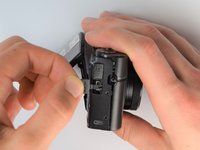




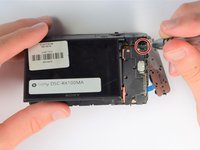


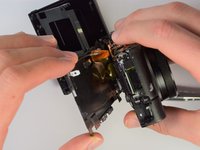
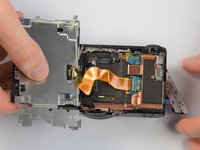


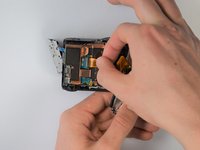
To reassemble your device, follow these instructions in reverse order.
Отменить: Я не выполнил это руководство.
2 человек успешно провели ремонт по этому руководству.

Команда

Cal Poly, Team 21-1, Maness Winter 2017 Участник Cal Poly, Team 21-1, Maness Winter 2017
CPSU-MANESS-W17S21G1
5 членов
Автор 10 руководств
5 Комментарии к руководству
Any idea where I can get a set or replacement screws? one came out of my LCD joint and I can’t find replacements anywhere online. I’ve even tried Ebay.
Definately be careful with the gold ribbon cable, looked at mine funny and it just snapped in two.. waiting on a replacement now :(
I’ve ripped 2 of these before - not fun! Still… cheap enough to buy but delivery took a couple of weeks.
I had a cracked screen so had to take this out to replace as well - problem i’ve had is that although i stuck it down really well (with 3M 1mm double-sided tape, it doesn’t hold great and so the screen has risen a bit and doesn’t sit flush.
Just in the process now of sticking it down again but with a touch of superglue as i need it to hold down a bit better - that should hopefully be me done then :)
Great guide by the way KC Egger - thanks for taking the time to put this together - it’s been a life saver for me!
Where did you purchase your screen, I’ve been trying to find one from Sony parts dealers and can’t find it. Any links would be helpful, thanks.
Probably a late reply but I got my screen from AliExpress, there are still a lot of them for sale and the sellers include a ribbon cable with the screen.
For these cameras the official screen protector is Sony PCK-LM15 Screen Protector
I think mine was damaged by sunscreen on my hands when using the camera over summer so putting a protective layer on top should help preserve the new screen.
