Этот перевод был сделан машиной и пока не проверен человеком. Говорите на этом языке? Просмотрите его.
Введение
В этом руководстве по ремонту показано, как заменить жесткий диск.
Выберете то, что вам нужно
-
-
-
Переверните ноутбук нижней частью вверх и положите его на ровную поверхность.
-
Если вы смотрите на нижнюю часть ноутбука, аккумулятор находится с передней правой стороны, противоположной дисководу для дискет.
 Спросите у FixBot
-
-
-
Как показано стрелкой, сдвиньте пластиковую крышку вверх, а затем потяните ее наружу и вниз.
-
Теперь вы сможете извлечь аккумулятор.
-
-
-
-
-
Открутите четыре винта длиной 16 мм по периметру корпуса ноутбука с помощью отвертки Phillips #0.
-
-
-
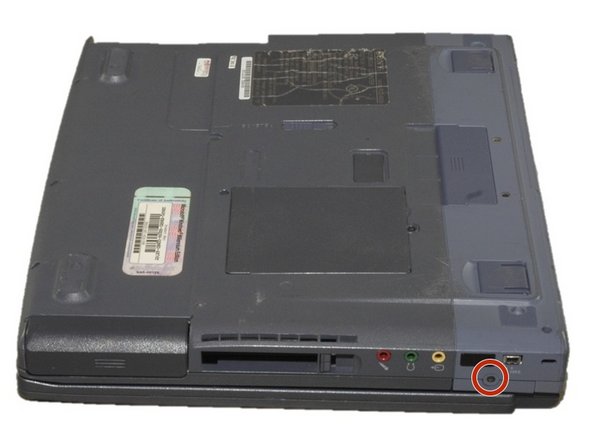
С помощью отвертки Phillips #0 выкрутите винт длиной 4 мм, расположенный на правой задней стороне ноутбука рядом с аудиоразъемами.
-
-
-
-
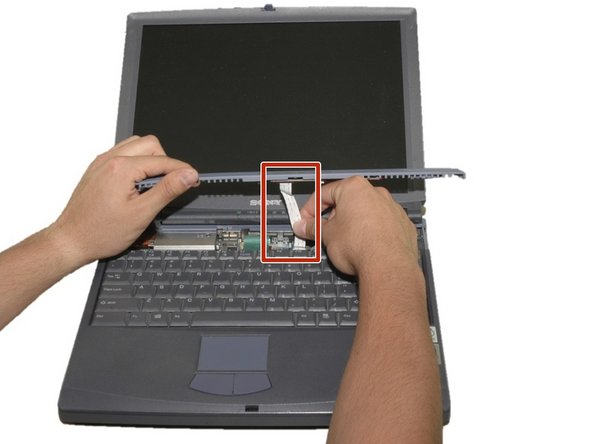
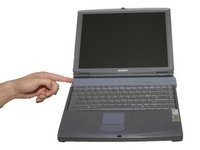
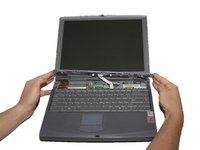
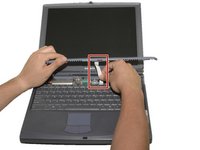
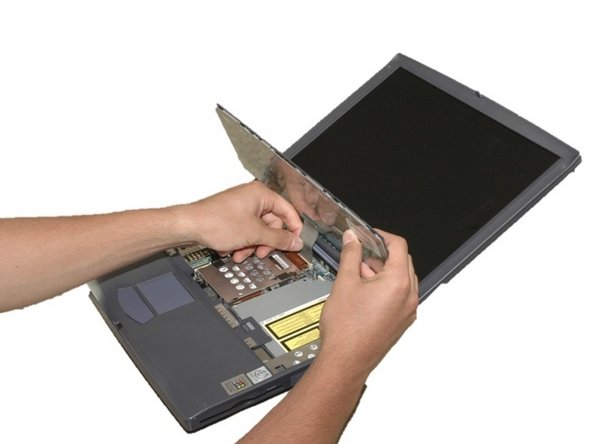
Сдвиньте синюю решетку динамика (расположенную над клавиатурой) вправо и аккуратно потяните вверх. Решетка по-прежнему будет соединена белым шлейфом.
-
Осторожно вытяните белый шлейф. Таким образом вы снимите решетку динамика.
-
-
-
Открутите центральный винт длиной 4 мм с помощью крестовой отвертки.
-
Осторожно и медленно потяните зеленую полоску прямо вверх (от ноутбука), чтобы отсоединить ее. Не тяните слишком сильно, чтобы не порвать.
-
Теперь клавиатуру можно снять.
-
-
-
-
-
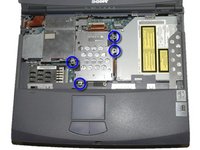
Открутите два винта Phillips длиной 4 мм в центре компьютера, расположенные по обе стороны от медной электрической полоски.
-
-
-
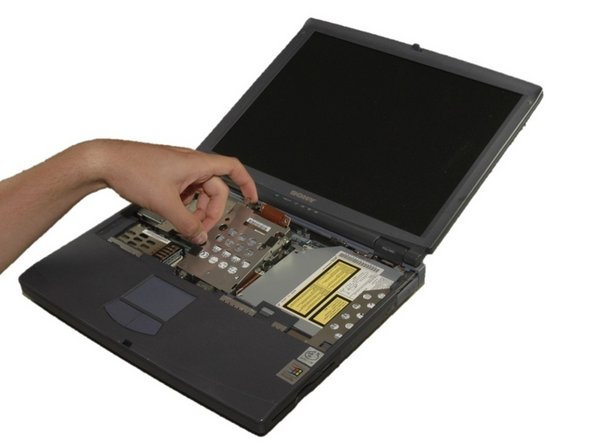
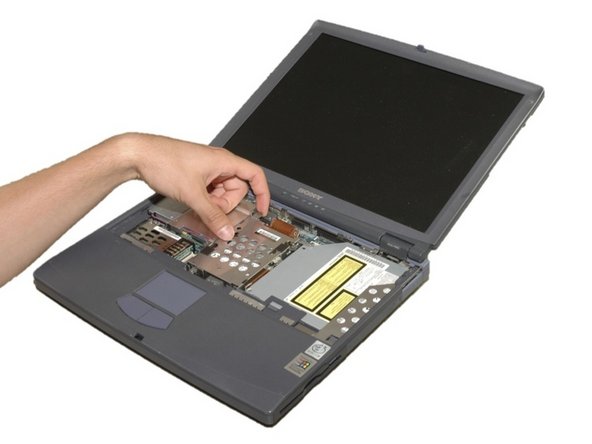
Открутите четыре винта Phillips длиной 4 мм вокруг корзины жесткого диска.
-
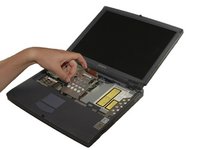
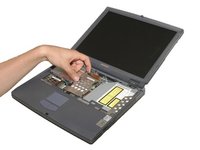
Осторожно извлеките корзину жесткого диска.
-
Аккуратно отсоедините медную полоску, чтобы вытянуть жесткий диск.
-
-
-
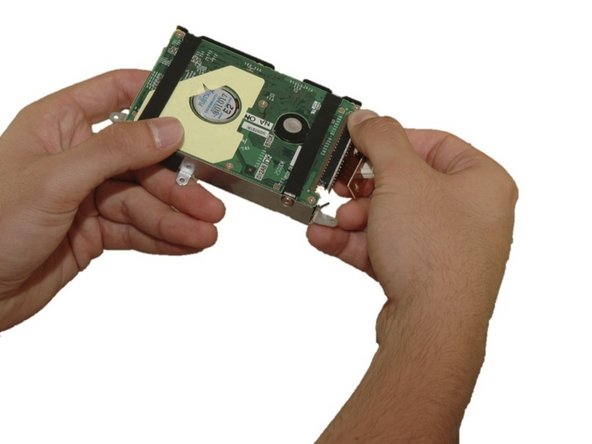
Открутите четыре винта Phillips длиной 4 мм, которые удерживают жесткий диск в корзине для жесткого диска.
-
Аккуратно извлеките жесткий диск из корзины.
-
Аккуратно снимите медную токопроводящую ленту с жесткого диска.
-
-






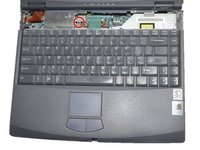
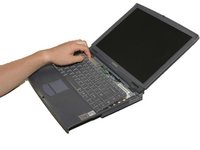
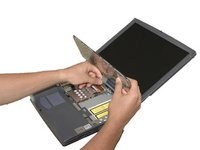

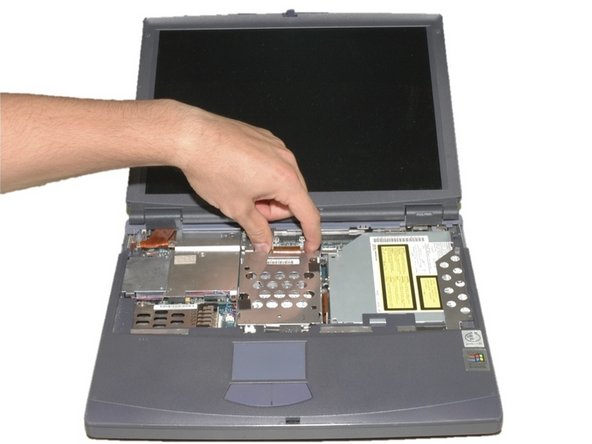


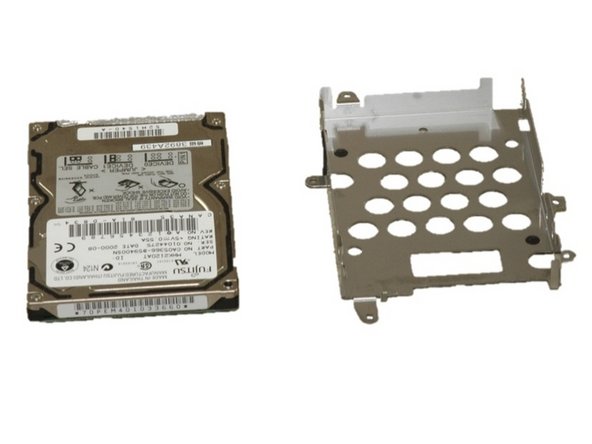
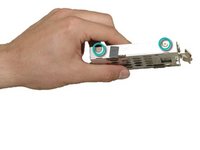
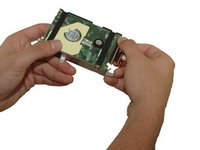
Для сборки устройства выполните эти инструкции в обратном порядке.
Отменить: Я не выполнил это руководство.
4 человек успешно провели ремонт по этому руководству.

Команда

Cal Poly, Team 12-36, Maness Spring 2011 Участник Cal Poly, Team 12-36, Maness Spring 2011
CPSU-MANESS-S11S12G36
4 членов
Автор 96 руководств
3 Комментарии к руководству
Totally dident expect to find a guide for taking this one apart. Appreciate it!
Complete Life Saver Thank you Very much for taking the time to Make an Easily Fallowed guide for this laptop. very very much Appreciated
would recommend getting a #00 bit for this repair just as well, some of those old screws can be a pain, if the laptop was previously opened or has wrong screws in place
