Перейти к основному содержанию
Присоединяйся к сообществу ремонтников - Создай аккаунт

Sony Vaio VGN-FS640 LCD Screen Replacement

Выберете то, что вам нужно

  1. Sony Vaio VGN-FS640 LCD Screen Replacement, Battery: шаг 1, изображение 1 из 1
    • Lay the closed laptop on its screen so the bottom is facing towards you.

    Спросите у FixBot
  2. Sony Vaio VGN-FS640 LCD Screen Replacement: шаг 2, изображение 1 из 1
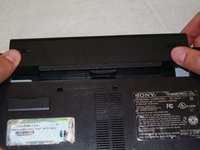
    • Push both latches towards the center of the battery.

    Спросите у FixBot
  3. Sony Vaio VGN-FS640 LCD Screen Replacement: шаг 3, изображение 1 из 2 Sony Vaio VGN-FS640 LCD Screen Replacement: шаг 3, изображение 2 из 2
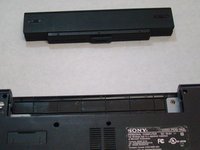
    • Revome the battery by pushing it away from the laptop.

    • Set the battery away from the laptop.

    Спросите у FixBot
  4. Sony Vaio VGN-FS640 LCD Screen Replacement, RAM Cover: шаг 4, изображение 1 из 2 Sony Vaio VGN-FS640 LCD Screen Replacement, RAM Cover: шаг 4, изображение 2 из 2
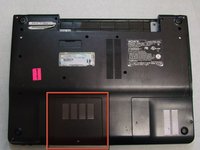
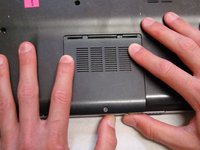
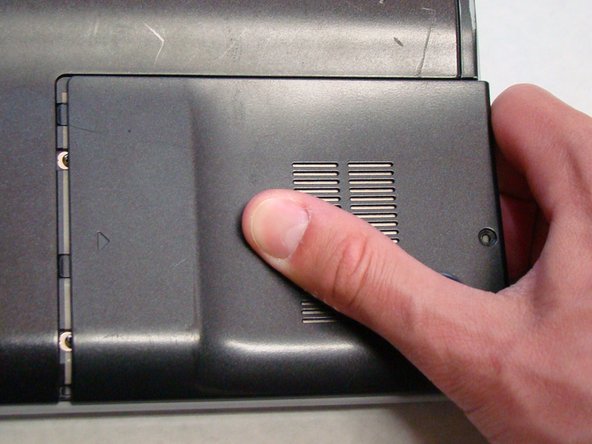
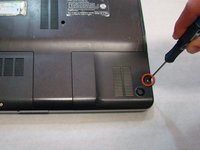
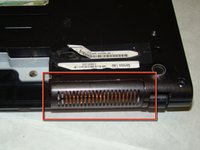
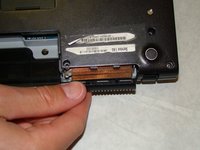
    • With the bottom of the laptop facing up, locate the RAM cover.

    • The RAM is covered by the panel with four columns of vents.

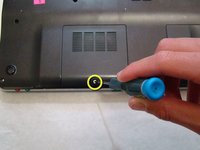
    • Locate the screw (Length: 4.8 mm) holding down the panel, which is near the edge of the laptop. Unscrew it with your phillips #0 screwdriver.

    Спросите у FixBot
  5. Sony Vaio VGN-FS640 LCD Screen Replacement: шаг 5, изображение 1 из 3 Sony Vaio VGN-FS640 LCD Screen Replacement: шаг 5, изображение 2 из 3 Sony Vaio VGN-FS640 LCD Screen Replacement: шаг 5, изображение 3 из 3
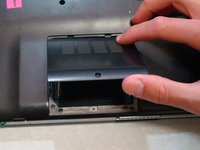
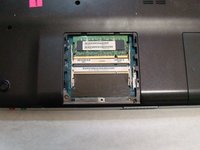
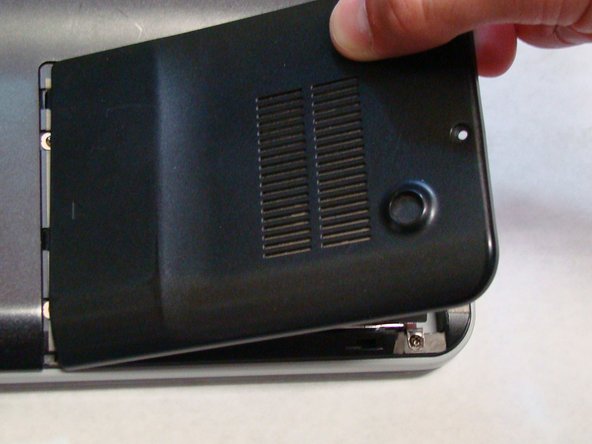
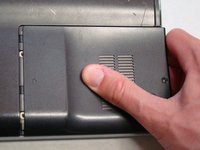
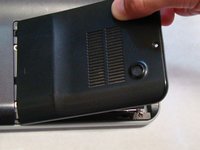
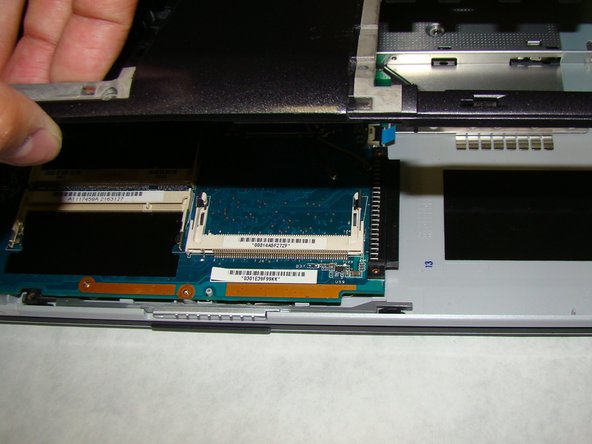
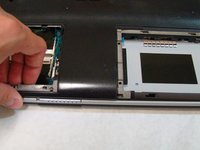
    • Use your fingers to slide the cover away from the laptop. (It will only slide a few millimeters)

    • Once the panel is out of its locked position, it can be lifted out without any resistance.

    Спросите у FixBot
  6. Sony Vaio VGN-FS640 LCD Screen Replacement, Hard Drive: шаг 6, изображение 1 из 3 Sony Vaio VGN-FS640 LCD Screen Replacement, Hard Drive: шаг 6, изображение 2 из 3 Sony Vaio VGN-FS640 LCD Screen Replacement, Hard Drive: шаг 6, изображение 3 из 3
    • Locate and remove the screw (Length: 7.7mm) for the hard drive cover.

    • Slide the cover until it is free from the laptop case.

    • Lift the cover to remove.

    Спросите у FixBot
  7. Sony Vaio VGN-FS640 LCD Screen Replacement: шаг 7, изображение 1 из 3 Sony Vaio VGN-FS640 LCD Screen Replacement: шаг 7, изображение 2 из 3 Sony Vaio VGN-FS640 LCD Screen Replacement: шаг 7, изображение 3 из 3
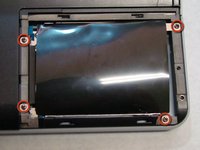
    • Locate and remove the four screws (Length: 7.7mm) holding the Hard Drive tray in place.

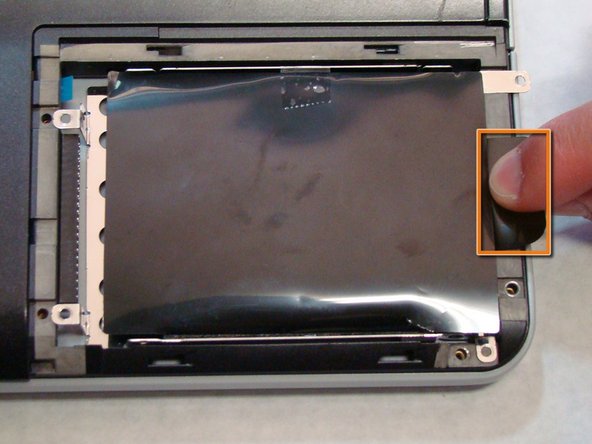
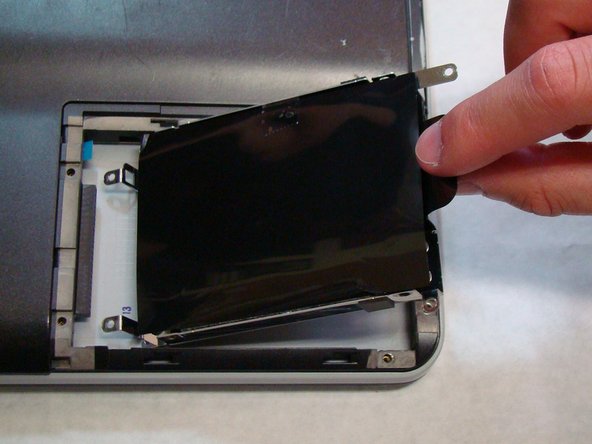
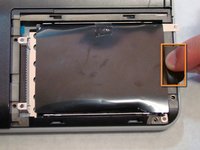
    • Using the tab on the tray, slide the Hard Drive away from the main body of the laptop.

    • The Hard Drive should now be disconnected.

    • Lift the drive out with the tab on the tray.

    Спросите у FixBot
  8. Sony Vaio VGN-FS640 LCD Screen Replacement, Back Cover: шаг 8, изображение 1 из 1
    • Locate the screws highlighted here. There are 16 total.

    • Using a Phillips #0 screwdriver, remove the screws (Length: 6.8mm) and place them on a tray for later use.

    Спросите у FixBot
  9. Sony Vaio VGN-FS640 LCD Screen Replacement: шаг 9, изображение 1 из 3 Sony Vaio VGN-FS640 LCD Screen Replacement: шаг 9, изображение 2 из 3 Sony Vaio VGN-FS640 LCD Screen Replacement: шаг 9, изображение 3 из 3
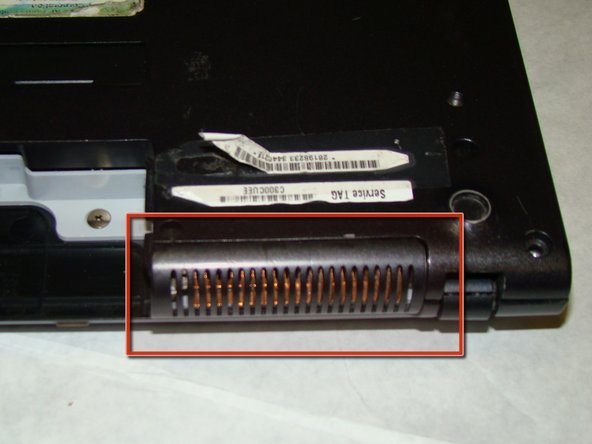
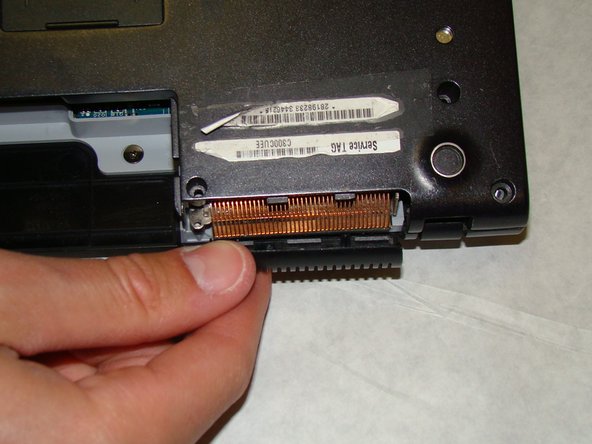
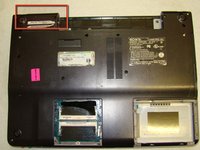
    • Before you proceed, make sure you pay special attention to the way the small plastic part that covers the radiator fins is held in place. You will need to know how it attaches when you reassemble the laptop.

    • You do not need to actually remove the part at this time. It is held in place by the rest of the back cover and will fall off when back cover is removed in the next step.

    Спросите у FixBot
  10. Sony Vaio VGN-FS640 LCD Screen Replacement: шаг 10, изображение 1 из 2 Sony Vaio VGN-FS640 LCD Screen Replacement: шаг 10, изображение 2 из 2
    • After removing the screws, use your fingers to lift the back cover off the laptop.

    Спросите у FixBot
  11. Sony Vaio VGN-FS640 LCD Screen Replacement: шаг 11, изображение 1 из 1
    • Remove the back cover and place it somewhere safe so you can locate it later.

    Спросите у FixBot
  12. Sony Vaio VGN-FS640 LCD Screen Replacement, Keyboard: шаг 12, изображение 1 из 1
    • After the back cover is removed, lay the laptop on a flat surface, with the bottom facing up.

    Спросите у FixBot
  13. Sony Vaio VGN-FS640 LCD Screen Replacement: шаг 13, изображение 1 из 2 Sony Vaio VGN-FS640 LCD Screen Replacement: шаг 13, изображение 2 из 2
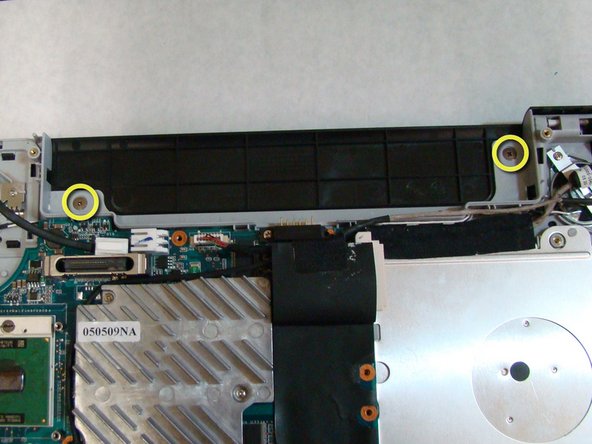
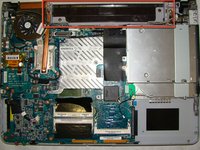
    • To remove the keyboard, the speaker cover must be removed first.

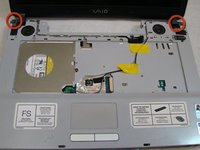
    • To do this, first remove the two screws (Length: 2.3 mm) highlighted in the picture.

    Спросите у FixBot
  14. Sony Vaio VGN-FS640 LCD Screen Replacement: шаг 14, изображение 1 из 1
    • After the screws are removed, flip the laptop over so the keyboard is facing up and move the screen to its upright position.

    Спросите у FixBot
  15. Sony Vaio VGN-FS640 LCD Screen Replacement: шаг 15, изображение 1 из 3 Sony Vaio VGN-FS640 LCD Screen Replacement: шаг 15, изображение 2 из 3 Sony Vaio VGN-FS640 LCD Screen Replacement: шаг 15, изображение 3 из 3
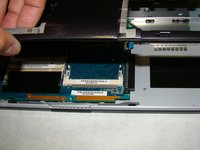
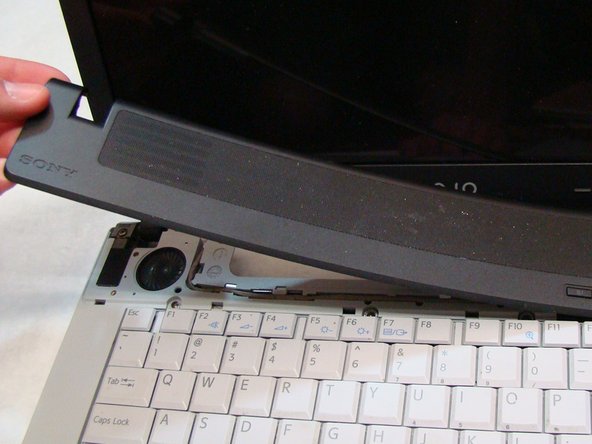
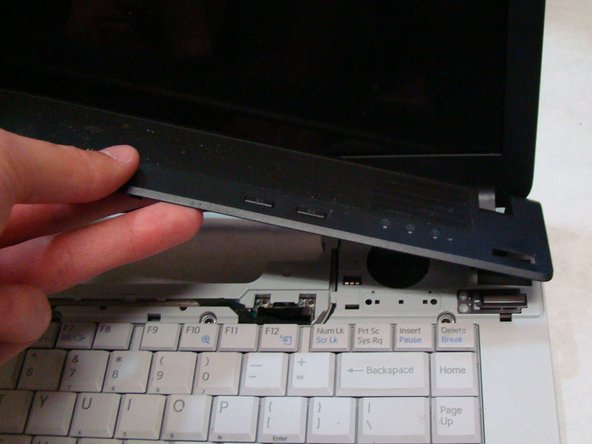
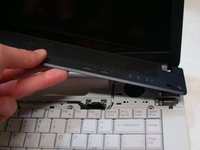
    • To start removing the speaker cover, use your finger to lift up on the exposed corner of the black speaker cover, located near the bottom left corner of the screen.

    • Slowly pull the speaker cover off from left to right, making sure it snaps off little by little.

    Спросите у FixBot
  16. Sony Vaio VGN-FS640 LCD Screen Replacement: шаг 16, изображение 1 из 1
    • After removing the speaker cover, remove the four screws (Length: 3.6 mm) with your Phillips #0 screwdriver that hold the keyboard in place.

    Спросите у FixBot
  17. Sony Vaio VGN-FS640 LCD Screen Replacement: шаг 17, изображение 1 из 1
    • Lift the free edge of the keyboard and fold it back to expose the ribbon that connects the keyboard to the laptop.

    • The large silver surface you see at the bottom of the picture is the back of the keyboard.

    Спросите у FixBot
  18. Sony Vaio VGN-FS640 LCD Screen Replacement: шаг 18, изображение 1 из 3 Sony Vaio VGN-FS640 LCD Screen Replacement: шаг 18, изображение 2 из 3 Sony Vaio VGN-FS640 LCD Screen Replacement: шаг 18, изображение 3 из 3
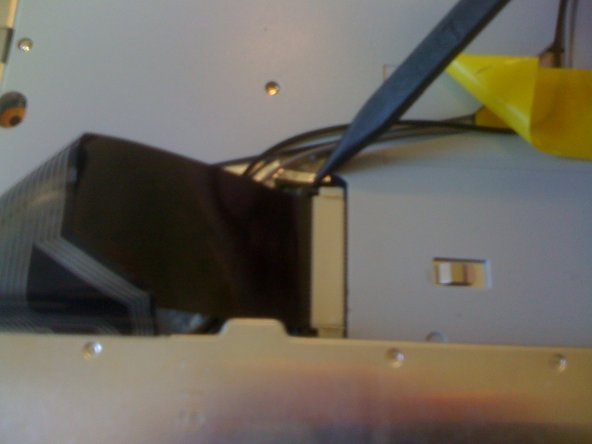
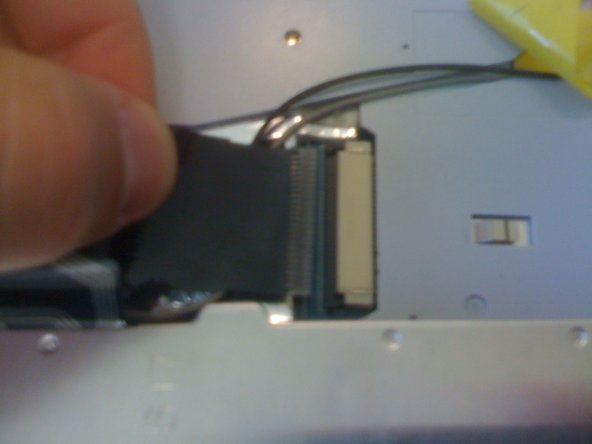
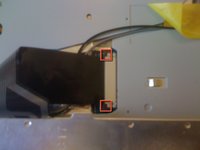
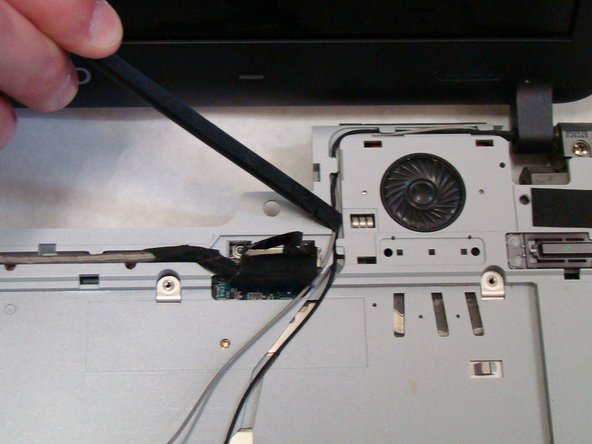
    • On each side of the white plastic connector, there is a tiny black tab that locks the ribbon into place.

    • Use the sharp edge of a spudger to slide the black tabs away from from the white plastic connector.

    • Once the tabs have been extended away from the connector, the ribbon can be removed from the keyboard.

    • The keyboard is now completely disconnected from the laptop.

    Спросите у FixBot
  19. Sony Vaio VGN-FS640 LCD Screen Replacement, LCD Screen: шаг 19, изображение 1 из 1
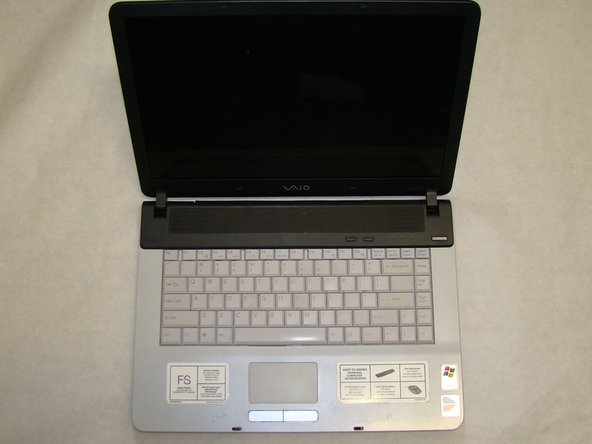
    • At this point the speaker cover and keyboard should be removed and the laptop should be sitting in its normal open position with the screen facing you.

    Спросите у FixBot
  20. Sony Vaio VGN-FS640 LCD Screen Replacement: шаг 20, изображение 1 из 3 Sony Vaio VGN-FS640 LCD Screen Replacement: шаг 20, изображение 2 из 3 Sony Vaio VGN-FS640 LCD Screen Replacement: шаг 20, изображение 3 из 3
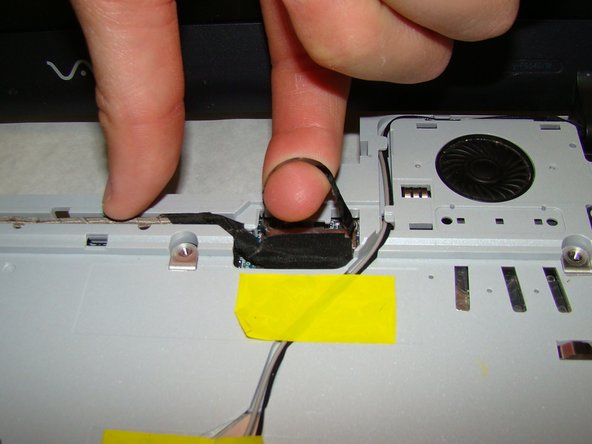
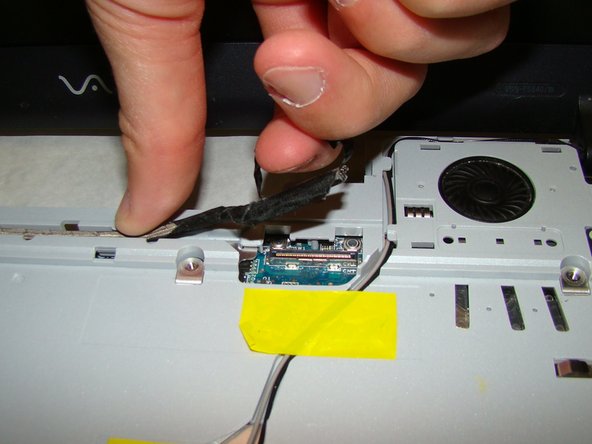
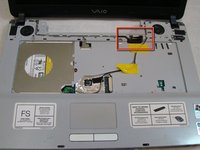
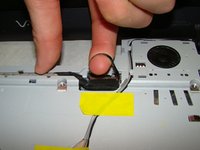
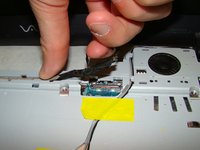
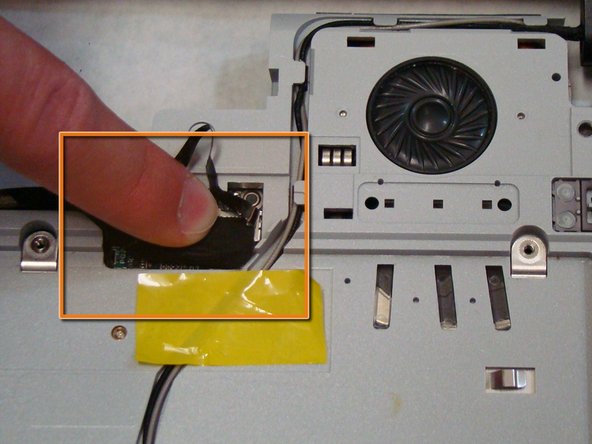
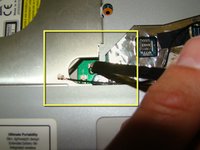
    • Pull the fabric loop connected to the power cable to remove the power cable jack from its connection.

    • This may require a moderate amount of force. For best results, hook your finger through the loop (as shown) and pull directly upwards.

    Спросите у FixBot
  21. Sony Vaio VGN-FS640 LCD Screen Replacement: шаг 21, изображение 1 из 3 Sony Vaio VGN-FS640 LCD Screen Replacement: шаг 21, изображение 2 из 3 Sony Vaio VGN-FS640 LCD Screen Replacement: шаг 21, изображение 3 из 3
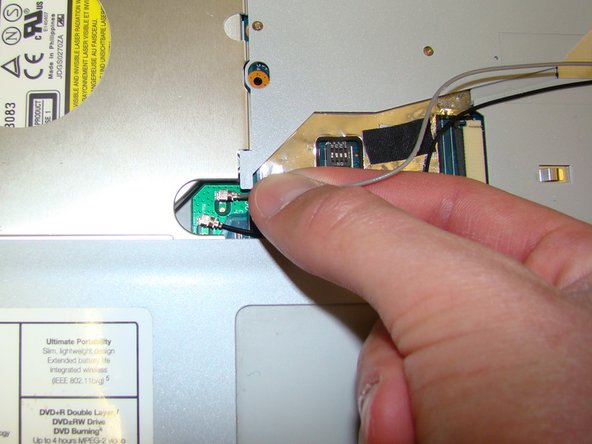
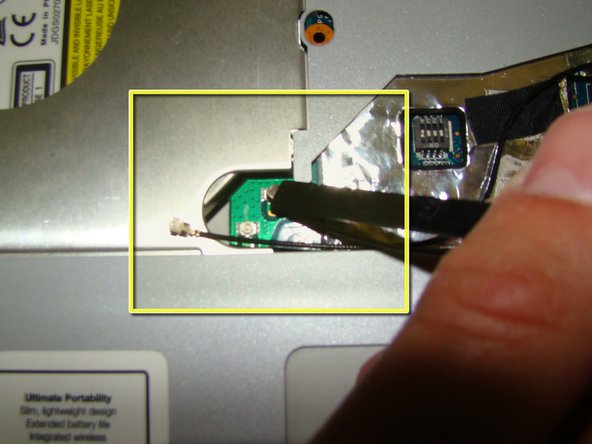
    • Use your fingers to pull the LCD screen's display cables away from their connections.

    • Grip the wires as close to the connectors as possible to avoid breaking the display cables.

    Спросите у FixBot
  22. Sony Vaio VGN-FS640 LCD Screen Replacement: шаг 22, изображение 1 из 2 Sony Vaio VGN-FS640 LCD Screen Replacement: шаг 22, изображение 2 из 2
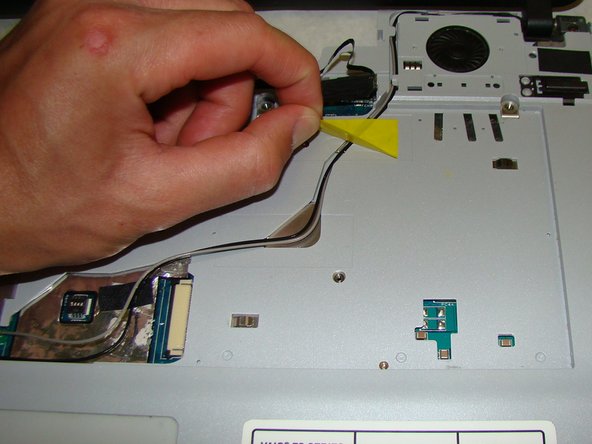
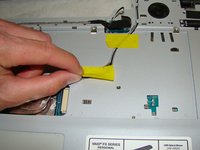
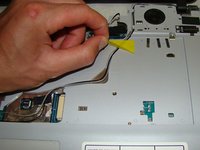
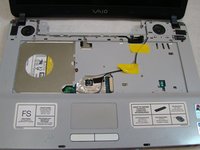
    • Remove the two pieces of tape that hold the display cables in their slot.

    Спросите у FixBot
  23. Sony Vaio VGN-FS640 LCD Screen Replacement: шаг 23, изображение 1 из 1
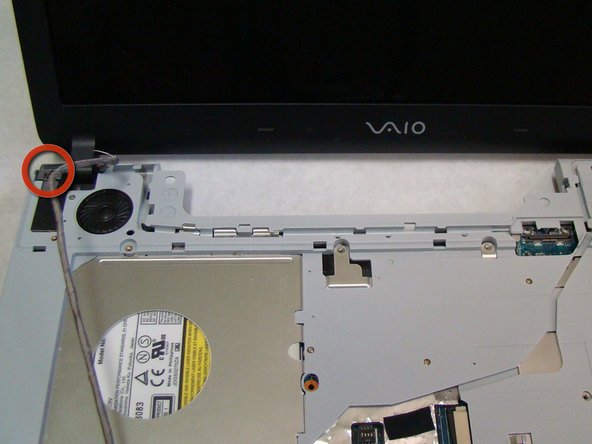
    • Pull the power and display cables out of their respective grooves in the body of the laptop so that they are only connected to the screen assembly.

    Спросите у FixBot
  24. Sony Vaio VGN-FS640 LCD Screen Replacement: шаг 24, изображение 1 из 3 Sony Vaio VGN-FS640 LCD Screen Replacement: шаг 24, изображение 2 из 3 Sony Vaio VGN-FS640 LCD Screen Replacement: шаг 24, изображение 3 из 3
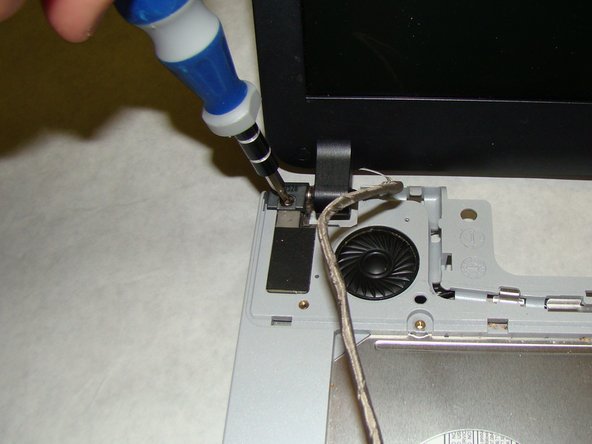
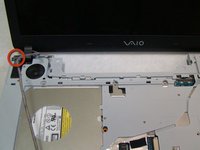
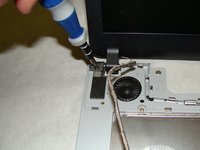
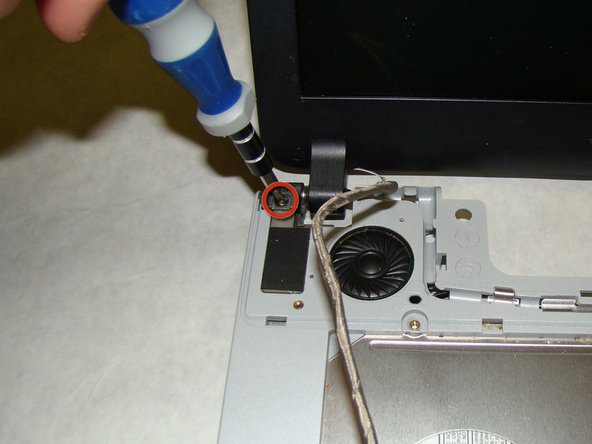
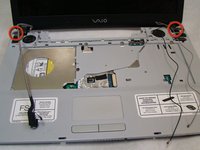
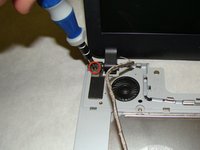
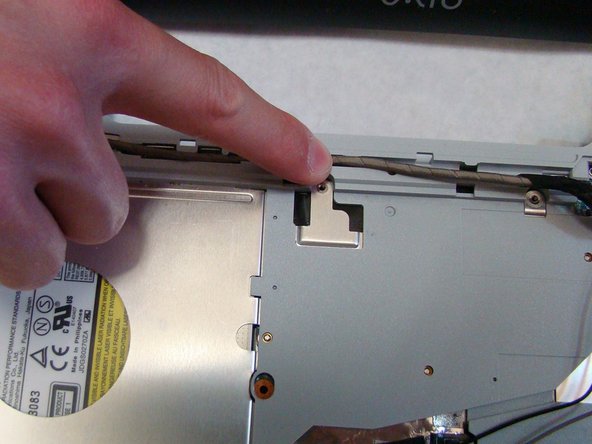
    • Use a Phillips #0 screwdriver to remove the two screws (Length: 6.9 mm) that attach the screen to the body of the laptop.

    • Do not discard these screws. They will be used to attach the new screen to the laptop.

    Спросите у FixBot
  25. Sony Vaio VGN-FS640 LCD Screen Replacement: шаг 25, изображение 1 из 1
    • The LCD screen is now completely disconnected from the laptop.

    • Move the old display out of the way so you can install the new display.

    Спросите у FixBot
  26. Sony Vaio VGN-FS640 LCD Screen Replacement: шаг 26, изображение 1 из 2 Sony Vaio VGN-FS640 LCD Screen Replacement: шаг 26, изображение 2 из 2
    • To install the new LCD Screen, first align the new screen with the vacated screw holes.

    • Use a Phillips #0 screwdriver to reinsert the screws(Length: 6.9 mm)and secure the new screen to the body of the laptop.

    Спросите у FixBot
  27. Sony Vaio VGN-FS640 LCD Screen Replacement: шаг 27, изображение 1 из 3 Sony Vaio VGN-FS640 LCD Screen Replacement: шаг 27, изображение 2 из 3 Sony Vaio VGN-FS640 LCD Screen Replacement: шаг 27, изображение 3 из 3
    • Place the power and display cables for the new screen into their respective grooves.

    • It may help to use a spudger to push the cables into the grooves.

    • Place the two pieces of tape back over the display cables.

    Спросите у FixBot
  28. Sony Vaio VGN-FS640 LCD Screen Replacement: шаг 28, изображение 1 из 3 Sony Vaio VGN-FS640 LCD Screen Replacement: шаг 28, изображение 2 из 3 Sony Vaio VGN-FS640 LCD Screen Replacement: шаг 28, изображение 3 из 3
    • Once the new screen and its cables are securely in place, attach the three cables to their corresponding ports.

    • For each cable, place the connector on top of the port and align the two as close as possible.

    • To connect the power cable, use your finger to push downward on the middle of the connector until it snaps into place.

    • To connect each display cable, use the flat end of a spudger to press on the top of the silver connector until it snaps into place.

    • Snapping the connectors into place does require a little bit of force, but be careful, too much force can break the motherboard. If the connector doesn't snap into place with a moderate amount of force, realign it and try again.

    • Make sure the two display cables are connected to the correct ports. The grey cable should connect closest to the screen.

    Спросите у FixBot
  29. Sony Vaio VGN-FS640 LCD Screen Replacement: шаг 29, изображение 1 из 2 Sony Vaio VGN-FS640 LCD Screen Replacement: шаг 29, изображение 2 из 2
    • Your new LCD screen is now fully installed.

    • Work backwards through the Keyboard Removal Guide, to reconstruct the rest of the laptop.

    Спросите у FixBot
Финишная прямая

4 человек успешно провели ремонт по этому руководству.

Brian Marchini

Участник с: 04/15/10

293 Репутация

Автор 2 руководств

Команда

Cal Poly, Team 24-32, Regan Spring 2010 Участник Cal Poly, Team 24-32, Regan Spring 2010

CPSU-REGAN-S10S24G32

4 членов

Автор 16 руководств

0 Комментарии к руководству

Добавить комментарий

Статистика просмотров:

За последние 24 часов: 1

За последние 7 дней: 5

За последние 30 дней: 77

За всё время: 23,718