Этот перевод был сделан машиной и пока не проверен человеком. Говорите на этом языке? Просмотрите его.
Введение
В этом руководстве описано, как правильно и безопасно получить доступ к материнской плате и извлечь её для замены или ремонта.
Выберете то, что вам нужно
-
-
-
Переверните ноутбук и расположите его так, как показано на рисунке.
 Спросите у FixBot
-
-
-
Извлеките аккумулятор, сжав два фиксирующих язычка по направлению к центру.
-
Затем поднимите аккумулятор, чтобы вынуть его.
-
-
-
С помощью крестовой отвертки Phillips #00 выкрутите двадцать два винта длиной 5,6 мм с задней панели ноутбука.
-
-
-
Теперь снимите небольшие крышки с задней стороны корпуса.
-
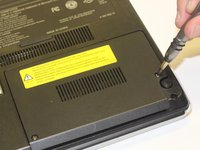
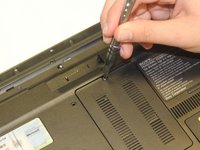
С помощью отвертки Phillips #00 открутите три винта длиной 5,6 мм с крышек (один винт на крышке оперативной памяти [посередине] и два винта на крышке жесткого диска [внизу справа]).
-
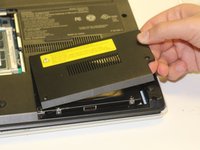
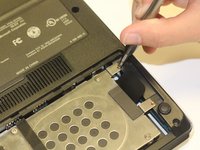
Затем подденьте и снимите эти крышки, как показано на третьем изображении.
-
-
-
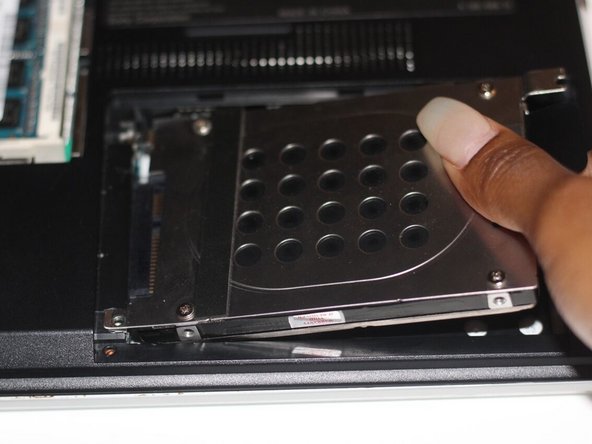
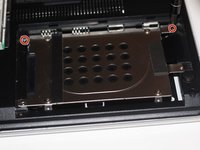
Извлеките жесткий диск.
-
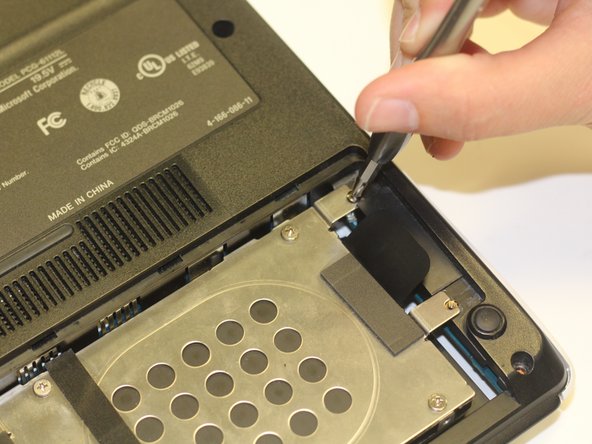
С помощью отвертки Phillips #00 открутите два оставшихся винта длиной 4,9 мм, удерживающих жесткий диск на месте.
-
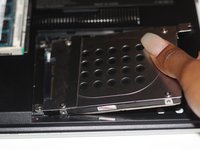
Затем приподнимите и потяните жесткий диск наружу, чтобы извлечь его из разъема.
-
-
-
Пальцами ухватитесь за черный язычок и слегка потяните вверх, чтобы отсоединить шлейф от материнской платы.
-
-
-
После надлежащего выкручивания всех необходимых винтов аккуратно приподнимите заднюю крышку, чтобы снять её.
-
-
-
-
-
-
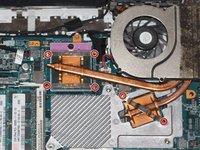
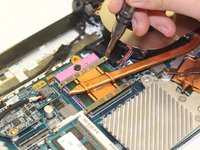
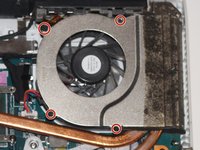
Найдите вентилятор (в правом верхнем углу компьютера).
-
С помощью крестовой отвертки #00 открутите шесть винтов длиной 2,7 мм, которыми вентилятор крепится к материнской плате.
-
-
-
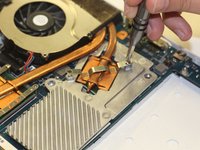
С помощью отвертки с наконечником стандарта JIS #00 открутите четыре винта длиной 3,7 мм, расположенные на корпусе вентилятора.
-
-
-
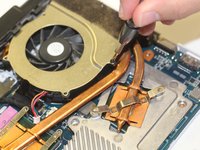
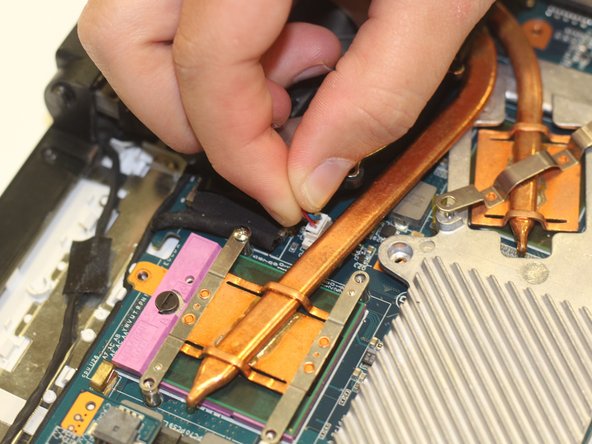
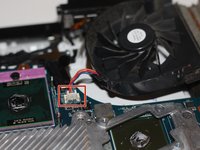
Пальцами возьмитесь за белый язычок и уверенно, но осторожно потяните за провод вверх, чтобы отсоединить его от материнской платы.
-
-
-
-
-
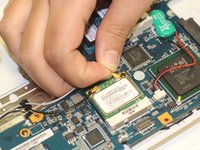
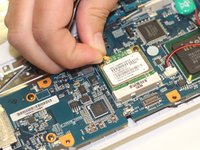
Пальцами ухватитесь за белый и черный провода, подключенные к карте Wi-Fi. Потяните эти провода вверх, пока они не отсоединятся от карты. Не бойтесь приложить некоторое усилие.
-
-
-
С помощью отвертки Phillips #00 открутите два винта длиной 4,9 мм, которыми плата Wi-Fi крепится к материнской плате.
-
-
-
Пальцами слегка придержите Wi-Fi-карту и с усилием потяните её вверх и на себя, чтобы извлечь Wi-Fi-карту из разъема.
-
-
-
-
-
Возьмитесь рукой за боковую часть дисковода DVD/CD и аккуратно потяните его из разъема, отсоединяя от материнской платы.
-
-
-
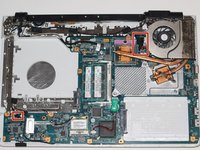
Пальцами возьмитесь за три шлейфа (показаны на фото) и аккуратно потяните их, чтобы отсоединить от материнской платы.
-
-
-
Повторите предыдущий шаг для двух оставшихся шлейфов (один находится рядом с вентилятором, а другой — рядом с приводом CD/DVD).
-
-
-
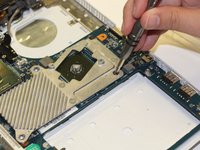
С помощью отвертки Phillips #00 выкрутите три винта длиной 4,9 мм, как показано здесь.
-
Затем пальцами подденьте эту металлическую деталь и снимите её с материнской платы.
-
-
-
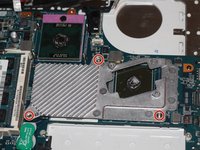
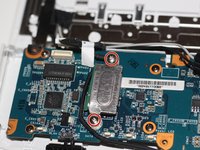
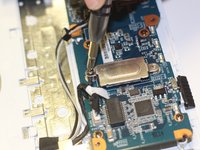
С помощью крестовой отвертки Phillips #00 открутите два винта длиной 4,9 мм, показанные здесь.
-
Затем снимите металлическую крышку, чтобы открыть доступ к модулю Bluetooth.
-
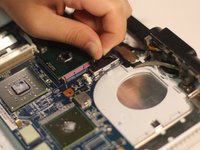
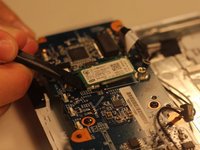
Аккуратно подденьте плоским концом пластиковой лопатки (spudger) край модуля Bluetooth. После этого слегка приподнимите этот край, чтобы отсоединить модуль от материнской платы. (См. третье изображение)
-
-
-
Осторожно приподнимите освободившуюся материнскую плату.
-
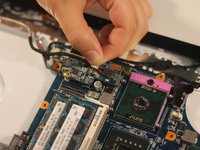
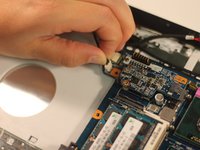
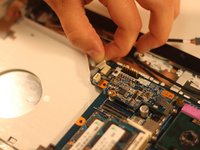
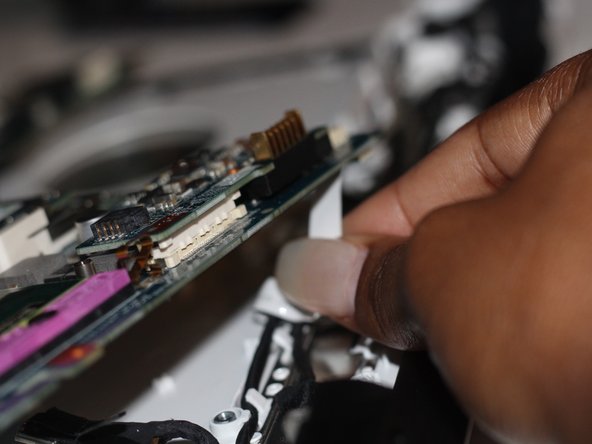
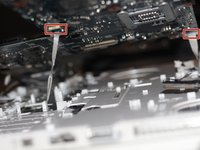
Отсоедините два шлейфа, соединяющие материнскую плату с клавиатурой. Для этого аккуратно потяните за кабели пальцами, пока они не отсоединятся.
-
-



















Для сборки устройства выполните эти действия в обратном порядке.
Отменить: Я не выполнил это руководство.
Еще один человек закончил это руководство.

Команда

University of Alabama, Team S3-G9, Bedsole Spring 2018 Участник University of Alabama, Team S3-G9, Bedsole Spring 2018
UA-BEDSOLE-S18S3G9
3 членов
Автор 72 руководств
1 Комментарий к руководству
What is the SO68 Battery for? Is it the BIOS battery?
