Перейти к основному содержанию
Присоединяйся к сообществу ремонтников - Создай аккаунт

Sony Vaio VPCCW17FX Trackpad Replacement

Выберете то, что вам нужно

  1. Sony Vaio VPCCW17FX Trackpad  Replacement, Back case: шаг 1, изображение 1 из 1
    • Turn the laptop over and orient it as shown.

    Спросите у FixBot
  2. Sony Vaio VPCCW17FX Trackpad  Replacement: шаг 2, изображение 1 из 3 Sony Vaio VPCCW17FX Trackpad  Replacement: шаг 2, изображение 2 из 3 Sony Vaio VPCCW17FX Trackpad  Replacement: шаг 2, изображение 3 из 3
    • Remove the battery by pinching the two lock tabs towards the center.

    • Next, lift up on the battery to remove it.

    Спросите у FixBot
  3. Sony Vaio VPCCW17FX Trackpad  Replacement: шаг 3, изображение 1 из 1
    • Using a Phillips #00 screwdriver, remove the twenty-two 5.6 mm screws from the back of the laptop.

    • Be sure to remove all screws, including those that are typically covered by the battery.

    Спросите у FixBot
  4. Sony Vaio VPCCW17FX Trackpad  Replacement: шаг 4, изображение 1 из 3 Sony Vaio VPCCW17FX Trackpad  Replacement: шаг 4, изображение 2 из 3 Sony Vaio VPCCW17FX Trackpad  Replacement: шаг 4, изображение 3 из 3
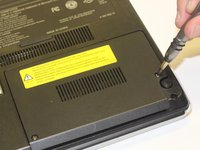
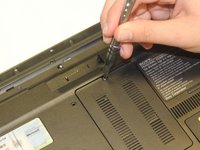
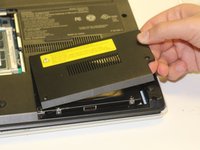
    • Now, remove the small covers from the back of the case.

    • Using a Phillips #00 screwdriver, unscrew the three 5.6 mm screws from the covers (one screw on the RAM cover [middle] and two screws on the Hard Drive cover [bottom right]).

    • Then, lift up on and remove these covers as shown in the third image.

    Спросите у FixBot
  5. Sony Vaio VPCCW17FX Trackpad  Replacement: шаг 5, изображение 1 из 3 Sony Vaio VPCCW17FX Trackpad  Replacement: шаг 5, изображение 2 из 3 Sony Vaio VPCCW17FX Trackpad  Replacement: шаг 5, изображение 3 из 3
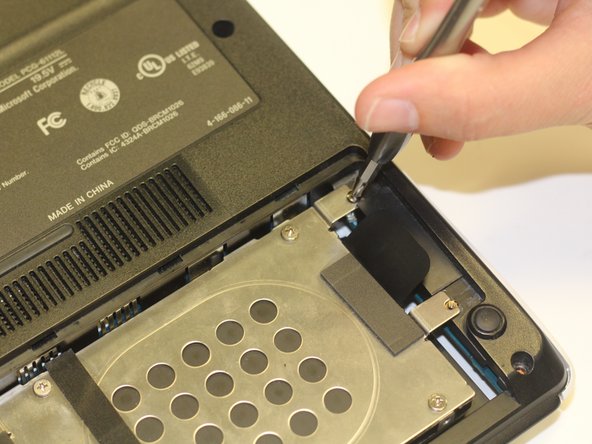
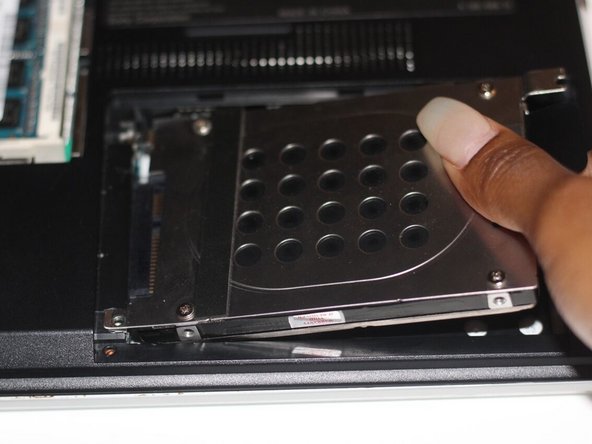
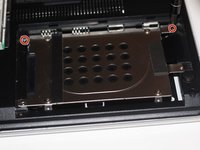
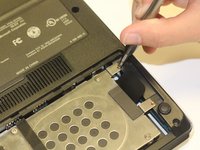
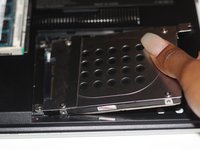
    • Remove the hard drive.

    • Using a Phillips #00 screwdriver, unscrew the two remaining 4.9 mm screws holding the hard drive into place.

    • Next, lift up and pull outwards to release the hard drive from its socket.

    Спросите у FixBot
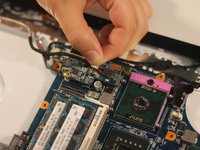
  6. Sony Vaio VPCCW17FX Trackpad  Replacement: шаг 6, изображение 1 из 1
    • Using your fingers, grasp the black tab and lightly pull up on the ribbon cable to detach it from the motherboard.

    Спросите у FixBot
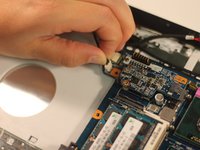
  7. Sony Vaio VPCCW17FX Trackpad  Replacement: шаг 7, изображение 1 из 1
    • After proper removal of all necessary screws, gently lift up on the back case to remove it.

    Спросите у FixBot
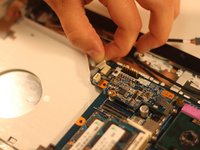
  8. Sony Vaio VPCCW17FX Trackpad  Replacement, Motherboard: шаг 8, изображение 1 из 1
    • With your hand, grasp the side of the DVD/CD drive and gently pull it out of the socket, disconnecting it from the motherboard.

    Спросите у FixBot
  9. Sony Vaio VPCCW17FX Trackpad  Replacement: шаг 9, изображение 1 из 3 Sony Vaio VPCCW17FX Trackpad  Replacement: шаг 9, изображение 2 из 3 Sony Vaio VPCCW17FX Trackpad  Replacement: шаг 9, изображение 3 из 3
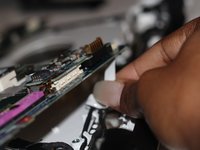
    • Using your fingers, grasp the three ribbon cable attachments (pictured) and gently pull on them to disconnect them from the motherboard.

    Спросите у FixBot
  10. Sony Vaio VPCCW17FX Trackpad  Replacement: шаг 10, изображение 1 из 2 Sony Vaio VPCCW17FX Trackpad  Replacement: шаг 10, изображение 2 из 2
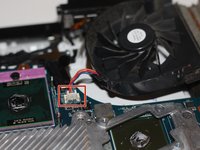
    • Repeat the previous step for the two remaining ribbon cables (one is located by the fan, while the other is located by the CD/DVD drive).

    • For the ribbon cable located near the fan, use your fingers to grasp the black tab and gently, yet firmly, pull up on the cable to detach it from the motherboard.

    Спросите у FixBot
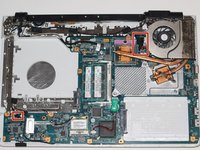
  11. Sony Vaio VPCCW17FX Trackpad  Replacement: шаг 11, изображение 1 из 2 Sony Vaio VPCCW17FX Trackpad  Replacement: шаг 11, изображение 2 из 2
    • Using the Phillips #00 screwdriver, remove the three 4.9 mm screws depicted here.

    • Next, using your fingers, lift up on this metal piece and remove it from the motherboard.

    Спросите у FixBot
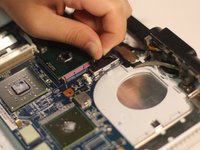
  12. Sony Vaio VPCCW17FX Trackpad  Replacement: шаг 12, изображение 1 из 3 Sony Vaio VPCCW17FX Trackpad  Replacement: шаг 12, изображение 2 из 3 Sony Vaio VPCCW17FX Trackpad  Replacement: шаг 12, изображение 3 из 3
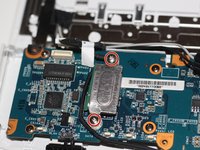
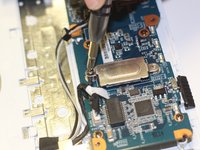
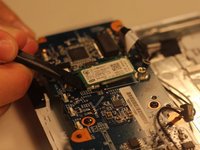
    • Using the Phillips #00 screwdriver, unscrew the two 4.9 mm screws depicted here.

    • Next, remove the metal cover to expose the bluetooth card.

    • Gently fit the flat end of a spudger under the edge of the bluetooth card. Then, lightly pry up on this edge to release the card from the motherboard. (Refer to the third image)

    Спросите у FixBot
  13. Sony Vaio VPCCW17FX Trackpad  Replacement: шаг 13, изображение 1 из 2 Sony Vaio VPCCW17FX Trackpad  Replacement: шаг 13, изображение 2 из 2
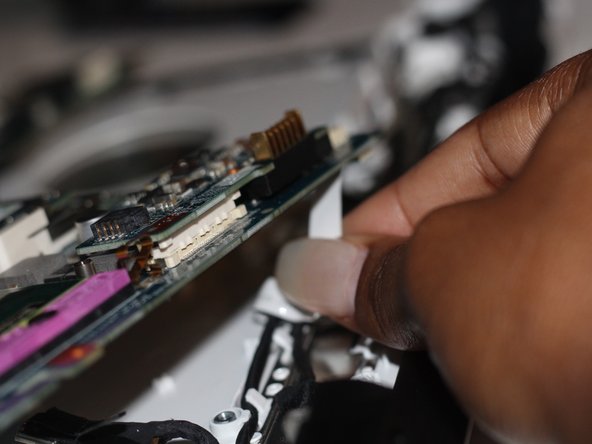
    • Gently lift up on the now free motherboard.

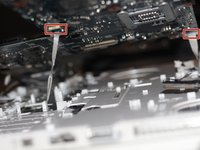
    • Detach the two ribbon cables that connect the motherboard to the keyboard. To do this, use your fingers to gently pull on the cables until they disconnect.

    Спросите у FixBot
  14. Sony Vaio VPCCW17FX Trackpad  Replacement, Fan: шаг 14, изображение 1 из 3 Sony Vaio VPCCW17FX Trackpad  Replacement, Fan: шаг 14, изображение 2 из 3 Sony Vaio VPCCW17FX Trackpad  Replacement, Fan: шаг 14, изображение 3 из 3
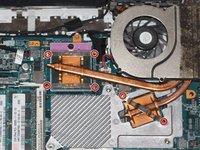
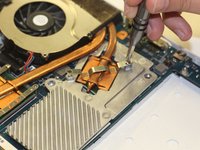
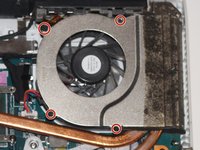
    • Locate the fan (top-right corner of the computer).

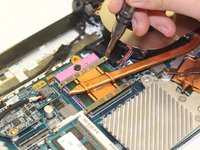
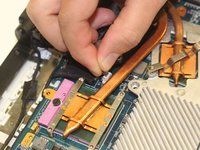
    • Using a Phillips #00 screwdriver, unscrew the six 2.7 mm screws that secure the fan to the motherboard.

    Спросите у FixBot
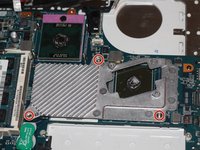
  15. Sony Vaio VPCCW17FX Trackpad  Replacement: шаг 15, изображение 1 из 2 Sony Vaio VPCCW17FX Trackpad  Replacement: шаг 15, изображение 2 из 2
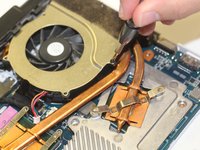
    • This step can be skipped if you are just removing the fan to access another part of the device (such as the motherboard).

    • Using a Japanese Industrial Standard #00 screwdriver, unscrew four 3.7 mm screws located on the casing of the fan.

    Спросите у FixBot
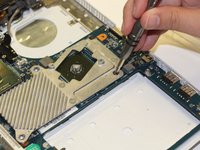
  16. Sony Vaio VPCCW17FX Trackpad  Replacement: шаг 16, изображение 1 из 2 Sony Vaio VPCCW17FX Trackpad  Replacement: шаг 16, изображение 2 из 2
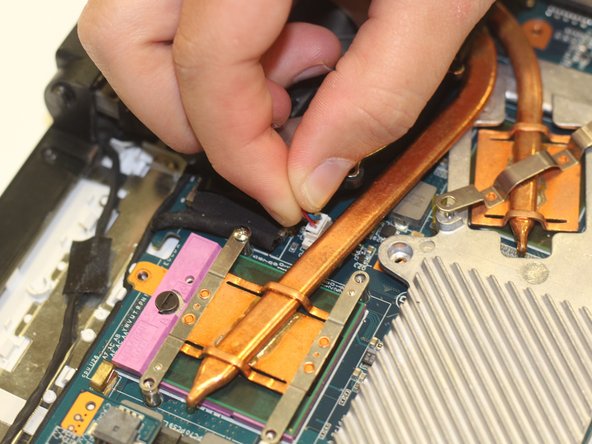
    • Using your fingers, grasp the white tab and firmly, yet gently, pull up on the wire to disconnect it from the motherboard.

    Спросите у FixBot
  17. Sony Vaio VPCCW17FX Trackpad  Replacement, Trackpad: шаг 17, изображение 1 из 1
    • Once you have removed the motherboard, you can locate the trackpad, which is centered at the bottom of the back of the computer.

    • From the back, the trackpad can be identified by the single ribbon cable (pictured here).

    Спросите у FixBot
  18. Sony Vaio VPCCW17FX Trackpad  Replacement: шаг 18, изображение 1 из 2 Sony Vaio VPCCW17FX Trackpad  Replacement: шаг 18, изображение 2 из 2
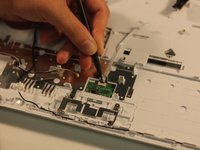
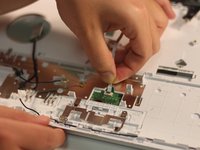
    • Using the pointed end of a spudger, lift up on the black latch that is holding the ribbon cable in place.

    • Use your fingers to grasp the ribbon cable. Lightly pull on the cable until it releases.

    Спросите у FixBot
Заключение

To reassemble your device, follow these instructions in reverse order.

Makaila Howard

Участник с: 01/29/18

445 Репутация

Автор 4 руководств

Команда

University of Alabama, Team S3-G9, Bedsole Spring 2018 Участник University of Alabama, Team S3-G9, Bedsole Spring 2018

UA-BEDSOLE-S18S3G9

3 членов

Автор 12 руководств

0 Комментарии к руководству

Добавить комментарий

Статистика просмотров:

За последние 24 часов: 2

За последние 7 дней: 6

За последние 30 дней: 44

За всё время: 996