Введение
Cracked the screen or the front cover of your Sparq? Have no fear - we'll teach you how to take apart the whole phone to replace the cracked cover.
This style of slide phone can be a little complex to disassemble but you can do it. To prepare, make sure you have a magnetic mat to hold all of the small 2mm screws and plenty of space to organize your parts.
Выберете то, что вам нужно
-
-
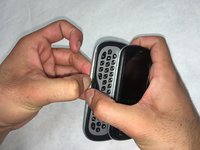
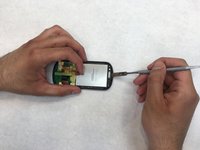
If you're looking at your phone from the front, feel the upper left hand rounded corner. You'll notice a thin opening between the front of the phone and the back cover.
-
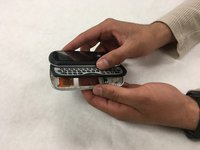
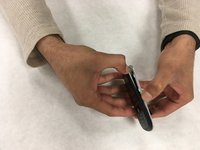
Flip the phone over (as in the picture) and use a spudger or your finger to gently separate the back cover from the phone.
-
-
-
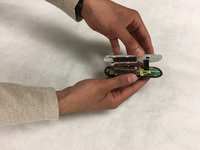
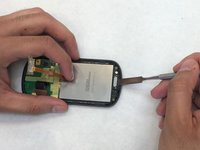
Once the back cover has been removed you can see a small groove above the center of the battery. The arrow on the battery is pointing to it.
-
Insert the tip of your finger into the groove and gently lift the battery from the case.
-
-
-
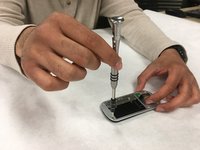
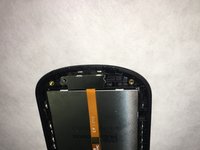
There are eight 2mm screws that must be removed from the back of the device using a Phillips #000 screwdriver. As you remove them it is wise to organize them into a small container or place them on a magnetic project mat for safe keeping.
-
-
-
Once the screws have been removed from the back of the device turn it back over.
-
The keypad that is seated within the bottom phone case can now be removed. If you have trouble getting the keypad out you may use a spudger to gently pry it.
-
-
-
-
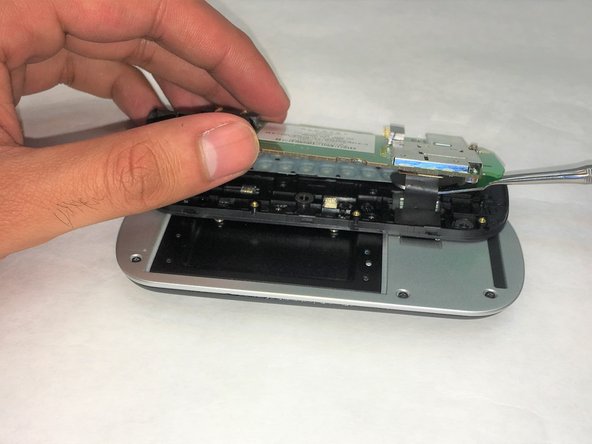
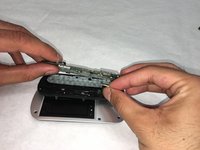
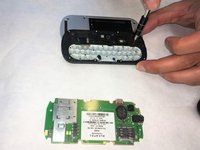
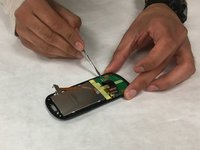
Once the back case has been removed, gently lift the motherboard away from the phone keypad - do not yank. There is an electronic ribbon connecting the board to the other side of the phone.
-
Once you've identified the ribbon, gently pull the ribbon at the end connected to the motherboard until it comes off. It's sort of like an electronic lego - it will snap off of the board without much applied pressure.
-
-
-
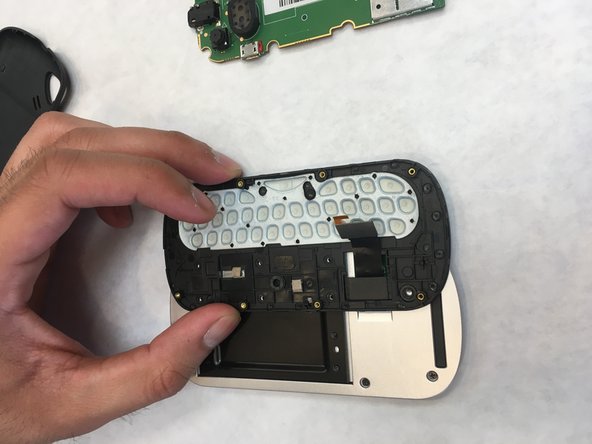
There are six 2mm screws that connect the keypad piece to the other side of the phone. Using a Phillips #000 screwdriver, remove those screws and separate the two sides of the phone.
-
-
-
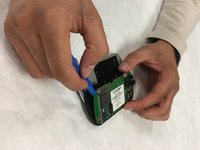
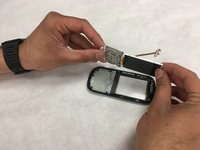
Remove the 5 screws from the back plate on the front piece of the phone.
-
Once those screws have been removed you should be able to separate the silver plastic piece from the front cover. If it sticks you may need to use a spudger or similar tool to help you get started.
-
-
-
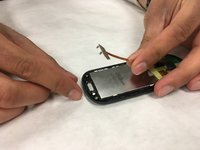
You will see an orange electronic ribbon cable running from the green board at the bottom of the phone, over the back of the screen and finally attached to a metal cover that hides the ear speaker.
-
To remove the metal cover from the speaker, first take a close look at how it is connected to the phone. There are two metal prongs that hold the cover in place.
-
Use the thin end of a tool, like a spudger, to gently depress the prongs and simultaneously lift the cover off of the speaker.
-
-
-
Voila! You now have access to the speaker. The face of the speaker is lightly adhered to the plastic case. Use the spudger to gently lift it from the plastic casing.
-
-
-
The full screen/motherboard assembly simply comes out of the front case. If you have some difficulty removing it, you may use a thin tool (like a spudger) to help you lift it.
-


To reassemble your device, follow these instructions in reverse order.
Отменить: Я не выполнил это руководство.
2 человек успешно провели ремонт по этому руководству.

Команда

IUPUI, Team S3-G3, Wilson Spring 2018 Участник IUPUI, Team S3-G3, Wilson Spring 2018
IUPUI-WILSON-S18S3G3
3 членов
Автор 4 руководств
1 Комментарий к руководству
Is there a screen replacement step by step for this phone? please and thank you