Перейти к основному содержанию
Присоединяйся к сообществу ремонтников - Создай аккаунт

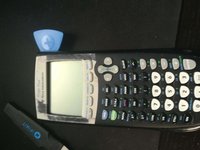
TI-84 Plus Disassembly

Выберете то, что вам нужно

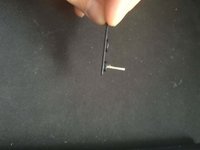
    1. TI-84 Plus Disassembly, flip: шаг 1, изображение 1 из 2 TI-84 Plus Disassembly, flip: шаг 1, изображение 2 из 2
      • Be sure the calculator is powered off before proceeding.

      • Take off the sliding cover, and flip your calculator to the back side.

      Спросите у FixBot

      Добавить комментарий

    2. TI-84 Plus Disassembly, battery plate.: шаг 2, изображение 1 из 2 TI-84 Plus Disassembly, battery plate.: шаг 2, изображение 2 из 2
      • Press down on the latch, then remove the battery cover.

      Спросите у FixBot

      Добавить комментарий

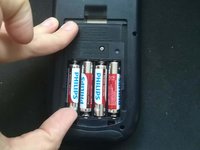
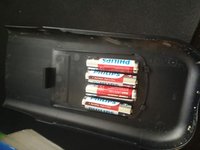
    3. TI-84 Plus Disassembly, take out the batteries: шаг 3, изображение 1 из 2 TI-84 Plus Disassembly, take out the batteries: шаг 3, изображение 2 из 2
      • Remove the batteries.

      • You can use the battery cover as a plate to keep the batteries.

      Спросите у FixBot

      Добавить комментарий

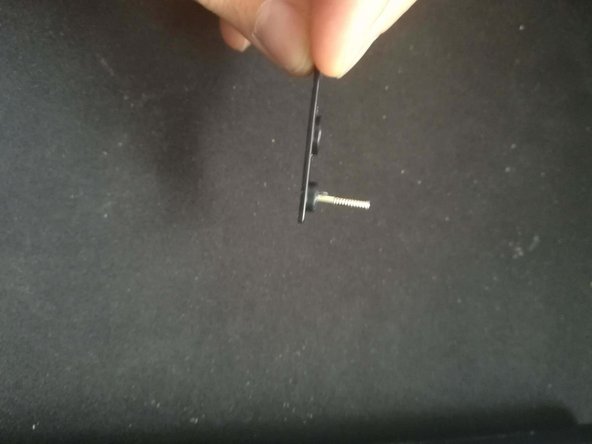
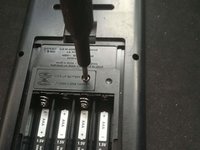
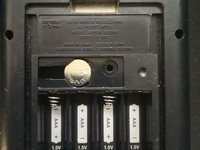
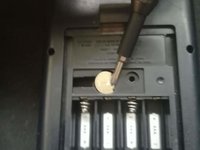
    4. TI-84 Plus Disassembly, back up battery: шаг 4, изображение 1 из 3 TI-84 Plus Disassembly, back up battery: шаг 4, изображение 2 из 3 TI-84 Plus Disassembly, back up battery: шаг 4, изображение 3 из 3
      • Removing this battery will clear your RAM, so be sure that you have made any backups of important data.

      • Use a Phillips #0 to remove the plate from the back up battery.

      Спросите у FixBot

      Добавить комментарий

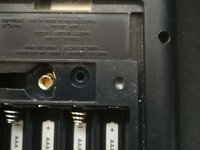
    5. TI-84 Plus Disassembly, backup battery: шаг 5, изображение 1 из 2 TI-84 Plus Disassembly, backup battery: шаг 5, изображение 2 из 2
      • Remove the backup battery with either a screwdriver or the spudger.

      Спросите у FixBot

      Добавить комментарий

    6. TI-84 Plus Disassembly, Remove the back cover: шаг 6, изображение 1 из 1
      • Use a T6 Torx screwdriver to remove the six screws securing the back cover.

      Спросите у FixBot

      Добавить комментарий

    7. TI-84 Plus Disassembly, cracking the case: шаг 7, изображение 1 из 3 TI-84 Plus Disassembly, cracking the case: шаг 7, изображение 2 из 3 TI-84 Plus Disassembly, cracking the case: шаг 7, изображение 3 из 3
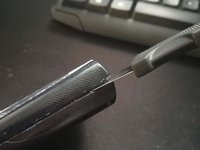
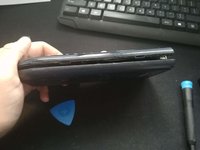
      • Use a prying tool to get a pick into the side and then move it down until it's open.

      Спросите у FixBot

      Добавить комментарий

Заключение

To reassemble your device, follow these instructions in reverse order.

Отменить: Я не выполнил это руководство.

12 человек успешно провели ремонт по этому руководству.

martijn muntenaar

Участник с: 12/20/18

777 Репутация

1 руководство автора

1 Комментарий к руководству

Nice! My calculator wasn't turning on, took it apart and rebent the contacts for the batteries, works great now!

Noah Molla - Ответить Поделиться

Добавить комментарий

Статистика просмотров:

За последние 24 часов: 3

За последние 7 дней: 30

За последние 30 дней: 110

За всё время: 13,788