Выберете то, что вам нужно
-
-
Remove the display bezel. It is held on by 2-sided tape. Removal is easier if you apply gentle heat to soften the tape.
-
The bezel is taped in on all sides. Start from the sides and work your way around. Take care not to deform or bend the bezel.
 Спросите у FixBot
-
-
-
The panel is held in with three strips of 10mm wide ~0,5-0,8mm thick strechy adhesive tape between the back of the panel and the magnesium case. Removal is difficult. Heating the case from the back can help. If the panel is already broken it is ok to force it out with a pry tool.
-
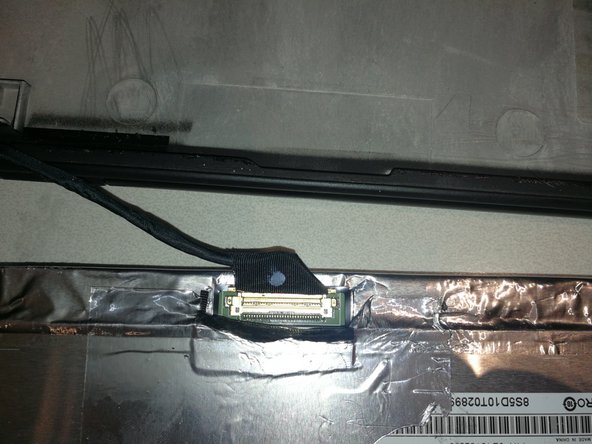
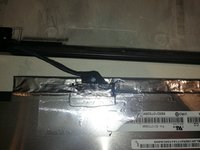
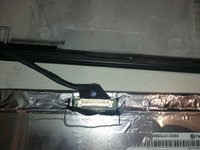
Pay attention not to damage the display cable located in the lower left corner of the panel.
-
-
-
-
Peel off the metal tape and pull the cable out towards the lower side of the panel. Do not lift upwards on the cable.
-
-
-
Remove the old tape from the back of the display mount.
-
Add 3 strips of new double-sided 10mm tape where the tape was removed.
-
Carefully press display into newly-taped display mount
-
-
-
Remove old tape from bezel
-
Install 2mm tape on left, right and top of bezel. Install 2 rows of tape on bottom of bezel.
-
Re-attach bezel to screen.
-


To reassemble your device, follow these instructions in reverse order.
Отменить: Я не выполнил это руководство.
4 человек успешно провели ремонт по этому руководству.