Введение
The battery is underneath the motherboard so power off the device before starting the disassembly.
Выберете то, что вам нужно
-
-
-
Unscrew the two 3mm screws at the base of the device using the Torx T5 screwdriver.
 Спросите у FixBot
-
-
-
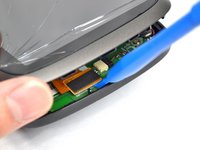
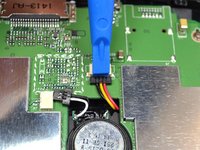
Using the plastic opening tools, insert one opening tool into the gap between the screen casing and the motherboard casing. Then insert the other tool into one of the adjacent sides and slide it around the top.
-
-
-
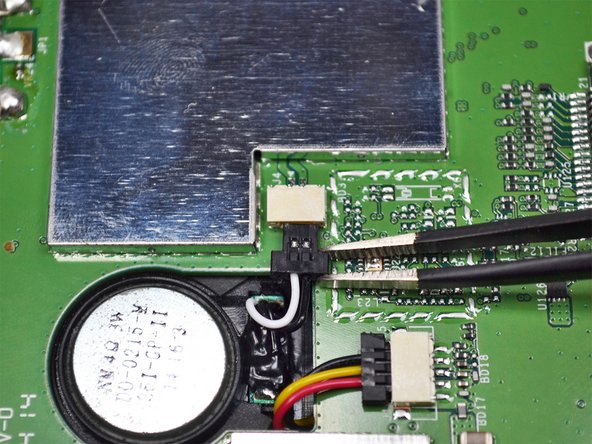
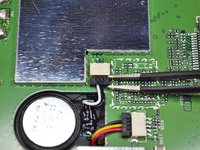
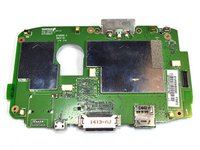
With the screen casing unlatched, locate the right side where the two connectors are.
-
-
-
-
-
-
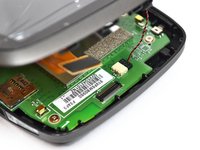
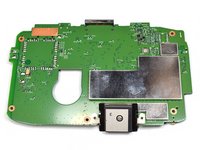
Unscrew the five 4mm screws using the Phillips #0 screwdriver.
-
-
Инструмент, используемый на этом этапе:Tweezers$4.99
-
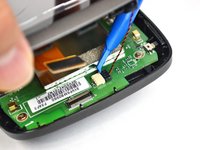
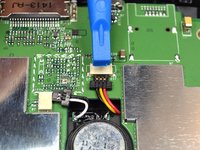
Unplug the connector shown near the center of the motherboard using the tweezers.
-
-
-
-
-
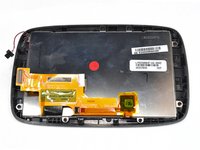
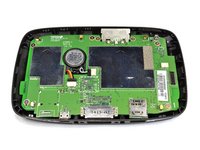
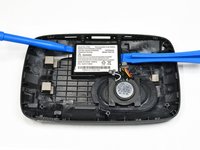
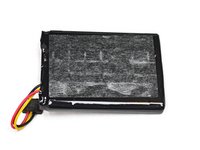
After opening the device and removing the motherboard, you will see the battery attached to the frame.
-
-
-
Use the plastic opening tools on both sides of the battery to carefully pry it off of the frame.
-
-


To reassemble your device, follow these instructions in reverse order.
Отменить: Я не выполнил это руководство.
22 человек успешно провели ремонт по этому руководству.
Команда

UC Davis, Team 2-5, Oliver Fall 2016 Участник UC Davis, Team 2-5, Oliver Fall 2016
UCD-OLIVER-F16S2G5
5 членов
Автор 14 руководств
7 Комментарии к руководству
Very effective guide, easy to follow and good images too, thank you Mike
Most difficult part was opening the case, seemed to work best with the opening tool ends pointed down (screen up), levered the latches best.
Reassembling, the larger of the two connections that attach the screen to the motherboard case was fiddly to line up, it requires a bit of care and patience.
Thanks for these instructions.
Danke, Oriana Hone (und 3 anderen Mitwirkenden), gute Anleitung.
Und ja, wie vorgewarnt, 4 der Plastik-Verriegelungen brachen leicht während des Öffnungsvorgangs. Jetzt muss ich wohl ein neues Bildschirmgehäuse finden... Oder genügen die verbleibenden 10?
Thanks, Oriana Hone (and 3 other contributors), good guide. Used it for GO 5000.
And yes, as forewarned, 4 of the plastic latches broke easily during the opening process. Now I guess I'll have to find a new screen casing... Or will the remaining suffice?
tip top - alles bestens erklärt. Geduld haben, vorsichtig sein,
Ich hatte den neuen Akku zusammen mit einem Set Spezialwerkzeug online bestellt; damit ging es wirklich super.