Перейти к основному содержанию

TomTom One XL Screen Replacement

Выберете то, что вам нужно

  1. TomTom One XL Screen Replacement, Back Panel: шаг 1, изображение 1 из 2 TomTom One XL Screen Replacement, Back Panel: шаг 1, изображение 2 из 2
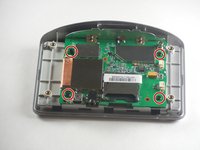
    • Remove the 4 .4mm screws on the back of the device.

  2. TomTom One XL Screen Replacement: шаг 2, изображение 1 из 1
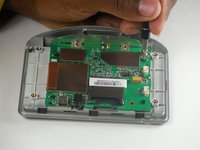
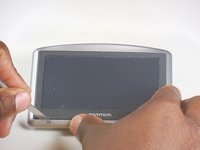
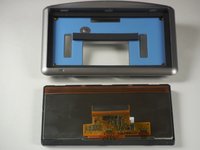
    • Using the palate knife tool, pry the back from the LCD screen. Apply a moderate pressure to separate them.

    • You can rotate TOMTOM XL to make prying back off easier.

    • Be careful not to injure the two wires connecting the pieces.

  3. TomTom One XL Screen Replacement: шаг 3, изображение 1 из 1
    • After prying both halves apart, they will be connected by two wires.

    • Carefully set the two halves next to each other making sure not to stress or damage the wires.

  4. TomTom One XL Screen Replacement: шаг 4, изображение 1 из 2 TomTom One XL Screen Replacement: шаг 4, изображение 2 из 2
    Инструмент, используемый на этом этапе:
    Tweezers
    $4.99
    Купить
    • Using the tweezers separate the wires connecting the battery and speaker to the mother board.

    • Be gentle while pulling the wires out, the plugs are easily injured.

  5. TomTom One XL Screen Replacement, Screen: шаг 5, изображение 1 из 2 TomTom One XL Screen Replacement, Screen: шаг 5, изображение 2 из 2
    • Locate the 4 .4mm screws connecting the circuit board to the front panel.

    • Use the T6 Torx screwdriver and remove the four screws.

  6. TomTom One XL Screen Replacement: шаг 6, изображение 1 из 3 TomTom One XL Screen Replacement: шаг 6, изображение 2 из 3 TomTom One XL Screen Replacement: шаг 6, изображение 3 из 3
    Инструмент, используемый на этом этапе:
    Tweezers
    $4.99
    Купить
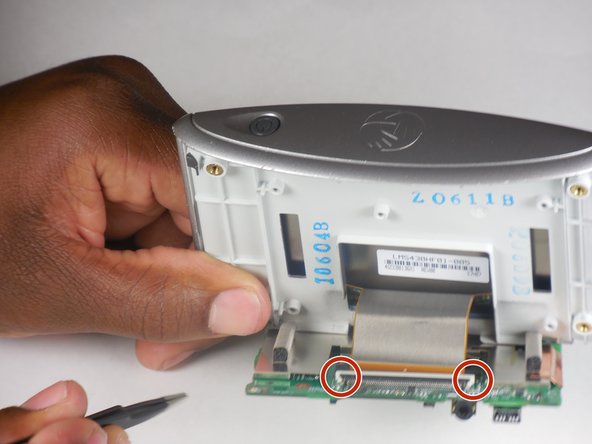
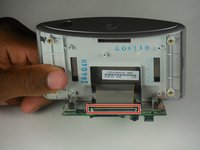
    • Locate the ribbon cable connecting the front panel to the circuit board.

    • Locate the white tab locking the ribbon in place.

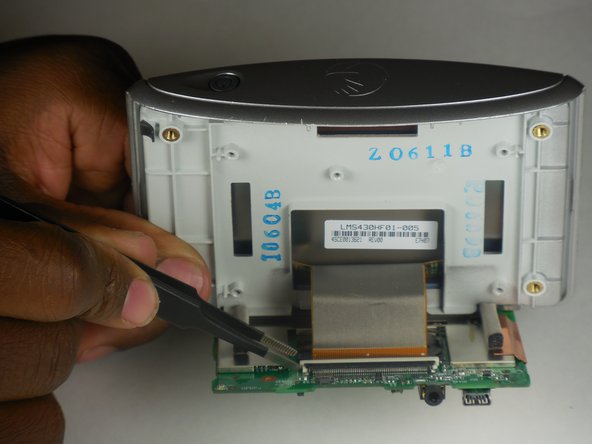
    • Using precision tweezers push the left and right side of the tab forward.

    • Gently pull the ribbon to disconnect the circuit board from the front panel.

    • If gently pulling on the ribbon doesn't release it then the tab hasn't been pushed far enough forward.

  7. TomTom One XL Screen Replacement: шаг 7, изображение 1 из 3 TomTom One XL Screen Replacement: шаг 7, изображение 2 из 3 TomTom One XL Screen Replacement: шаг 7, изображение 3 из 3
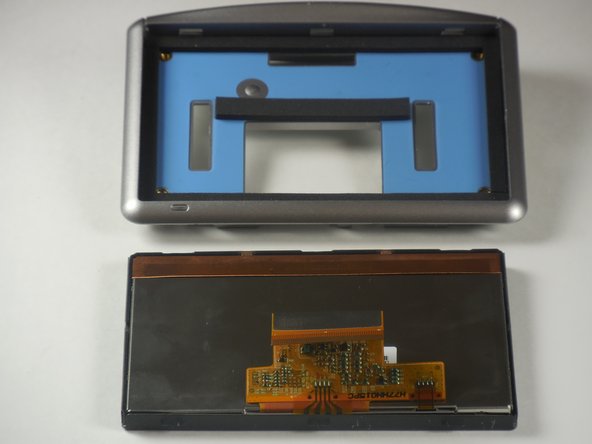
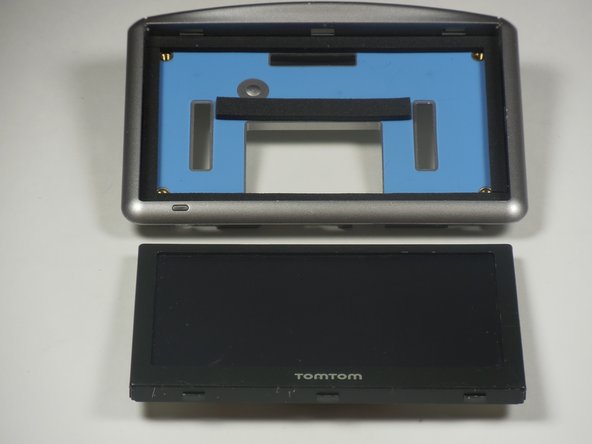
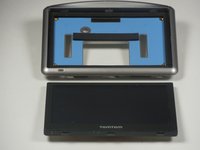
    • Use the palate knife to pry the screen away from the front panel.

    • Pry between the light gray board and the black boarder of the TOMTOM XL screen.

    • Use moderate pressure when prying, slide the palate knife back and forth, and eventually the screen should pop out.

Заключение

To reassemble your device, follow these instructions in reverse order.

DeVhan

Участник с: 03/11/15

401 Репутация

Автор 4 руководств

Команда

Colorado Springs, Team 9-6, Panko Spring 2015 Участник Colorado Springs, Team 9-6, Panko Spring 2015

UCCS-PANKO-S15S9G6

3 членов

Автор 5 руководств

0 Комментариев

Добавить комментарий

Просмотр статистики:

За последние 24часов: 0

За последние 7 дней: 0

За последние 30 дней: 6

За всё время: 908