Перейти к основному содержанию
Присоединяйся к сообществу ремонтников - Создай аккаунт

TomTom VIA 1530 TM Back Replacement

Выберете то, что вам нужно

    1. TomTom VIA 1530 TM Back Replacement, Back: шаг 1, изображение 1 из 2 TomTom VIA 1530 TM Back Replacement, Back: шаг 1, изображение 2 из 2
      • Position the device so that the underside is facing up.

      • Tilt the EasyPort Mount slightly upward and rotate it counterclockwise 180 degrees from the initial position.

      • Firmly grab the EasyPort Mount and remove it.

      • If it does not dislodge easily, gently twist the EasyPort Mount, applying increasing pressure until it does.

      Спросите у FixBot

      Добавить комментарий

    2. TomTom VIA 1530 TM Back Replacement: шаг 2, изображение 1 из 2 TomTom VIA 1530 TM Back Replacement: шаг 2, изображение 2 из 2
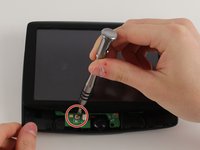
      • Turn the device 180 degrees so the screw in the EasyPort Mount compartment is on top.

      • Remove the 2mm screw beneath the EasyPort Mount compartment with the Torx T-5 head Screwdriver.

      Спросите у FixBot

      Добавить комментарий

    3. TomTom VIA 1530 TM Back Replacement: шаг 3, изображение 1 из 2 TomTom VIA 1530 TM Back Replacement: шаг 3, изображение 2 из 2
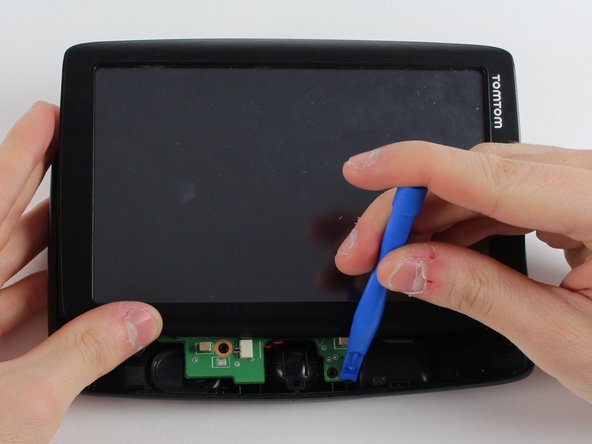
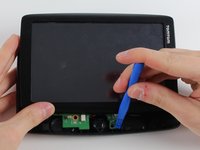
      • Flip the device over so that the screen is facing up.

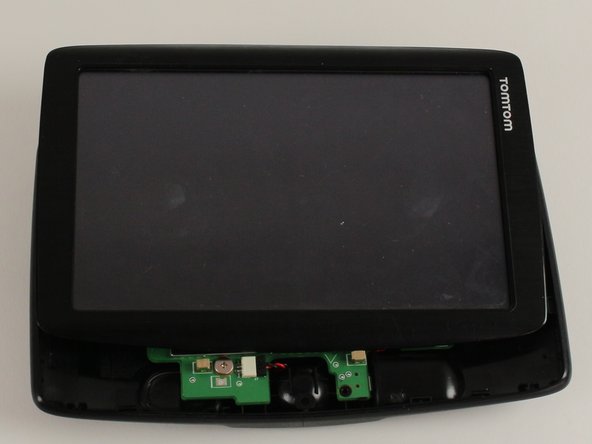
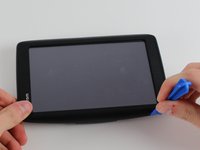
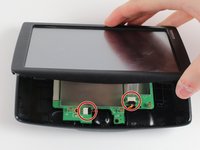
      • Wedge the plastic opening tool between the top and bottom of the device's frame, gently sliding it around the outside edge.

      • It may be easier to start at one of the corners.

      • The gold ribbon cable connecting the screen to the motherboard is fragile and tears easily.

      • This specific device's ribbon cable is torn.

      Спросите у FixBot

      Добавить комментарий

    4. TomTom VIA 1530 TM Back Replacement: шаг 4, изображение 1 из 2 TomTom VIA 1530 TM Back Replacement: шаг 4, изображение 2 из 2
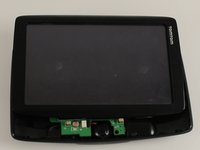
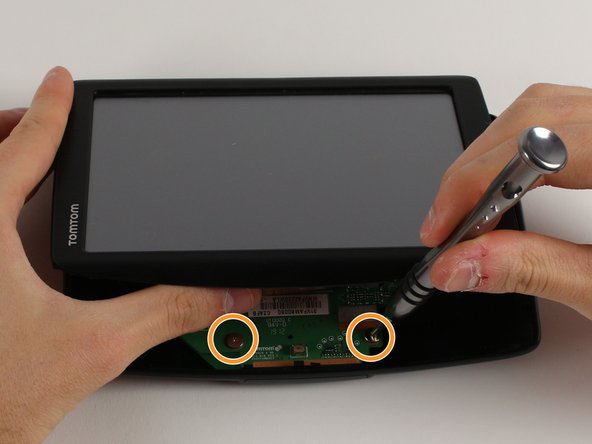
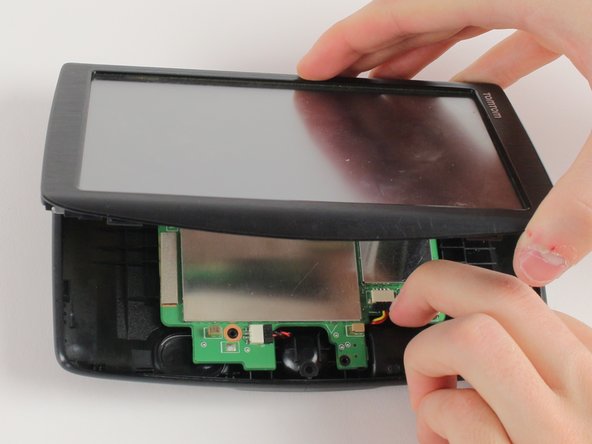
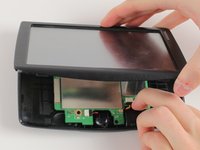
      • Carefully slide the screen forward, revealing the lower portion of the motherboard.

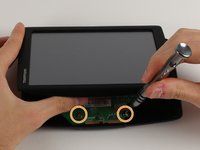
      • Remove the 3.6mm screw using the JIS #00 Screwdriver.

      • Rotate the device 180 degrees, carefully slide back the screen, and remove the remaining two screws.

      Спросите у FixBot

      Добавить комментарий

    5. TomTom VIA 1530 TM Back Replacement: шаг 5, изображение 1 из 3 TomTom VIA 1530 TM Back Replacement: шаг 5, изображение 2 из 3 TomTom VIA 1530 TM Back Replacement: шаг 5, изображение 3 из 3
      • Disconnect the battery and speaker cables.

      • Unlatch the motherboard from the case.

      Спросите у FixBot

      Добавить комментарий

Заключение

To reassemble your device, follow these instructions in reverse order.

Отменить: Я не выполнил это руководство.

Jennifer Zakaria

Участник с: 01/18/18

555 Репутация

Автор 6 руководств

Команда

Cal Poly, Team S12-G2, Banghart Winter 2018 Участник Cal Poly, Team S12-G2, Banghart Winter 2018

CPSU-BANGHART-W18S12G2

3 членов

Автор 12 руководств

0 Комментарии к руководству

Добавить комментарий

Статистика просмотров:

За последние 24 часов: 1

За последние 7 дней: 4

За последние 30 дней: 24

За всё время: 946