Введение
Here is my version of a jugaad approach to breath some new life in some older equipment. I received a few monitors through a federal auction. These are older monitors and it was deemed that any repair would be non-economical. Free, I take it:-) I checked two of the Dell monitors and noticed they did not have a backlight. I also checked the power supply and could not find any faults in the obvious parts, i.e. Caps, fuses and resistors. Until I have my MOSFET tester build, I deferred troubleshooting the power supply. I decided this would be a great project to install one of the "Universal Backlight Inverters" available at an online auction site for ~$4.00. The process will be the same for any brand of LCD display. The difference will be the way the monitors are assembled and the layout of the power supply. I tried to keep this guide as generic as possible. I am currently working on a PCB that will supply power, as well as brightness control. It will be build so that it can be used with any of the Universal inverters. But that is another guide.
Выберете то, что вам нужно
-
-
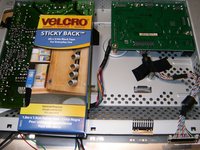
So, here is one of the Dell 1908FpB monitors. It did not come with a stand or any other accessory. The LCD looks odd, it just needed a heavy cleaning. That what those streaks are.
-
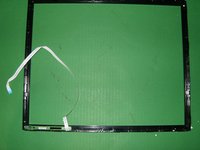
First thing to do is to remove the front bezel. It simply snaps in. Use your fingertips in between the bezel and the LCD to pop the bezel loose.
-
It does get a bit snug at the edges. Again, all that is needed is to pop the snaps with ones fingertips.
 Спросите у FixBot
-
-
-
This close-up shows the position of the fingertip to remove the bezel.
-
This is one of the snaps that the bezel hooks into the back cover to remain fixed.
-
The place to be careful at is around the button bar. There is a ribbon cable that attaches to those buttons. Simply continue to unsnap the bezel without removing it.
-
-
-
Here is the ribbon cable from the button bar. Just unsnap the front bezel, but do not remove it.
-
Once the front bezel is completely unsnapped, but not removed, turn the monitor over.
-
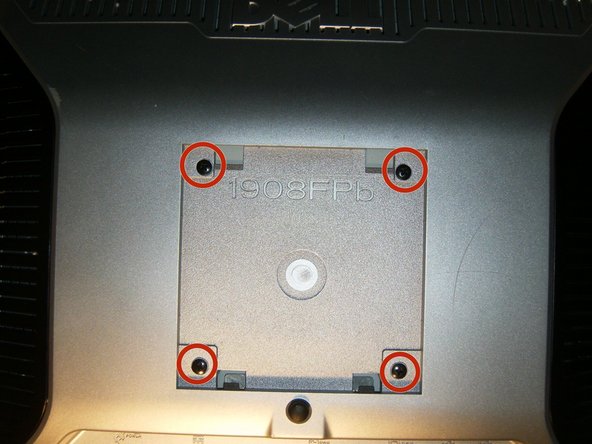
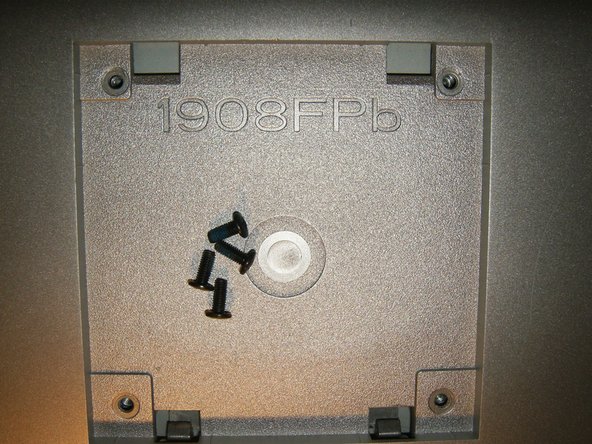
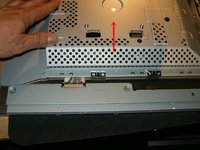
Remove the four Phillips screws from the VESA mount.
-
The four screws are M4x10mm
-
-
-
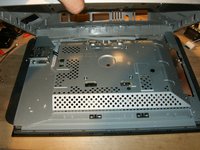
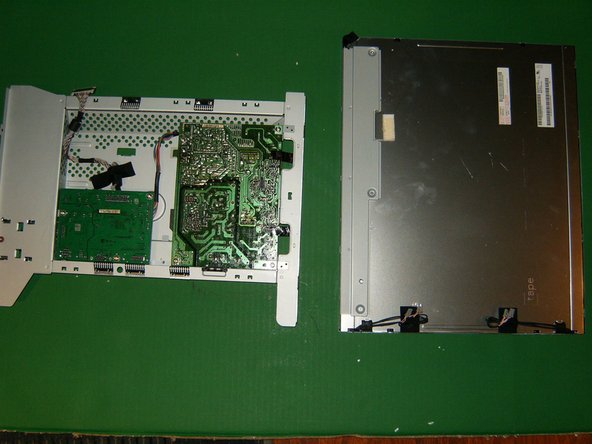
With the four screws removed and the front bezel snapped off, the back cover simply pulls off.
-
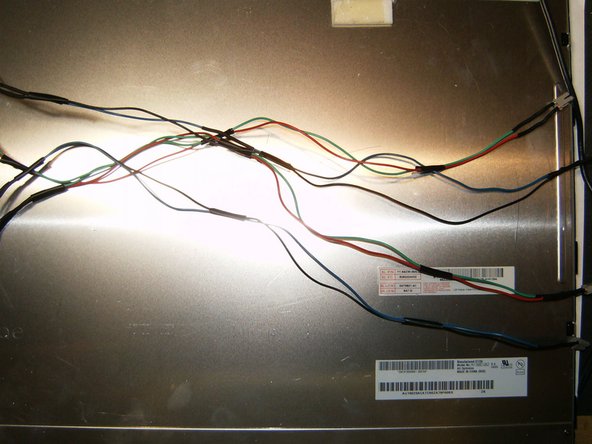
Here is the ribbon cable coming from the front button bar, the way it is routed and where it connects.
-
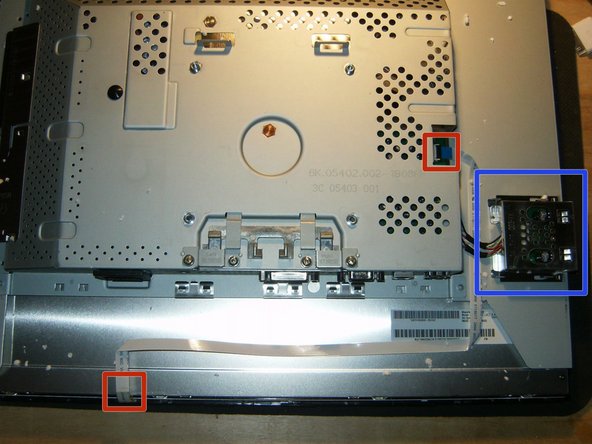
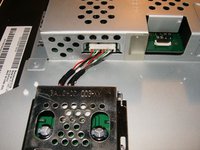
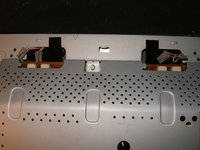
this monitor has an additional 2 USB ports
-
The ribbon cable connector needs to be flipped open to remove the cable. Flip the black tab from left to right to open it
-
-
-
With the ribbon cable disconnected, remove the front bezel.
-
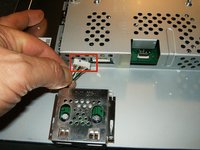
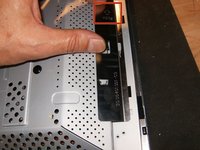
The additional USB ports use a push connector.
-
Remove it by pulling on the Molex connector, not the cables.
-
-
-
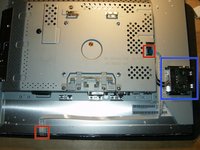
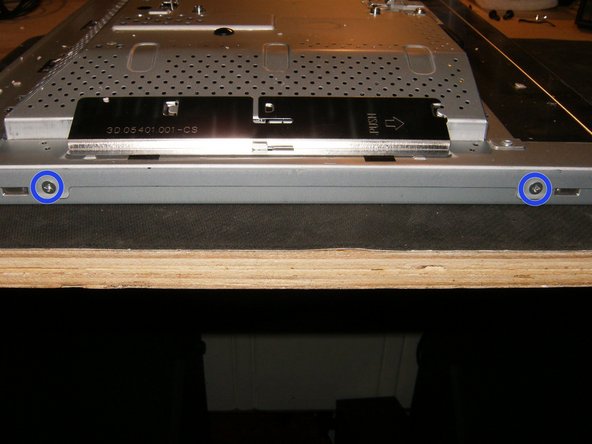
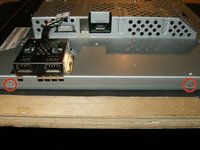
Remove the two Phillips screws on the right
-
then the two on the left.
-
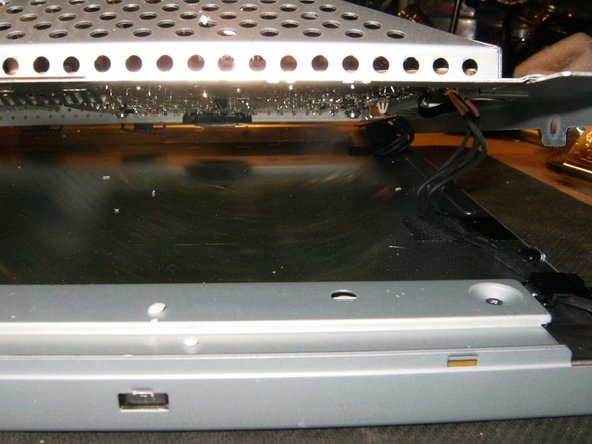
Do not remove the back panel yet, just gently lift it to reveal the LVDS cable
-
-
-
-
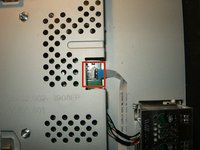
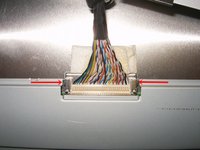
Here is the LVDS connector.
-
Slide the cover up the panel a bit to get good access to the connector
-
Remove the LVDS cable by squeezing the ends inward
-
-
-
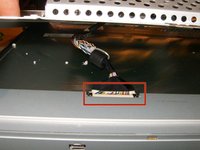
This monitor had a cover over the CCFL connectors. Remove it by simply sliding it in the direction of the arrow that is marked on it.
-
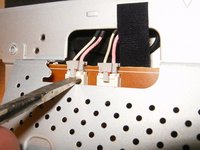
Here are the four connectors for the CCFL's.
-
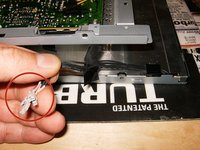
Remove the connectors by lifting the locking tab. This can be done with good fingernails or a small screwdriver, and then pull the connectors apart.
-
-
-
All CCFL connectors removed. The position on the CCFL connectors is irrelevant. They will only fit one way into the connection.
-
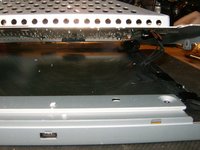
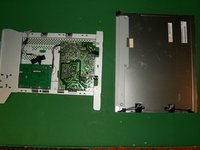
With the CCFL's disconnected separate the back case from the LCD
-
The panel has two connectors on the top right, and two connectors on the bottom right.
-
-
-
Destruction! Simply use a pair of scissors, or any other cutting instrument, and cut the connectors. Leave about 1/2 inch to 3/4 inch of the cable on the connector.
-
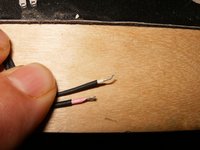
Remove the insulation from the cut ends.
-
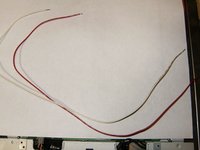
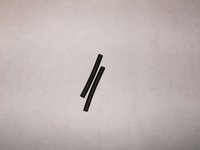
Use 2 28AWG wires. The length on these is about 12inches. Remove the insulation from all the ends.
-
-
-
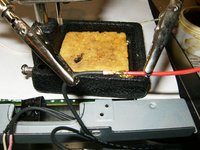
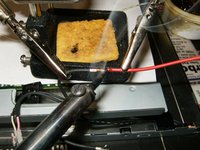
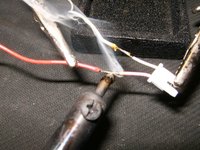
Time for some soldering. It could also be accomplished with some other wire connectors, but I prefer to solder.
-
Butt end the wires, use flux and solder the wires together.
-
I had a few pieces of shrink tubing left over from other projects, electric tape can also be used,
-
-
-
to slide over the wire connection, to provide insulation.
-
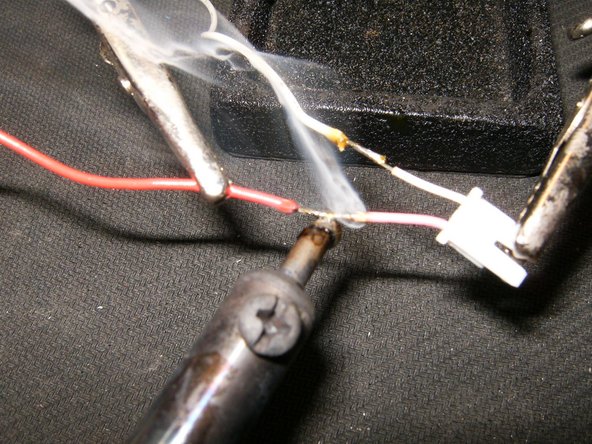
Continue to solder
-
until all four connectors are extended.
-
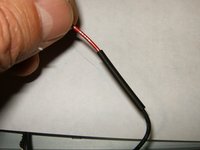
Do the same with the connectors. Make sure that you follow the proper wires to connect pink/pink and white/white
-
-
-
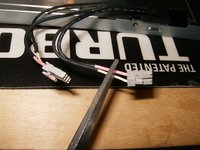
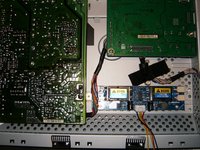
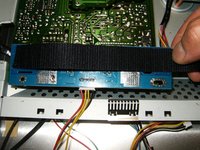
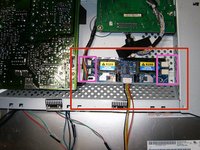
Find a place for the inverter. Plenty of it in this model
-
Mark the outline of the inverter with a marker in the case. This will give a guide for the hook and loop tape (Velcro).
-
Before getting ready to mount the inverter, take another look at the bottom of the inverter (on this model) for a wiring description.
-
-
-
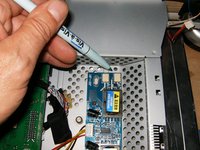
The inverter will be attached to the case with some Velcro. This is available at most department stores and this brand has the glue strip on the back.
-
Measure the length of the inverter and cut two strips.
-
Apply two strips of Velcro to the previously marked case.
-
-
-
Now apply two strips of Velcro to the back of the inverter.
-
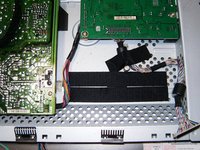
Place the inverter with the Velcro in the case. Once placed properly, insert the four backlight connector into the inverter.
-
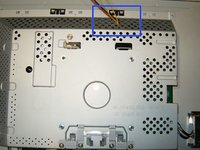
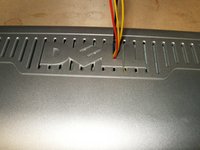
The monitor is now ready for reassembly. Fish the four wires from the inverter through an opening in the case.
-
-
-
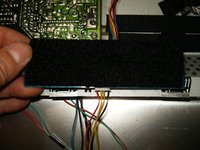
Once more, the four wires from the inverter need to be fished through am opening in the back
-
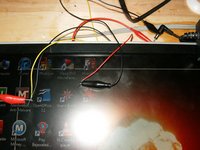
Okay, now it's test time. Combine the Yellow On/Off wire with the Black Vin Wire. That will be the positive connection, the Red wire is ground and will be the negative. This inverter is rated 12-24Volt, so an old laptop power brick will be perfect.
-
Data line connected to a computer and power to the inverter shows a great image. The only issue with this right now is that the power to the monitor and the backlight are separate. I did not find a suitable power source on the original power board. Also, the brightness can not be adjusted with this hook up.
-


To reassemble your device, follow these instructions in reverse order.
Отменить: Я не выполнил это руководство.
11 человек успешно провели ремонт по этому руководству.

12 Комментарии к руководству
what is the inverter board you used to build this? Are there any specifications that need to be met in order to make sure it will be compatible with the lcd I am attempting to backlight?
Hello Oldturkey03:
Fixing my little girl's4-CCFL monitor.
Bad inverter:
• 2 xformers,but
• 2 outplugs(FYI: Also have 3rd grd prong each, contacts chassis screw to each CCFL ground -- Can I skip?)
EBay U-inverters (All w/2-prong outplugs = no CCFL grd). Which to get?
• AVT2028-V2 1-xformer 2-outplug? (Can 1 xformer work for all 4 CCFLs?)
Vids I've seen: lights not power if 1 wire/plug unconnected.
• AVT4029 2-xformer 4-outplug? (If I use 2 plugs, will U-inverter work w/other plugs unconnected?)
So:
1) Do all monitor CCFLs use same volts? (Is it 700VAC?)
TRANSLATION: Will described U-inverter work on any monitor/screen with 4 CCFLs?
2) Any way to test CCFLs w/Multimeter? What setting?
Pls help.
Monitor Specs
Gateway FPD1810 18.1" Diag
Power brick: Out=12VDC,4A
Backlight: 4 CCFL (per svc man)
Inverter: Samsung LG1805 -- In=12VDC(per svc man),Out=?; No schematic found
• 1 In plug --8-prong (=7 grey, 1 blue)
• 2 Out plugs --4-prong each (=2 pink, 1 blank, 1 blk gnd)
texasjoe100
1) yes it should
2) Usually you use a HV probe for those. If you use a multimeter keep in mind that the inverter may produce upwards of 3000VAC to start the light then return to around a couple of hundred volts. considered replacing the inverter with something like this http://www.pchub.com/uph/laptop/628-4543...
@Oldturkey03, from TexasJoe100
Thanks for the LG1805 replacement idea. It's just that it has a history of failure, and is beyond the repair budget (can get a whole monitor for about the same price).
Which of the 2 below do you think may work as a fair replacement?
The monitor has 4-CCFLs that are connected in pairs, per the service manual.
The original inverter has:
• 2 transformers ("xformer"), but
• only 2 outplugs (FYI: they also have a 3rd ground prong each, that contacts the chassis screw to each CCFL ground -- Can I skip it?)
I found (15"-22" Screen) U-inverters on EBay for ~$4 free shipping. So which one to get?
Here are the options (All have 2-prong outplugs = no CCFL grounds):
• AVT2028-V2 1-xformer 2-outplug? (But can one transformer do the job for all four CCFLs?)
• AVT4029 2-xformer 4-outplug? (So if I use just 2 plugs, will this U-inverter work with the other plugs unconnected?
Else can I connect the U-inverter 4 outputs to 2, each pair in parallel?)
Thanks!
@Oldturkey03, from TexasJoe100
Hello, again:
Any ideas on my February 23 post? I'd appreciate any help.
Thanks!