Перейти к основному содержанию
Присоединяйся к сообществу ремонтников - Создай аккаунт

VTech Kidizoom Action Cam Buttons Replacement

Выберете то, что вам нужно

  1. VTech Kidizoom Action Cam Buttons Replacement, Display Assembly: шаг 1, изображение 1 из 1
    • Make sure that the master power switch is set to the (O) position.

    Спросите у FixBot
  2. VTech Kidizoom Action Cam Buttons Replacement: шаг 2, изображение 1 из 1
    • Using a plastic opening tool, gently pry off the circular plating over the camera lens.

    • The circular plating is held by a mild adhesive. It will not be necessary to replace this adhesive during the reassembly process.

    Спросите у FixBot
  3. VTech Kidizoom Action Cam Buttons Replacement: шаг 3, изображение 1 из 1
    Инструмент, используемый на этом этапе:
    Magnetic Project Mat
    $19.95
    • Use a #0 screwdriver to remove the two 2.5mm Phillips head screws located on the second layer of plating.

    • Remove the second layer of plating previously held down by the screws by gripping it with your fingers and pulling upward.

    • As there will be many screws being removed from the device, we recommend using a magnetic device such as the iFixit Magnetic Project Mat.

    Спросите у FixBot
  4. VTech Kidizoom Action Cam Buttons Replacement: шаг 4, изображение 1 из 1
    • Pry off the transparent plating and paper design using a plastic opening tool.

    Спросите у FixBot
  5. VTech Kidizoom Action Cam Buttons Replacement: шаг 5, изображение 1 из 1
    • Unscrew the (4) 2.5mm Phillips head screws from the third layer of plating using a #0 screwdriver.

    Спросите у FixBot
  6. VTech Kidizoom Action Cam Buttons Replacement: шаг 6, изображение 1 из 1
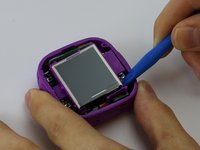
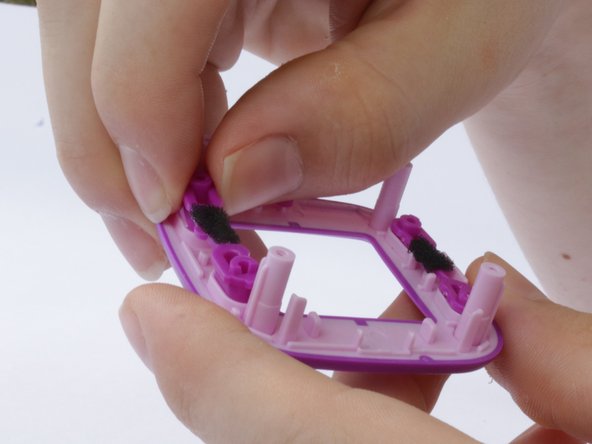
    • Turn the camera around and gently remove the plating that surrounds the LCD screen by grasping it with your fingers and pulling away from the device.

    Спросите у FixBot
  7. VTech Kidizoom Action Cam Buttons Replacement: шаг 7, изображение 1 из 3 VTech Kidizoom Action Cam Buttons Replacement: шаг 7, изображение 2 из 3 VTech Kidizoom Action Cam Buttons Replacement: шаг 7, изображение 3 из 3
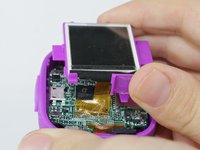
    • Use the plastic opening tool to lift the LCD screen, including the purple casing and set it aside, revealing the motherboard and connector ribbon.

    • Exercise caution while performing this step, as any excessive pulling may tear the connector ribbon from the motherboard.

    Спросите у FixBot
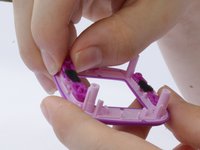
  8. VTech Kidizoom Action Cam Buttons Replacement, Buttons: шаг 8, изображение 1 из 2 VTech Kidizoom Action Cam Buttons Replacement, Buttons: шаг 8, изображение 2 из 2
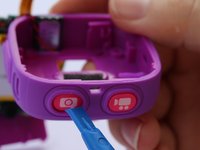
    • Push out the buttons that you wish to take out, and replace them with the new buttons.

    • Cleaning the buttons may fix the issue of sticky buttons, and a replacement may not be necessary.

    Спросите у FixBot
Заключение

To reassemble your device, follow these instructions in reverse order.

3 человек успешно провели ремонт по этому руководству.

Ross Anderson

Участник с: 02/10/16

630 Репутация

Автор 2 руководств

Команда

USF Tampa, Team 3-5, Sullivan Spring 2016 Участник USF Tampa, Team 3-5, Sullivan Spring 2016

USFT-SULLIVAN-S16S3G5

3 членов

Автор 6 руководств

0 Комментарии к руководству

Добавить комментарий

Статистика просмотров:

За последние 24 часов: 0

За последние 7 дней: 7

За последние 30 дней: 53

За всё время: 2,962