Перейти к основному содержанию
Присоединяйся к сообществу ремонтников - Создай аккаунт

VTech Safe and Sound DM111-2 Baby Unit Motherboard replacement Guide

Выберете то, что вам нужно

  1. VTech Safe and Sound DM111-2  Baby Unit Motherboard replacement Guide, Baby Unit Motherboard replacement Guide: шаг 1, изображение 1 из 1
    • Along the back of unit there are two 4mm philips head screws towards the bottom of the unit. Start by removing these two screws using your PH0 screwdriver.

    Спросите у FixBot
  2. VTech Safe and Sound DM111-2  Baby Unit Motherboard replacement Guide: шаг 2, изображение 1 из 2 VTech Safe and Sound DM111-2  Baby Unit Motherboard replacement Guide: шаг 2, изображение 2 из 2
    • Using the plastic spudger gently pry along the middle of the 2 sections of the plastic housing in order to release plastic latches on the inside of the housing.

    • Unlike the parent unit there are no wires across the two housing pieces, so once the latches are undone simply pull it apart without worry of disconnecting anything.

    Спросите у FixBot
  3. VTech Safe and Sound DM111-2  Baby Unit Motherboard replacement Guide: шаг 3, изображение 1 из 2 VTech Safe and Sound DM111-2  Baby Unit Motherboard replacement Guide: шаг 3, изображение 2 из 2
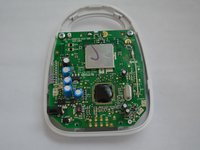
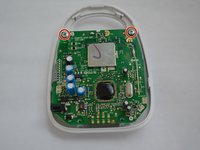
    • Once apart the motherboard will be exposed with two 4mm phillips head screws near the top and 4 wires leading leading to a circuit board hidden under the motherboard.

    • Remove the two screws near the top of the motherboard.

    Спросите у FixBot
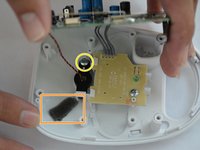
  4. VTech Safe and Sound DM111-2  Baby Unit Motherboard replacement Guide, Disconnect the microphone: шаг 4, изображение 1 из 2 VTech Safe and Sound DM111-2  Baby Unit Motherboard replacement Guide, Disconnect the microphone: шаг 4, изображение 2 из 2
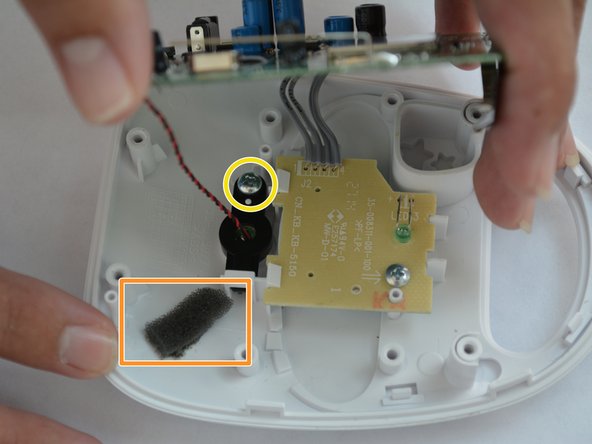
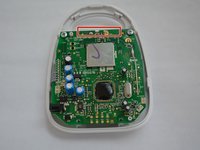
    • Remove the strip of adhesive tape located under the motherboard.

    • Gently lift the motherboard to expose the inner components.

    • Use a spudger to scrape away the adhesive and foam connecting the microphone.

    • Unscrew the 4mm phillips head screw holding the microphone in place.

    Спросите у FixBot
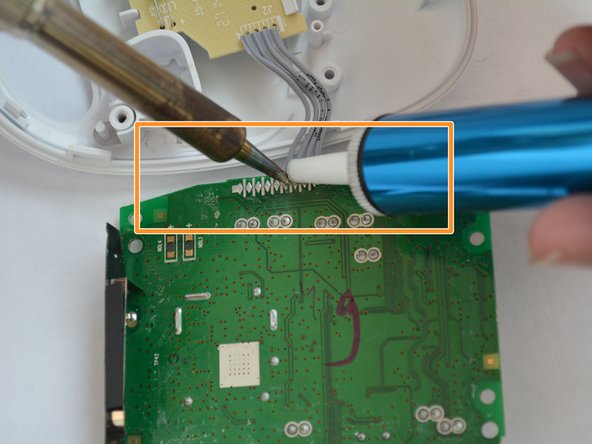
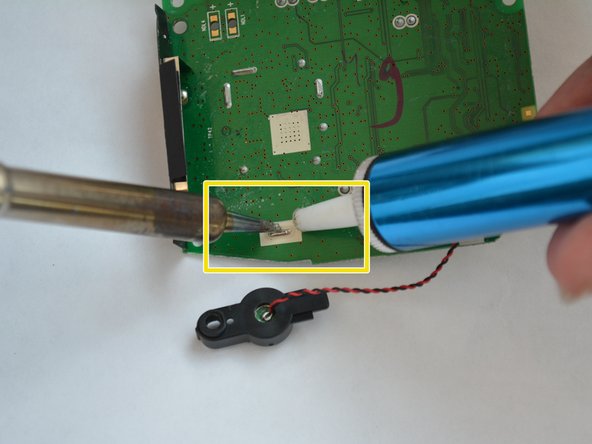
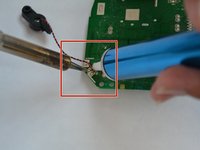
  5. VTech Safe and Sound DM111-2  Baby Unit Motherboard replacement Guide: шаг 5, изображение 1 из 3 VTech Safe and Sound DM111-2  Baby Unit Motherboard replacement Guide: шаг 5, изображение 2 из 3 VTech Safe and Sound DM111-2  Baby Unit Motherboard replacement Guide: шаг 5, изображение 3 из 3
    Инструмент, используемый на этом этапе:
    Desoldering Pump
    $3.99
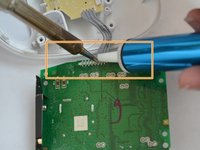
    • Before de-soldering, check to see no scorching or broken connections appear on the wires, power supply jack or antenna.

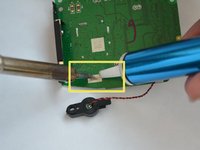
    • De-solder the connections from the motherboard using a soldering iron and a solder sucker.

    • De-solder the connections to the microphone, located on the bottom left of the mother board.

    • De-solder the 4 wires connecting the LED board to the motherboard.

    • De-solder the antenna's solder joint, located above the microphone wire connection.

    Спросите у FixBot
Заключение

To reassemble your device, follow these instructions in reverse order.

Jean Carlos

Участник с: 08/31/15

201 Репутация

Автор 2 руководств

Команда

USF Tampa, Team 6-3, Remmell Fall 2015 Участник USF Tampa, Team 6-3, Remmell Fall 2015

USFT-REMMELL-F15S6G3

4 членов

Автор 7 руководств

0 Комментарии к руководству

Добавить комментарий

Статистика просмотров:

За последние 24 часов: 0

За последние 7 дней: 10

За последние 30 дней: 71

За всё время: 1,258