Введение
This guide will teach you how to remove the back and replace the battery on the Verizon Ellipsis 7 tablet. A prying tool is required to remove the back plate of the phone, and the process is not very hazardous. This could be useful to replace a faulty battery or if you have multiple batteries to keep your device running on the go.
Выберете то, что вам нужно
-
-
-
Power down device by holding down the power button until the screen goes black.
-
Remove the SIM card from the device to prevent damage.
-
To remove the SIM card, open the SIM card cover on the side of the device.
-
Push SIM card in and then pull out after hearing a click.
 Спросите у FixBot
-
-
-
-
Take off the back panel.
-
Pry open the back cover carefully with a plastic opening tool.
-
Use the opening tool to disconnect the cover completely. Do not attempt to pull the back cover off with your hands.
-
-
Инструмент, используемый на этом этапе:Tweezers$4.99
-
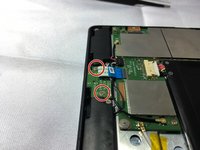
Remove the charging (micro-USB) port by unscrewing the indicated screws using the Phillips #00 screwdriver.
-
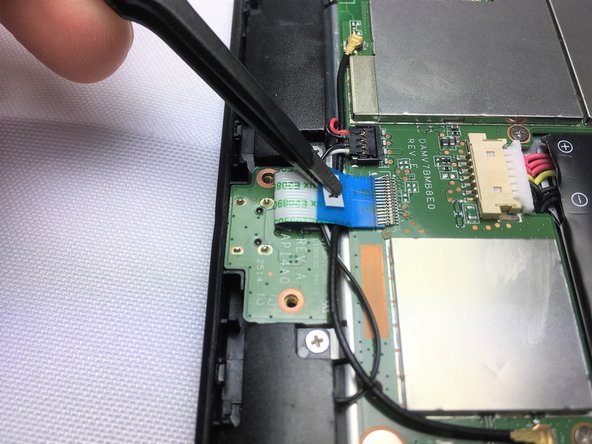
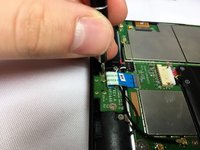
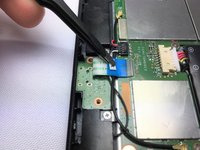
Disconnect the ribbon cable connecting the charging port board to the motherboard using tweezers.
-
Use the tweezers to grab the sides of black, plastic connector. Do not grab from the wires or try to wedge it out from the bottom.
-
-




To reassemble your device, follow these instructions in reverse order.
Отменить: Я не выполнил это руководство.
11 человек успешно провели ремонт по этому руководству.

Команда

Cal Poly, Team 13-5, Banghart Winter 2017 Участник Cal Poly, Team 13-5, Banghart Winter 2017
CPSU-BANGHART-W17S13G5
4 членов
Автор 4 руководств
8 Комментарии к руководству
so much for the charging port. You didn’t mention the battery. ?
Well….ok…..but were we here for removing the charging port? Ha ha….I think not. So how about we lift out the battery and unplug it instead. Takes a bit of effort , it seems. That sucker is stuck down pretty good with some really good double sided tape. Lift carefully. I pried it up with the same plastic case tool I used to remove the back cover. The same tool also helped me remove the battery plug.
First time on Ifixit and they leave me two steps from the goal; not much of a confidence-builder for this site!
WTH? Replacing the battery?
Look at the stats..
Why suddenly are so many units failing at or about the same time? I'm not a conspirist but,
Don't you think it's a strange coincidence?
