Введение
What you can expect from this guide is a step by step process on how to remove the LCD display screen on a Verizon Ellipsis Jetpack MHS800L.
Выберете то, что вам нужно
-
-
-
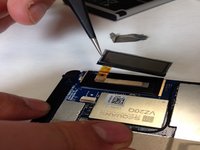
Remove the SIM card, that is located on top of the Jetpack.
 Спросите у FixBot
-
-
Инструмент, используемый на этом этапе:Phillips #00 Screwdriver$5.49
-
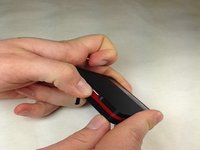
With the device on its back and the label facing you, remove the rubber screw cover on the top left corner of the device.
-
Under the rubber circle, remove the 1.25 mm screw using a Phillips #00 Screwdriver.
-
-
Инструмент, используемый на этом этапе:iFixit Opening Picks (Set of 6)$4.95
-
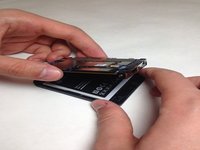
Use a plastic pick at the seams and pry open the case.
-
-
-
-
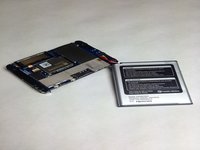
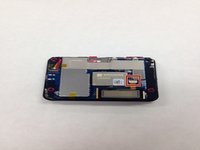
Once the cover is off, this is what your device will look like.
-
-
-
-
-
Once you have the case off of your device gently pull your battery away from the device.
-
-
Инструмент, используемый на этом этапе:Tweezers$4.99
-
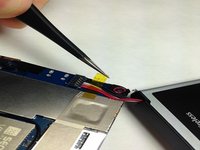
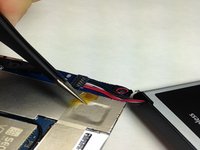
With a pair of Tweezers remove the yellow tape covering the battery wires.
-
-
Инструмент, используемый на этом этапе:Tweezers$4.99
-
After removing the tape you may use the Tweezers to remove the wiring harness from the circuit board.
-
-
-
You may now replace the battery in your Verizon Ellipsis Jetpack MHS800L.
-
-
-
-
-
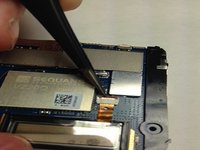
Locate the LCD screen cable and unlatch the harness connection form the circuit board.
-
-
Инструмент, используемый на этом этапе:Tweezers$4.99
-
Using the Tweezers gently coax the display data cable out of circuit board connector.
-
-
Инструмент, используемый на этом этапе:Tweezers$4.99
-
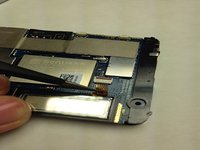
Gently insert the Tweezers underneath the LCD screen and lift the LCD screen off of the circuit board.
-
-


To reassemble your device, follow these instructions in reverse order.
Отменить: Я не выполнил это руководство.
Еще один человек закончил это руководство.
Команда

IUPUI, Team 3-3, Baechle Spring 2016 Участник IUPUI, Team 3-3, Baechle Spring 2016
IUPUI-BAECHLE-S16S3G3
4 членов
Автор 6 руководств