Перейти к основному содержанию
Присоединяйся к сообществу ремонтников - Создай аккаунт

Visioneer OneTouch 7400 USB Motherboard Replacement

Выберете то, что вам нужно

    1. Visioneer OneTouch 7400 USB Motherboard Replacement, Outer Case: шаг 1, изображение 1 из 1
      • On the bottom of the scanner, remove the screw at the top left side.

      Спросите у FixBot

      Добавить комментарий

    2. Visioneer OneTouch 7400 USB Motherboard Replacement: шаг 2, изображение 1 из 2 Visioneer OneTouch 7400 USB Motherboard Replacement: шаг 2, изображение 2 из 2
      • Remove the rubber foot pad opposite the screw hole to expose a second screw hole.

      • Remove the screw beneath the foot-pad.

      Спросите у FixBot

      Добавить комментарий

    3. Visioneer OneTouch 7400 USB Motherboard Replacement: шаг 3, изображение 1 из 3 Visioneer OneTouch 7400 USB Motherboard Replacement: шаг 3, изображение 2 из 3 Visioneer OneTouch 7400 USB Motherboard Replacement: шаг 3, изображение 3 из 3
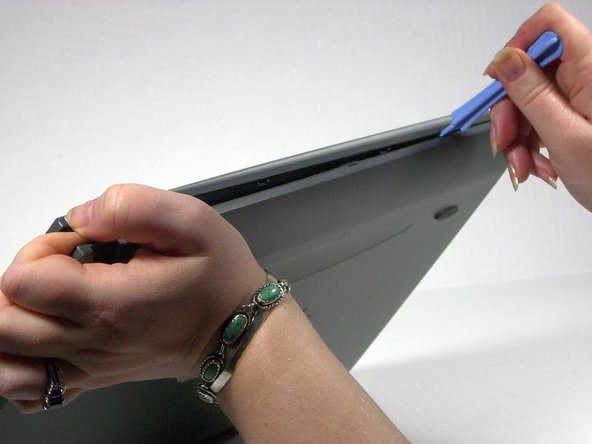
      • Rotate the scanner so the screw hole is located on the top left hand side.

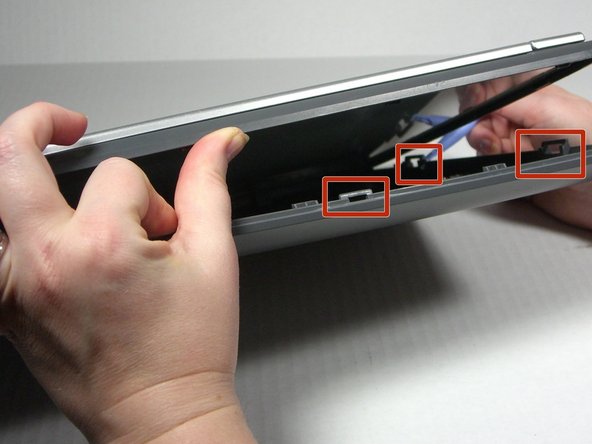
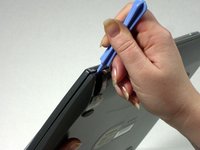
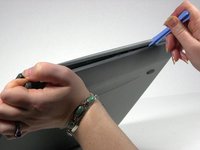
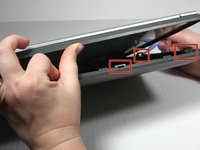
      • Place the plastic opening tool between the top casement and bottom casement of scanner with the hook facing up.

      • Gently pry the two casements apart beginning above the screw hole and working your way around.

      • Note that the top and bottom casings are held together by a series of 6 tabs. There is one tab on each of the long sides of the scanner approximately 6 inches in from the corners. There are two tabs on each of the short sides of the scanner approximately 2.3 inches in from the corners. Use the spudger to unhook the tab from the top casement.

      Спросите у FixBot

      Добавить комментарий

    4. Visioneer OneTouch 7400 USB Motherboard Replacement: шаг 4, изображение 1 из 1
      • Separate the two casement pieces.

      Спросите у FixBot

      Добавить комментарий

    1. Visioneer OneTouch 7400 USB Motherboard Replacement, Motherboard: шаг 5, изображение 1 из 2 Visioneer OneTouch 7400 USB Motherboard Replacement, Motherboard: шаг 5, изображение 2 из 2
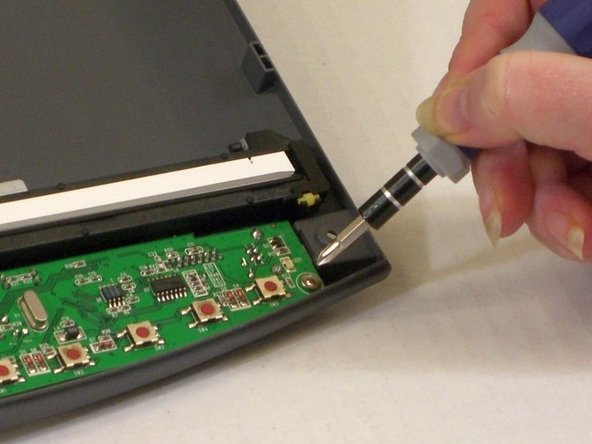
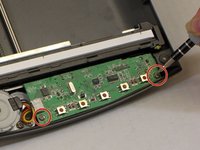
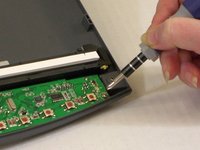
      • On the bottom half of the casing, remove the two screws in the motherboard.

      Спросите у FixBot

      Добавить комментарий

    2. Visioneer OneTouch 7400 USB Motherboard Replacement: шаг 6, изображение 1 из 1
      • Carefully detach the wires from the motherboard, pulling slowly but firmly.

      • On the right hand side, the motherboard is attached to the ribbon. Do not pull too hard.

      Спросите у FixBot

      Добавить комментарий

    3. Visioneer OneTouch 7400 USB Motherboard Replacement: шаг 7, изображение 1 из 1
      • Flip the motherboard over carefully.

      • Gently pull the ribbon out of its bed.

      Спросите у FixBot

      Добавить комментарий

Заключение

To reassemble your device, follow these instructions in reverse order.

Отменить: Я не выполнил это руководство.

Jena

Участник с: 10/18/13

608 Репутация

Автор 6 руководств

Команда

University of Maine, Team 1-13, Diaz Fall 2013 Участник University of Maine, Team 1-13, Diaz Fall 2013

UMAINE-DIAZ-F13S1G13

3 членов

Автор 21 руководств

0 Комментарии к руководству

Добавить комментарий

Статистика просмотров:

За последние 24 часов: 0

За последние 7 дней: 7

За последние 30 дней: 29

За всё время: 673