Перейти к основному содержанию
Присоединяйся к сообществу ремонтников - Создай аккаунт

Visual Land Prestige Elite 7Q Front Camera Replacement

Выберете то, что вам нужно

    1. Visual Land Prestige Elite 7Q Front Camera Replacement, Front Camera: шаг 1, изображение 1 из 2 Visual Land Prestige Elite 7Q Front Camera Replacement, Front Camera: шаг 1, изображение 2 из 2
      • At the bottom of the tablet, remove the two 3.6mm screws with a Phillips #000 screwdriver.

      Спросите у FixBot

      Добавить комментарий

    2. Visual Land Prestige Elite 7Q Front Camera Replacement: шаг 2, изображение 1 из 2 Visual Land Prestige Elite 7Q Front Camera Replacement: шаг 2, изображение 2 из 2
      • Wedge a plastic opening tool into the edges of the tablet to pry it open.

      Спросите у FixBot

      Добавить комментарий

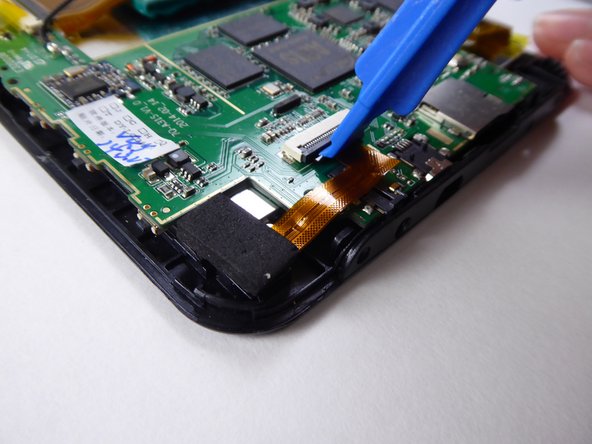
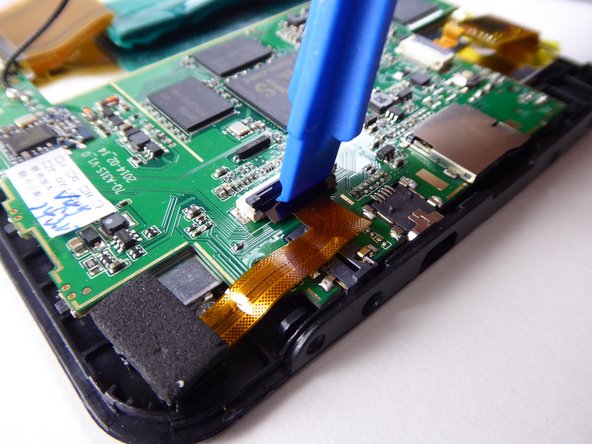
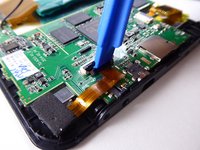
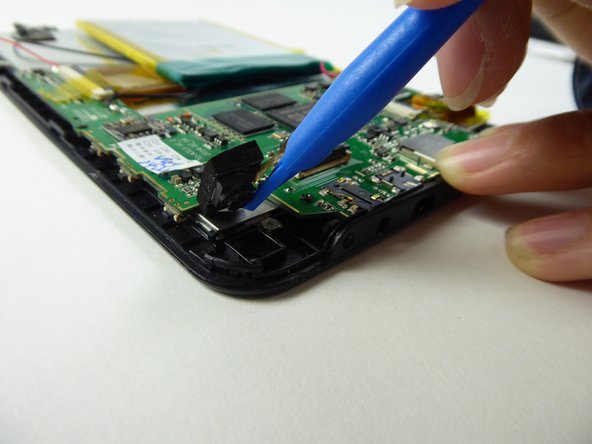
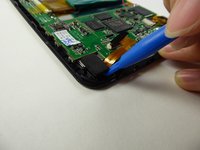
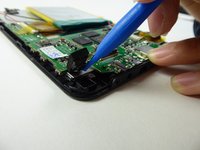
    3. Visual Land Prestige Elite 7Q Front Camera Replacement: шаг 3, изображение 1 из 3 Visual Land Prestige Elite 7Q Front Camera Replacement: шаг 3, изображение 2 из 3 Visual Land Prestige Elite 7Q Front Camera Replacement: шаг 3, изображение 3 из 3
      • Use a plastic opening tool to lift the black tab holding down the ribbon cable.

      Спросите у FixBot

      Добавить комментарий

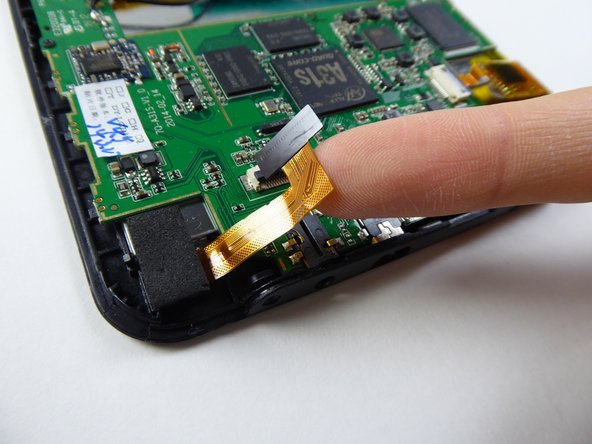
    4. Visual Land Prestige Elite 7Q Front Camera Replacement: шаг 4, изображение 1 из 2 Visual Land Prestige Elite 7Q Front Camera Replacement: шаг 4, изображение 2 из 2
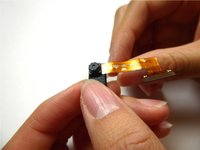
      • Carefully use your finger to pull out the ribbon cable.

      Спросите у FixBot

      Добавить комментарий

    5. Visual Land Prestige Elite 7Q Front Camera Replacement: шаг 5, изображение 1 из 2 Visual Land Prestige Elite 7Q Front Camera Replacement: шаг 5, изображение 2 из 2
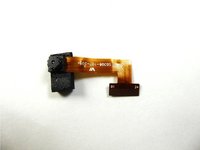
      • Use a plastic opening tool to pull out the camera with the foam backing.

      Спросите у FixBot

      Добавить комментарий

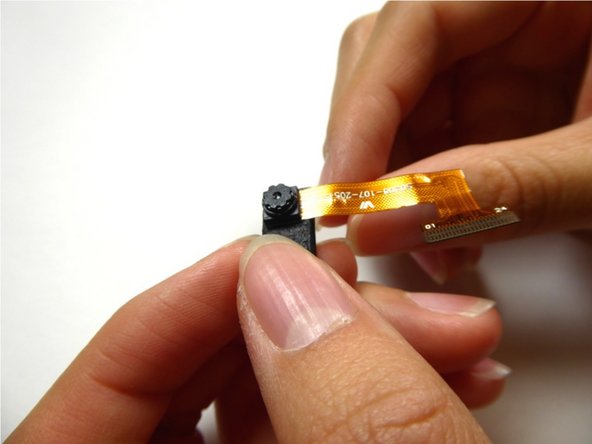
    6. Visual Land Prestige Elite 7Q Front Camera Replacement: шаг 6, изображение 1 из 3 Visual Land Prestige Elite 7Q Front Camera Replacement: шаг 6, изображение 2 из 3 Visual Land Prestige Elite 7Q Front Camera Replacement: шаг 6, изображение 3 из 3
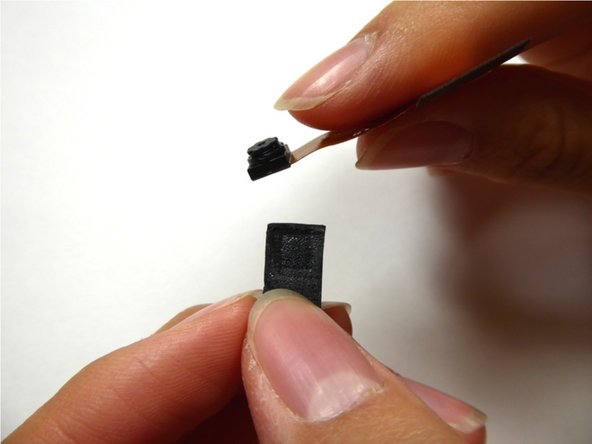
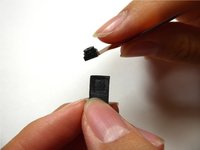
      • Remove the camera from the foam backing.

      • Replace the camera.

      Спросите у FixBot

      Добавить комментарий

Заключение

To reassemble your device, follow these instructions in reverse order.

Отменить: Я не выполнил это руководство.

Sabrina Scholten

Участник с: 09/22/16

621 Репутация

Автор 6 руководств

Команда

UC Davis, Team 2-1, Oliver Fall 2016 Участник UC Davis, Team 2-1, Oliver Fall 2016

UCD-OLIVER-F16S2G1

5 членов

Автор 12 руководств

0 Комментарии к руководству

Добавить комментарий

Статистика просмотров:

За последние 24 часов: 0

За последние 7 дней: 5

За последние 30 дней: 18

За всё время: 327