Перейти к основному содержанию
Присоединяйся к сообществу ремонтников - Создай аккаунт

Vizio VTAB1008 Digitizer (Touchscreen) Replacement

Выберете то, что вам нужно

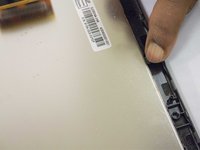
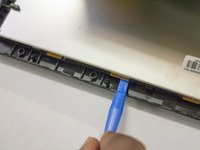
    1. Vizio VTAB1008 Digitizer (Touchscreen) Replacement, Vizio VTAB1008 Back Cover Removal: шаг 1, изображение 1 из 2 Vizio VTAB1008 Digitizer (Touchscreen) Replacement, Vizio VTAB1008 Back Cover Removal: шаг 1, изображение 2 из 2
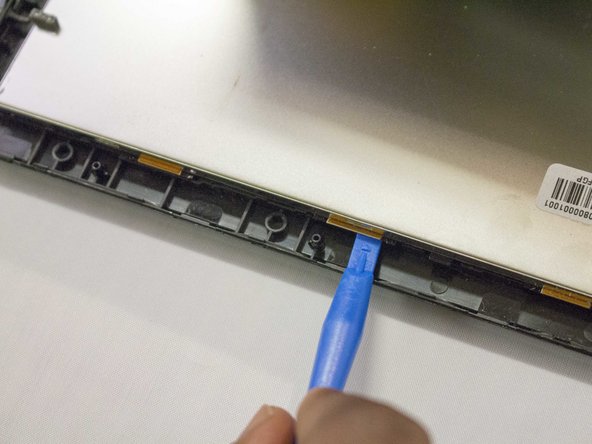
      • Carefully slide the heavy duty opening tool between the gap on the side of the device with no buttons.

      • Do not insert the opening tool too far into the tablet as this can damage connectors close to edges of the cover.

      • The angled tip of the opening tool can be wedged into the device by pressing on the back of the opening tool with the thumb. Move the opening tool in a sliding motion to ensure all tabs separate.

      • Corner tabs may require a more forceful prying tool. If needed, carefully insert the metal prying tool into corners to separate the tabs.

      Спросите у FixBot

      Добавить комментарий

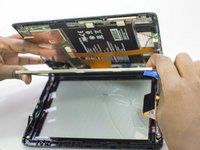
    2. Vizio VTAB1008 Digitizer (Touchscreen) Replacement: шаг 2, изображение 1 из 1
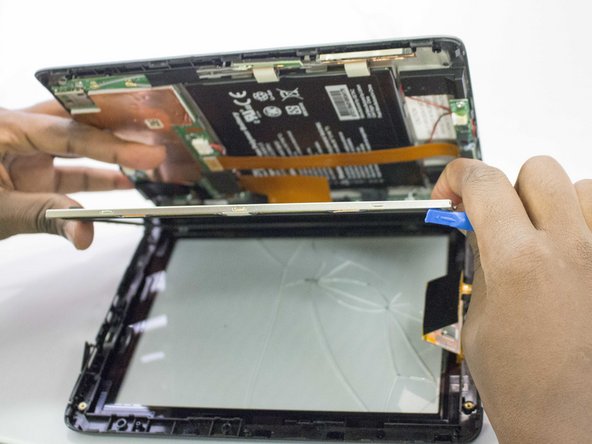
      • Look into the tablet for loose connectors.

      • There are three loose connectors: one for the screen, one for the digitizer, and one for the motherboard. They are held in place by the pressure of the backing and screen assemblies.

      • Flip the backing from the button-less side over, being careful not to separate the ribbon connector from the display screen.

      Спросите у FixBot

      Добавить комментарий

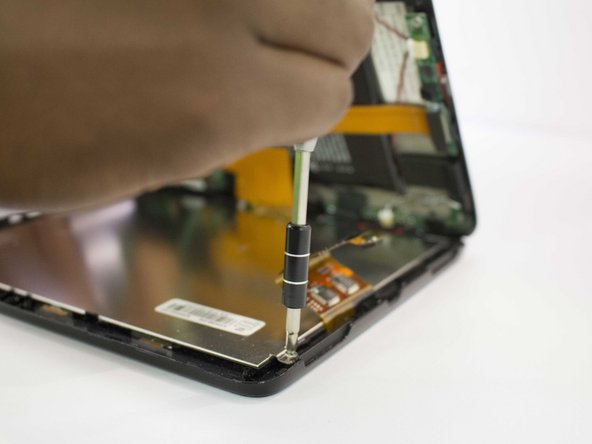
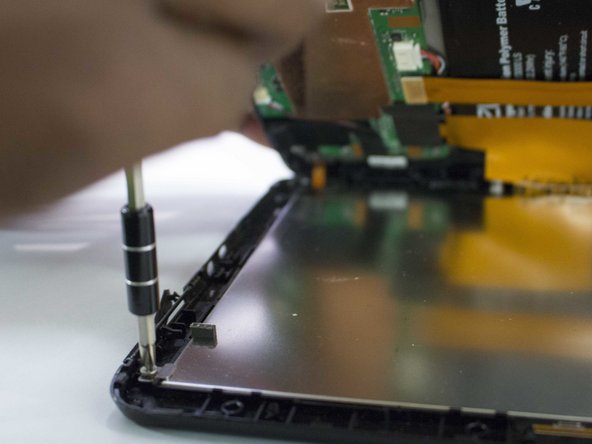
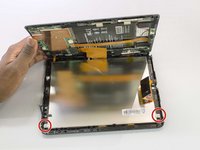
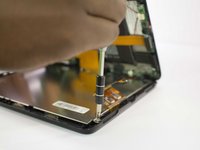
    1. Vizio VTAB1008 Digitizer (Touchscreen) Replacement, Digitizer/Touch Screen: шаг 3, изображение 1 из 3 Vizio VTAB1008 Digitizer (Touchscreen) Replacement, Digitizer/Touch Screen: шаг 3, изображение 2 из 3 Vizio VTAB1008 Digitizer (Touchscreen) Replacement, Digitizer/Touch Screen: шаг 3, изображение 3 из 3
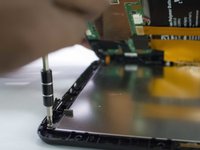
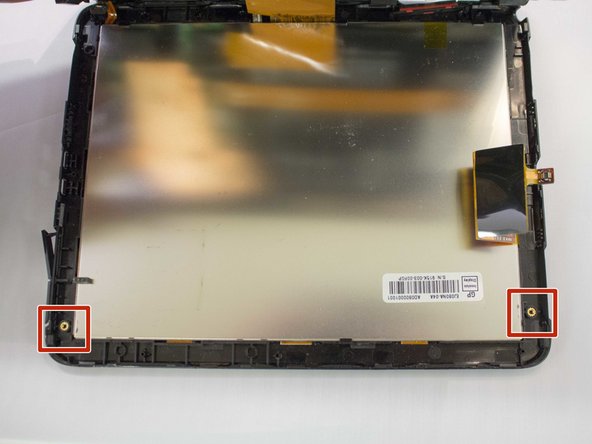
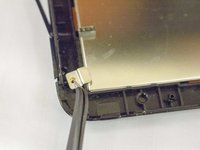
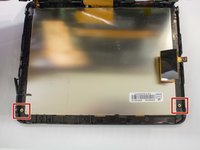
      • Remove the two screws present using the J1 Screw bit.

      • The screw has a head size of 4.3 mm and is 3 mm tall.

      Спросите у FixBot

      Добавить комментарий

    2. Vizio VTAB1008 Digitizer (Touchscreen) Replacement: шаг 4, изображение 1 из 3 Vizio VTAB1008 Digitizer (Touchscreen) Replacement: шаг 4, изображение 2 из 3 Vizio VTAB1008 Digitizer (Touchscreen) Replacement: шаг 4, изображение 3 из 3
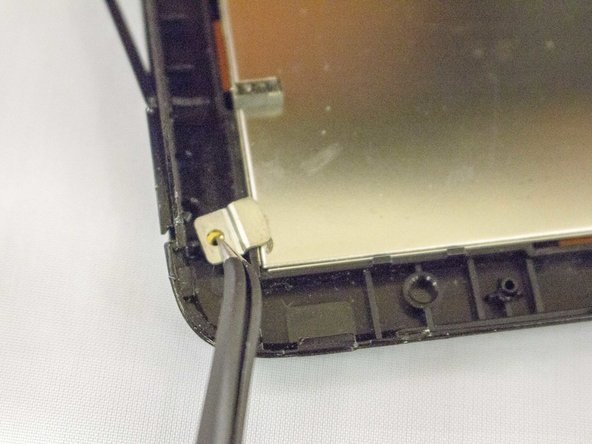
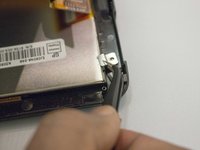
      • Remove the two brackets accompanying screws by lifting them up and away from the screen.

      • Brackets are 8.5 mm by 6.55 mm.

      Спросите у FixBot

      Добавить комментарий

    3. Vizio VTAB1008 Digitizer (Touchscreen) Replacement: шаг 5, изображение 1 из 3 Vizio VTAB1008 Digitizer (Touchscreen) Replacement: шаг 5, изображение 2 из 3 Vizio VTAB1008 Digitizer (Touchscreen) Replacement: шаг 5, изображение 3 из 3
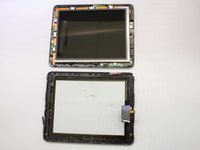
      • Separate the screen digitizer from the display screen, noting the placement of the quick disconnect ribbon cable.

      • Use a spudger if necessary to assist in the separation.

      Спросите у FixBot

      Добавить комментарий

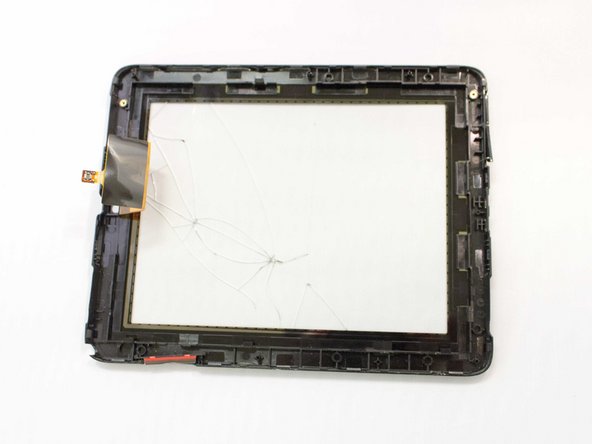
    4. Vizio VTAB1008 Digitizer (Touchscreen) Replacement: шаг 6, изображение 1 из 2 Vizio VTAB1008 Digitizer (Touchscreen) Replacement: шаг 6, изображение 2 из 2
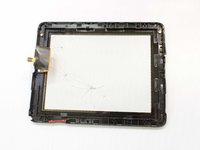
      • The digitizer should now be able to be freely removed.

      Спросите у FixBot

      Добавить комментарий

Заключение

To reassemble your device, follow these instructions in reverse order.

Отменить: Я не выполнил это руководство.

Gilberto Ambriz

Участник с: 09/29/16

552 Репутация

Автор 5 руководств

Команда

Eastern Washington University, Team 1-1, Crane Fall 2016 Участник Eastern Washington University, Team 1-1, Crane Fall 2016

EWU-CRANE-F16S1G1

4 членов

Автор 12 руководств

0 Комментарии к руководству

Добавить комментарий

Статистика просмотров:

За последние 24 часов: 1

За последние 7 дней: 10

За последние 30 дней: 27

За всё время: 1,125