Введение
This is a guide on removing the light bulbs from their colored-plastic shell, but not replacing the bulb. Take care not to use too much force as the bulbs or wires may get damaged while being extracted.
Выберете то, что вам нужно
-
-
Remove the screws on the back panel with the #1 Phillips screwdriver bit.
-
The screws in the rubber legs of the burner do not need to be removed.
 Спросите у FixBot
-
-
-
Using a wrench, remove the bolt from the center of the back panel.
-
-
-
-
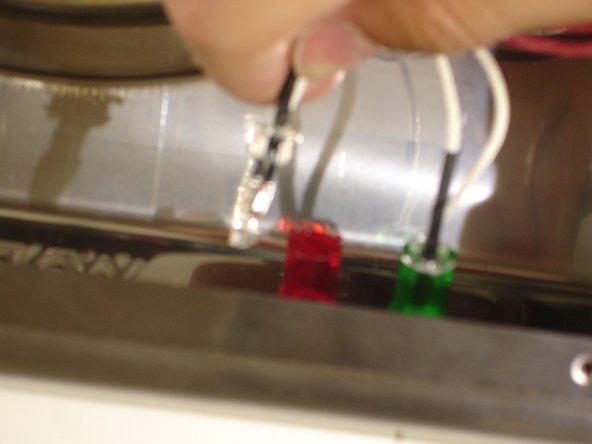
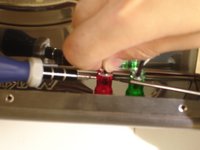
Using two thin screwdrivers (or similar objects) wedge them into the slots of the plastic shell of the desired light.
-
-
-
Push the screwdrivers inward and guide the bulb outwards.
-
Gently grab by the wires and remove bulb from plastic shell.
-


To reassemble your device, follow these instructions in reverse order.
Команда

USF Tampa, Team 10-7, Brown Fall 2014 Участник USF Tampa, Team 10-7, Brown Fall 2014
USFT-BROWN-F14S10G7
3 членов
Автор 5 руководств