Введение
I am going to show you how to replace your watch battery and show you how to preserve the life of your new watch battery.
Выберете то, что вам нужно
-
-
For this project you will need the watch you are replacing the battery on, the new battery and a mini flat head screwdriver.
 Спросите у FixBot
-
-
-
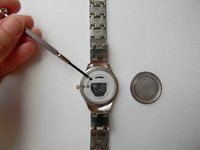
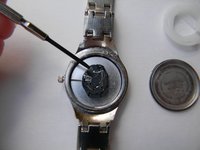
You will need to take the back of the watch off. To do this you will turn the watch over to the back side and look carefully for a small groove opening. This is where you will use the mini flat head screwdriver. Insert the flat head screwdriver into the groove and pop the back off of the watch.
-
-
-
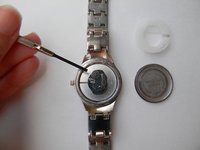
Take the white plastic ring out of the watch. You can use the mini flat head screwdriver or your finger to pull it out.
-
-
-
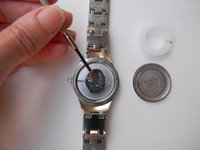
Take the old battery out of the watch. You can use the mini flat head screwdriver to do this.
-
-
-
-
Put the new battery in watch. Use your fingers to insert the new battery.
-
-
-
Use your fingers to insert the plastic white ring back into the watch.
-
-
-
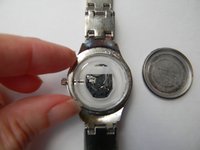
Put the back of the watch on using your fingers. Press down so that you hear a snap to ensure the back is on properly.
-
-
-
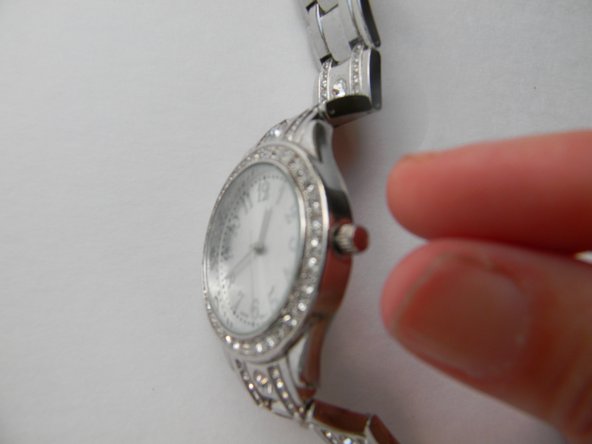
When you are not using the watch, pull the pin out to stop the watch from running
-
-
-
When the pin is pulled out, the battery is not being used. Only push the pin in and set the time when you are using the watch. This will preserve the life of your new battery.
-







To reassemble your device, follow these instructions in reverse order.
Отменить: Я не выполнил это руководство.
9 человек успешно провели ремонт по этому руководству.

6 Комментарии к руководству
First time I have done this and I have somehow lost the white plastic! Is this essential?
Yes. I can’t get the plastic spacer back in right. I guess that is why I can’t get the back.
I'm trying to figure out the type of watch that is can anyone help me that? This is the only place I can find an image of it. I recently purchased it private sale and they couldn't remember.
Googling the model number on the back, LDC74709W, leads me to believe it’s an unbranded watch that was sold at Walmart in the past.
What is the battery number
