Перейти к основному содержанию
Присоединяйся к сообществу ремонтников - Создай аккаунт

Wire Bonder Thread Spool Replacement

Видеообзор

    1. Wire Bonder Thread Spool Replacement, Wire Bonder Thread Spool Replacement: шаг 1, изображение 1 из 1
      • Remove the seal from the wire spool. Take care not to cut the thread at the red marking!

      Спросите у FixBot

      Добавить комментарий

    2. Wire Bonder Thread Spool Replacement: шаг 2, изображение 1 из 1
      • Insert the spool in the assembly.

      • Make sure that the spool runs clockwise.

      Спросите у FixBot

      Добавить комментарий

      • Pull the thread downward.

      Спросите у FixBot

      Добавить комментарий

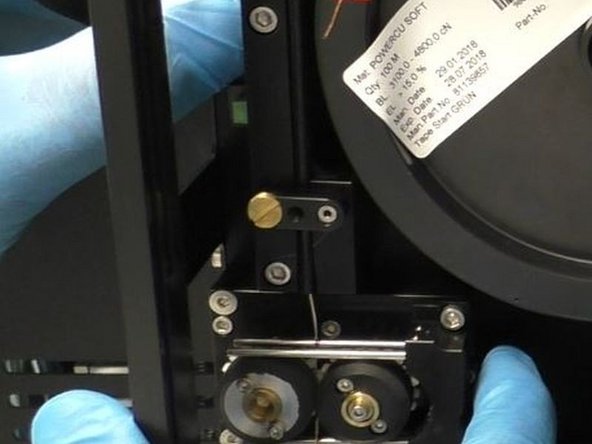
    3. Wire Bonder Thread Spool Replacement, Placing the thread into the infeeder: шаг 4, изображение 1 из 1
      • Place the thread between the guides of the infeeder.

      • Pull the engaging knob which is situated to the left of the infeeder rolls, to the left.

      • Now there is a gap between the infeeder rolls into which the wire can be inserted safely.

      Спросите у FixBot

      Добавить комментарий

    4. Wire Bonder Thread Spool Replacement, Placing the thread behind the sensors: шаг 5, изображение 1 из 1
      • Cut the wire.

      • Place the wire behind the sensors (the black box in the foreground).

      Спросите у FixBot

      Добавить комментарий

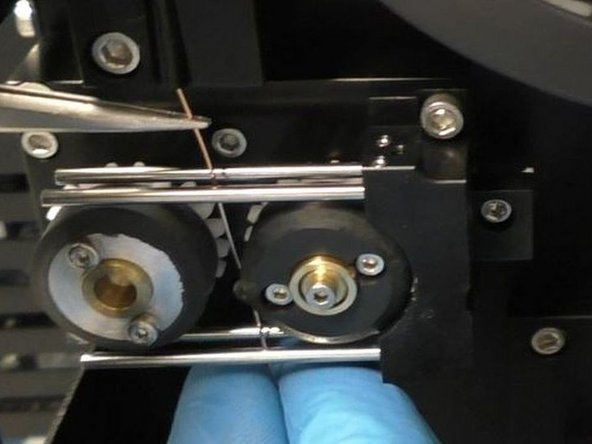
    5. Wire Bonder Thread Spool Replacement, Placing the thrad in the outfeeder: шаг 6, изображение 1 из 1
      Инструмент, используемый на этом этапе:
      Tweezers
      $4.99
      • Use the tweezers to place the wire between the two metal guides of the outfeeder.

      Спросите у FixBot

      Добавить комментарий

    6. Wire Bonder Thread Spool Replacement, Put the wire into the tube: шаг 7, изображение 1 из 1
      • Use the tweezers to lead the wire into the tube from below.

      Спросите у FixBot

      Добавить комментарий

    7. Wire Bonder Thread Spool Replacement, Automatic feeding: шаг 8, изображение 1 из 1
      • Push the spring of the outfeeder and the "Feed and Capture" button simultaneously for automatic feeding.

      • Make sure that the rolls of the outfeeder are close together so that the wire is gripped firmly.

      • Before starting automatic feeding, turn off "Run or Service" and activate "Feed or Capture".

      Спросите у FixBot

      Добавить комментарий

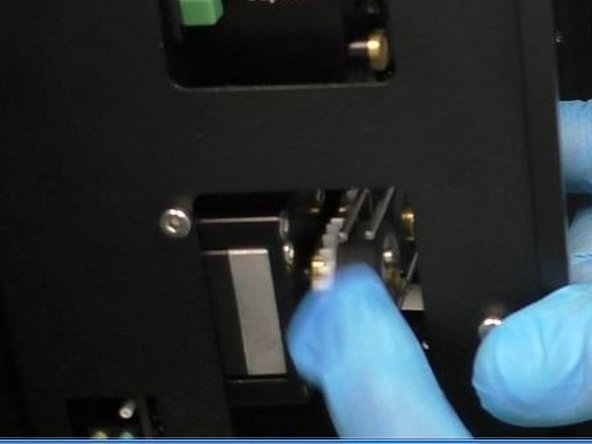
    8. Wire Bonder Thread Spool Replacement, Manual Feeding: шаг 9, изображение 1 из 2 Wire Bonder Thread Spool Replacement, Manual Feeding: шаг 9, изображение 2 из 2
      • It is also possible to feed the wire manually into the outfeeder tube.

      • In order to do so, press the "Run and Service" button and turn the left-hand wheel clockwise. The wire is now fed ino the tube.

      Спросите у FixBot

      Добавить комментарий

    9. Wire Bonder Thread Spool Replacement: шаг 10, изображение 1 из 1
      • Check visually if the wire is fed into the bonding head.

      Спросите у FixBot

      Добавить комментарий

Заключение

To reassemble your device, follow these instructions in reverse order.

Отменить: Я не выполнил это руководство.

Beate Richter

Участник с: 03/20/19

181 Репутация

1 руководство автора

0 Комментарии к руководству

Добавить комментарий

Статистика просмотров:

За последние 24 часов: 0

За последние 7 дней: 5

За последние 30 дней: 28

За всё время: 373