Перейти к основному содержанию
Присоединяйся к сообществу ремонтников - Создай аккаунт

Xbox One Elite Controller (Model 1698) Motherboard Replacement

Выберете то, что вам нужно

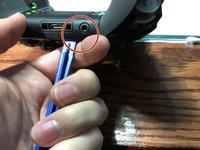
    1. Xbox One Elite Controller (Model 1698) Motherboard Replacement, Show me the Screws!: шаг 1, изображение 1 из 2 Xbox One Elite Controller (Model 1698) Motherboard Replacement, Show me the Screws!: шаг 1, изображение 2 из 2
      • You can remove the side panels with a pry tool.

      • You don't need to remove the rubber. The rubber on this controller was already bad.

      Спросите у FixBot

      Добавить комментарий

    2. Xbox One Elite Controller (Model 1698) Motherboard Replacement, Removing the back panel screws: шаг 2, изображение 1 из 1
      • Remove the 5 Torx Security Bit (TR9) screws.

      Спросите у FixBot

      Добавить комментарий

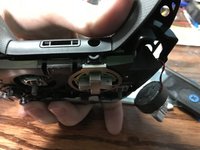
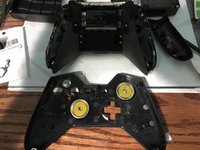
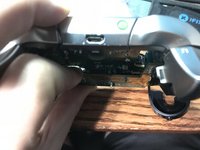
    3. Xbox One Elite Controller (Model 1698) Motherboard Replacement, Popping that back panel off: шаг 3, изображение 1 из 3 Xbox One Elite Controller (Model 1698) Motherboard Replacement, Popping that back panel off: шаг 3, изображение 2 из 3 Xbox One Elite Controller (Model 1698) Motherboard Replacement, Popping that back panel off: шаг 3, изображение 3 из 3
      • Pry the panel next to the 3.5mm port.

      • Be careful to not rip the ribbon shown in the next step.

      Спросите у FixBot

      Добавить комментарий

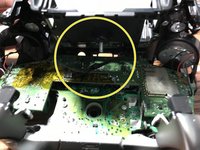
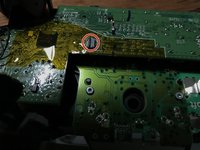
    4. Xbox One Elite Controller (Model 1698) Motherboard Replacement, Warning Carefully remove the ribbon: шаг 4, изображение 1 из 2 Xbox One Elite Controller (Model 1698) Motherboard Replacement, Warning Carefully remove the ribbon: шаг 4, изображение 2 из 2
      • Be careful to not rip the ribbon cable.

      • You can pop the connector up to remove the ribbon easily.

      • Ribbon Cable

      Спросите у FixBot

      Добавить комментарий

    5. Xbox One Elite Controller (Model 1698) Motherboard Replacement, Screws on controller motherboard: шаг 5, изображение 1 из 1
      • Remove the 2 Torx (T6) screws.

      Спросите у FixBot

      Добавить комментарий

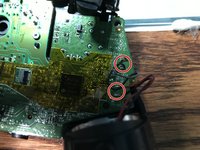
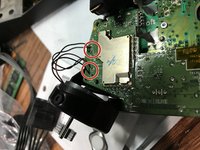
    6. Xbox One Elite Controller (Model 1698) Motherboard Replacement, Desolder wires from motherboard: шаг 6, изображение 1 из 2 Xbox One Elite Controller (Model 1698) Motherboard Replacement, Desolder wires from motherboard: шаг 6, изображение 2 из 2
      • Desolder the 4 wires on each side, these control the vibrations and the RT LT.

      Спросите у FixBot

      Добавить комментарий

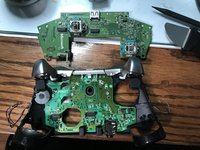
    7. Xbox One Elite Controller (Model 1698) Motherboard Replacement, Remove the motherboard: шаг 7, изображение 1 из 2 Xbox One Elite Controller (Model 1698) Motherboard Replacement, Remove the motherboard: шаг 7, изображение 2 из 2
      • Pull up from the "top" side of the controller on the daughterboard.

      Спросите у FixBot

      Добавить комментарий

Заключение

To reassemble your device, follow these instructions in reverse order.

Отменить: Я не выполнил это руководство.

9 человек успешно провели ремонт по этому руководству.

EasyAsABC123

Участник с: 01/22/10

2 557 Репутация

Автор 5 руководств

1 Комментарий к руководству

50 minutes? half of that tops

glenn.fowell - Ответить Поделиться

Добавить комментарий

Статистика просмотров:

За последние 24 часов: 3

За последние 7 дней: 23

За последние 30 дней: 96

За всё время: 19,380