Введение
This guide will teach you how to remove the front cover plate from your Xbox One wireless controller. Initially, no screws will be visible. Follow the steps to locate each factory screw.
Выберете то, что вам нужно
-
-
-
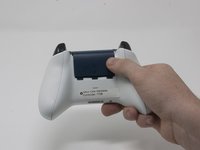
Slide the battery cover toward the top of the controller to remove it.
-
Lift up the batteries or the battery pack from the battery compartment.
 Спросите у FixBot
-
-
-
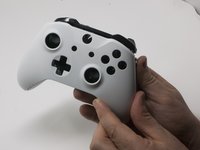
Insert a plastic opening tool into the top seam, and gently work the opening tool to the bottom of the controller.
-
Continue using the opening tool to gently pry the side plate off of the controller.
-
Repeat this process for the second side plate.
-
-
-
-
Gently peel the battery label or punch a hole in the center of the sticker in the battery compartment to reveal the hidden screw.
-
Remove the five 9mm torx-9 security screws from the back of the controller.
-
-
-
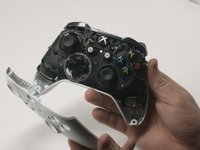
Orient the controller so the front plate is facing up.
-
Lift the front cover off of the controller.
-
-
-
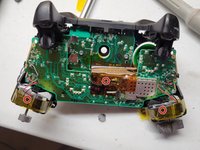
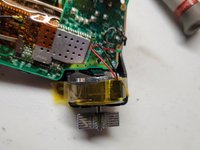
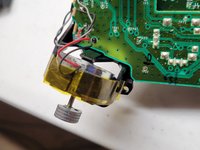
Tape the Rumbler/shock motors in place.
-
This will prevent the motors from falling out.
-
-






To reassemble your device, follow these instructions in reverse order.
Отменить: Я не выполнил это руководство.
62 человек успешно провели ремонт по этому руководству.

Команда

Cal Poly, Team S18-G3, Forte Fall 2017 Участник Cal Poly, Team S18-G3, Forte Fall 2017
CPSU-FORTE-F17S18G3
4 членов
Автор 49 руководств
5 Комментарии к руководству
i used a t8 and it worked
T9 is VERY snug. T8 would probably be better but I don’t have one to try.
T9 barely fits, I couldn’t even get 2 of the screws to turn. I think T8 works better
One frustrating thing. All the guides I find on iFixit never give tips on reassembly. I'm having a difficult time getting the back plate back on. No help here, unfortunately.
how to remove from ass
