Перейти к основному содержанию
Присоединяйся к сообществу ремонтников - Создай аккаунт
XtremeMac Luna LCD Display Replacement

Выберете то, что вам нужно

  1. XtremeMac Luna LCD Display Replacement, Bottom Panel: шаг 1, изображение 1 из 3 XtremeMac Luna LCD Display Replacement, Bottom Panel: шаг 1, изображение 2 из 3 XtremeMac Luna LCD Display Replacement, Bottom Panel: шаг 1, изображение 3 из 3
    • Flip the device over so that the batteries are closest to you.

    • Remove the battery lid by pressing the battery cover's tab and pulling it away from the device.

    • Push the battery against the spring and lift it out of the casing.

    • Repeat with the other battery.

    Спросите у FixBot

    Добавить комментарий

  2. XtremeMac Luna LCD Display Replacement: шаг 2, изображение 1 из 1
    • Unscrew all eight 12mm Phillips head screws with a Philips #1 screwdriver.

    • The iFixit 26 bit screwdriver kit will not reach the screws. Make sure to use a screwdriver that is thin enough to not get stuck in the screw holes.

    Спросите у FixBot

    Добавить комментарий

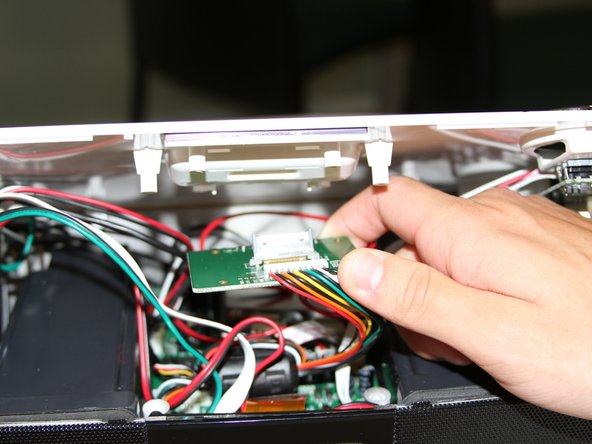
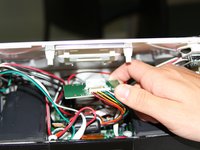
  3. XtremeMac Luna LCD Display Replacement: шаг 3, изображение 1 из 2 XtremeMac Luna LCD Display Replacement: шаг 3, изображение 2 из 2
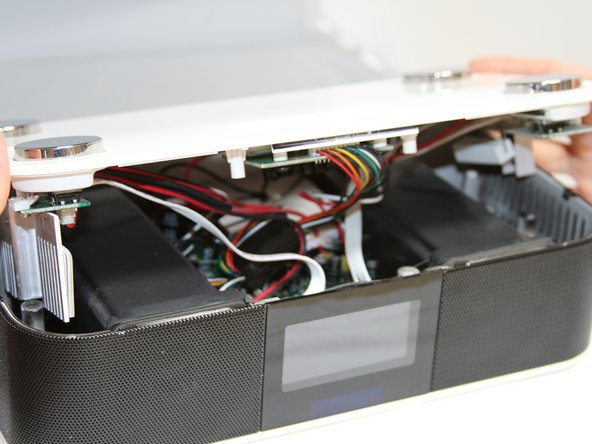
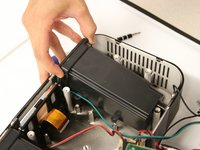
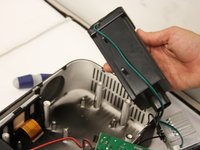
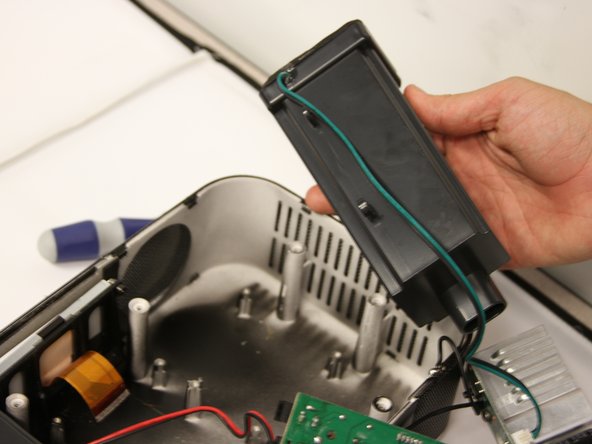
    • Flip the Luna back over so that the buttons are facing upward and the LCD screen is facing you.

    • Gently tilt the lid back 45 degrees so that the inside is exposed.

    • Be mindful of the wires inside of the Luna. It is easy to break a connection if a wire gets caught.

    Спросите у FixBot

    Добавить комментарий

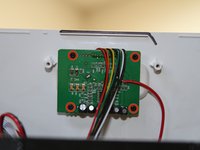
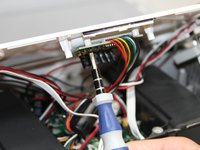
  4. XtremeMac Luna LCD Display Replacement, Dock Circuit Board: шаг 4, изображение 1 из 3 XtremeMac Luna LCD Display Replacement, Dock Circuit Board: шаг 4, изображение 2 из 3 XtremeMac Luna LCD Display Replacement, Dock Circuit Board: шаг 4, изображение 3 из 3
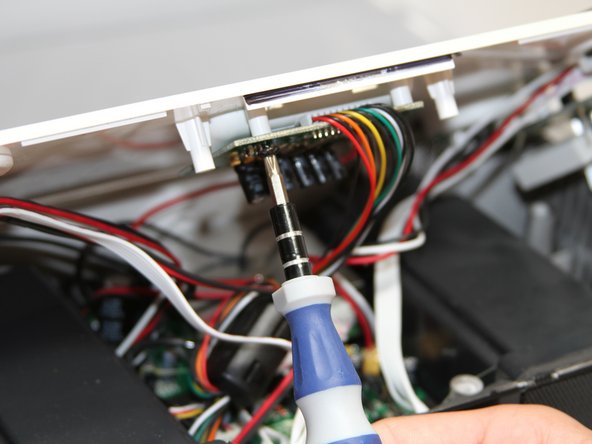
    • Unscrew the four black 7mm screws with the Phillips #1 screw driver that hold the middle circuit board to the top case.

    Спросите у FixBot

    Добавить комментарий

  5. XtremeMac Luna LCD Display Replacement, Button Circuit Boards: шаг 5, изображение 1 из 2 XtremeMac Luna LCD Display Replacement, Button Circuit Boards: шаг 5, изображение 2 из 2
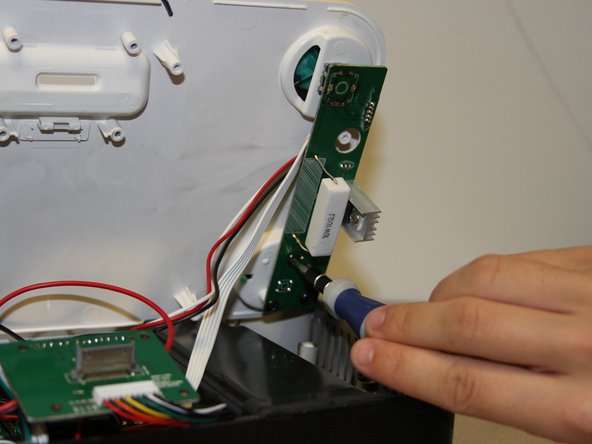
    • Unscrew the three 7 mm black screws using the Philips #1 screwdriver on the back end of the left and right circuit board.

    • Removing the right circuit board first will make it easier to unscrew the left because the heat-sinks on the left circuit board can get in the way of the screwdriver.

    Спросите у FixBot

    Добавить комментарий

  6. XtremeMac Luna LCD Display Replacement: шаг 6, изображение 1 из 3 XtremeMac Luna LCD Display Replacement: шаг 6, изображение 2 из 3 XtremeMac Luna LCD Display Replacement: шаг 6, изображение 3 из 3
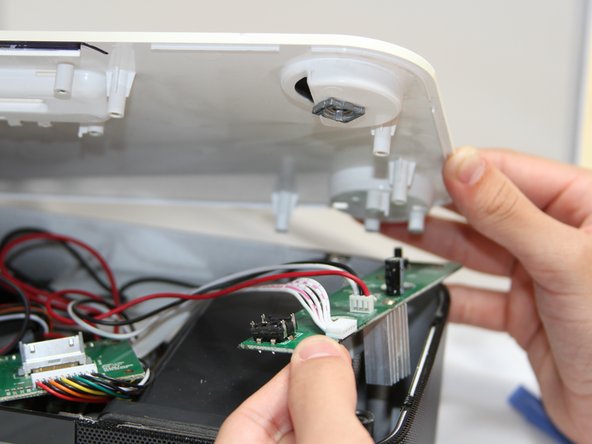
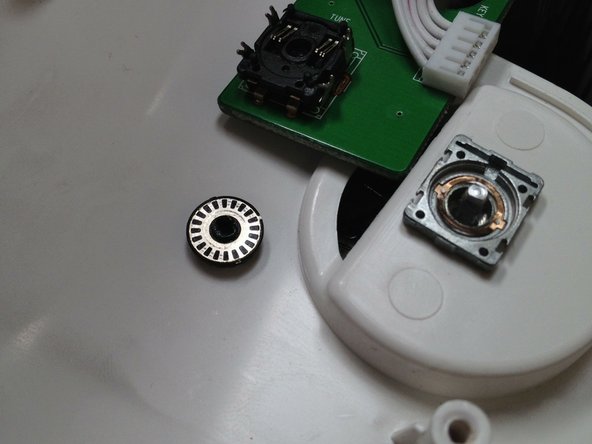
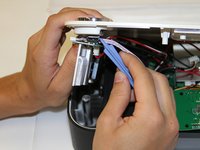
    • Use a plastic opening tool to pry the black connections away from the top casing.

    • Be attentive when you separate the circuit boards from the top, as there is a loose wheel inside.

    Спросите у FixBot

    Добавить комментарий

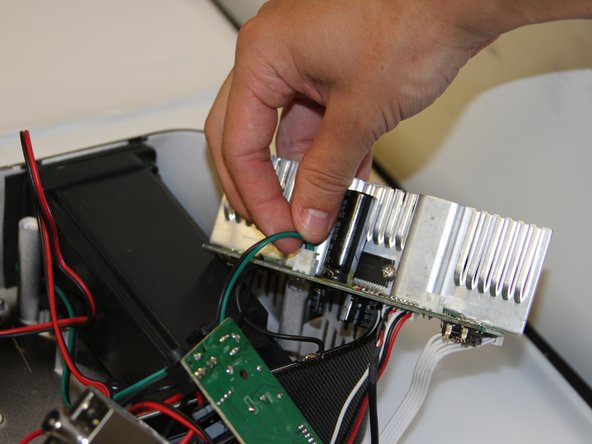
  7. XtremeMac Luna LCD Display Replacement: шаг 7, изображение 1 из 2 XtremeMac Luna LCD Display Replacement: шаг 7, изображение 2 из 2
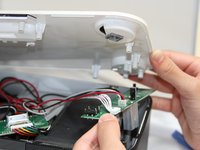
    • Turn the circuit boards over. Remove the two connections on the left side by pulling on the tabs.

    • The glue that holds the connection together will come off when you pull. Pull on the tab with enough force to break the glue without damaging the wires.

    Спросите у FixBot

    Добавить комментарий

  8. XtremeMac Luna LCD Display Replacement, Speakers: шаг 8, изображение 1 из 2 XtremeMac Luna LCD Display Replacement, Speakers: шаг 8, изображение 2 из 2
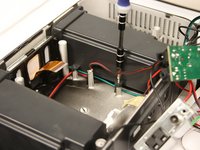
    • Unscrew four 7mm Phillips screws from the base of each speaker unit.

    Спросите у FixBot

    Добавить комментарий

  9. XtremeMac Luna LCD Display Replacement: шаг 9, изображение 1 из 3 XtremeMac Luna LCD Display Replacement: шаг 9, изображение 2 из 3 XtremeMac Luna LCD Display Replacement: шаг 9, изображение 3 из 3
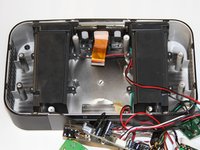
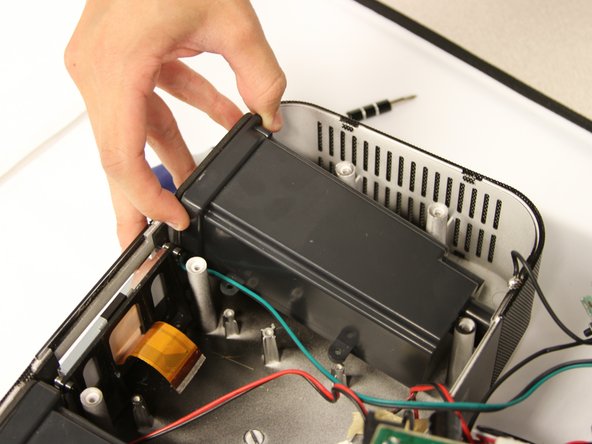
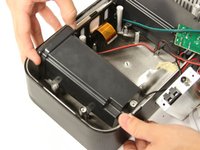
    • Lift the speakers up out of the Luna chassis.

    Спросите у FixBot

    Добавить комментарий

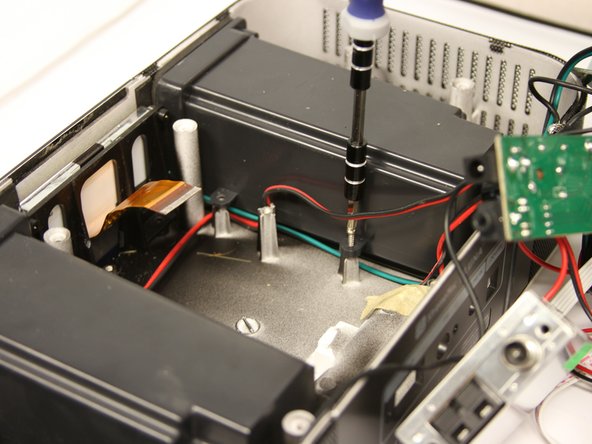
  10. XtremeMac Luna LCD Display Replacement, LCD Display: шаг 10, изображение 1 из 2 XtremeMac Luna LCD Display Replacement, LCD Display: шаг 10, изображение 2 из 2
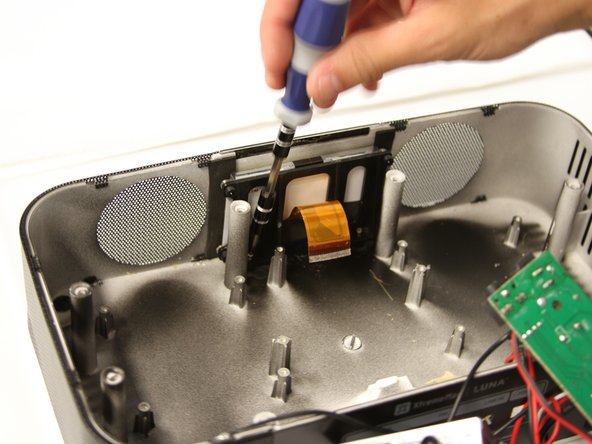
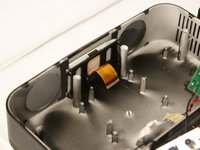
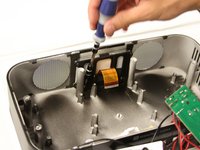
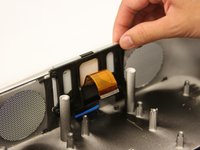
    • Unscrew two 10mm silver screws at the base of the LCD screen to free it from the chassis.

    Спросите у FixBot

    Добавить комментарий

  11. XtremeMac Luna LCD Display Replacement: шаг 11, изображение 1 из 2 XtremeMac Luna LCD Display Replacement: шаг 11, изображение 2 из 2
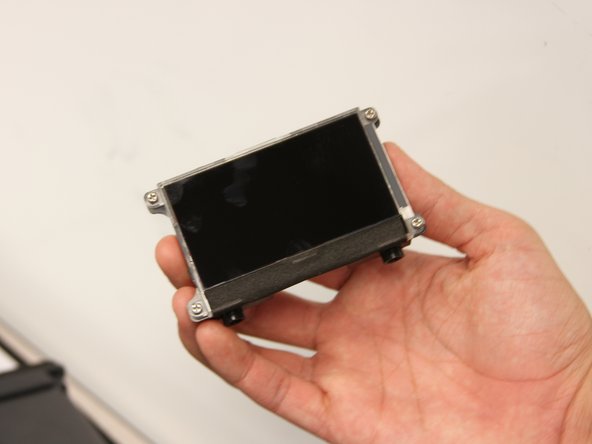
    • Gently pull up on the LCD screen to remove it.

    Спросите у FixBot

    Добавить комментарий

Заключение

To reassemble your device, follow these instructions in reverse order.

Отменить: Я не выполнил это руководство.

Matt Ducasse

Участник с: 04/18/13

12 Репутация

Автор 3 руководств

Команда

Cal Poly, Team 3-47, Amido Spring 2013 Участник Cal Poly, Team 3-47, Amido Spring 2013

CPSU-AMIDO-S13S3G47

4 членов

Автор 8 руководств

0 Комментарии к руководству

Добавить комментарий

Статистика просмотров:

За последние 24 часов: 0

За последние 7 дней: 5

За последние 30 дней: 23

За всё время: 688