Перейти к основному содержанию
Присоединяйся к сообществу ремонтников - Создай аккаунт

hp folio13 lcd Replacement

Выберете то, что вам нужно

  1. hp folio13 lcd Replacement, lcd: шаг 1, изображение 1 из 1
    • In the following general have screws Usually hidden in a small screw below the cover sheet

    Спросите у FixBot
  2. hp folio13 lcd Replacement: шаг 2, изображение 1 из 1
    • In the notebook shell intermediate insert a thin card This will separate the shell

    Спросите у FixBot
  3. hp folio13 lcd Replacement: шаг 3, изображение 1 из 2 hp folio13 lcd Replacement: шаг 3, изображение 2 из 2
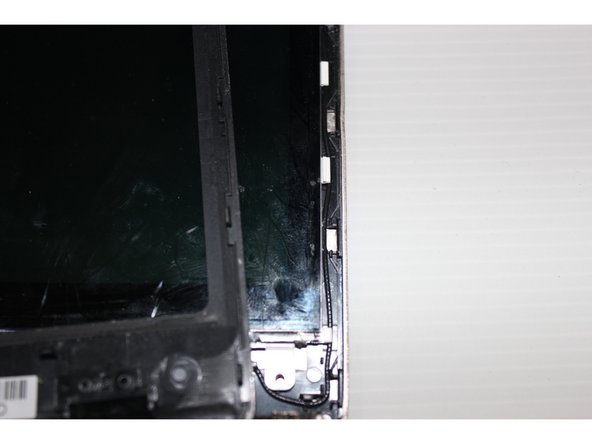
    • To separate the shell casing removed some attention how to combine together The perfect time to go into the screen You will understand how to combine together

    Спросите у FixBot
  4. hp folio13 lcd Replacement: шаг 4, изображение 1 из 2 hp folio13 lcd Replacement: шаг 4, изображение 2 из 2
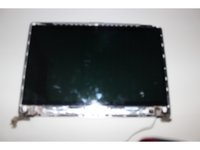
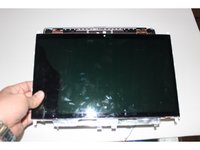
    • Many models of LCD directly could get down But this machine's LCD screen needs to move down flat push

    Спросите у FixBot
  5. hp folio13 lcd Replacement: шаг 5, изображение 1 из 2 hp folio13 lcd Replacement: шаг 5, изображение 2 из 2
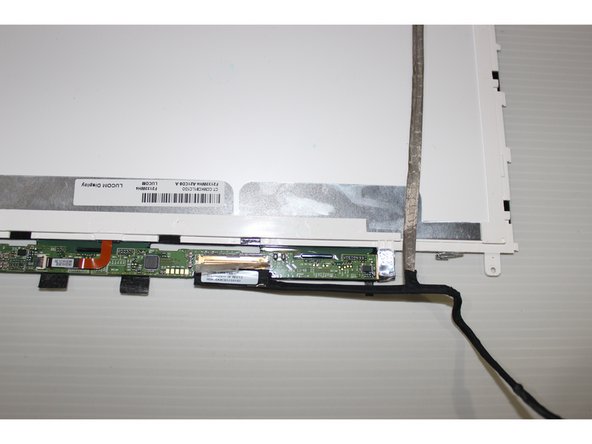
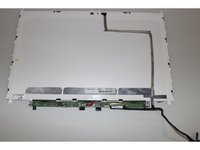
    • The LCD screen upside down We can put the screen line to win Must pay attention to the screen wire interface

    Спросите у FixBot
  6. hp folio13 lcd Replacement: шаг 6, изображение 1 из 2 hp folio13 lcd Replacement: шаг 6, изображение 2 из 2
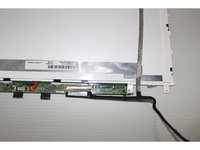
    • The new LCD and then put the housing installed Screws installed on the notebook intact You can continue to work

    Спросите у FixBot
Заключение

To reassemble your device, follow these instructions in reverse order.

Еще один человек закончил это руководство.

eastar

Участник с: 01/09/16

25 Репутация

1 руководство автора

0 Комментарии к руководству

Добавить комментарий

Статистика просмотров:

За последние 24 часов: 1

За последние 7 дней: 6

За последние 30 дней: 41

За всё время: 664