Введение
This guide demonstrates how to place the battery from the iW1 speaker. If your device is not holding charge, or it will not turn on at all, replacing the battery is a good solution.
Выберете то, что вам нужно
-
-
-
Remove the rubber from the bottom of the speaker, use a medium blue plastic spudger to gently work its way under the rubber and slowly peel off for each of the three feet. The order does not matter.
 Спросите у FixBot
-
-
-
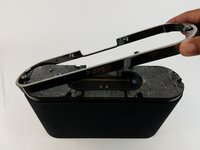
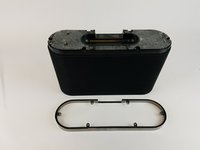
Remove the six 11 mm Philips #1 screws found underneath the foam to remove the steel outer metal frame.
-
Once the screws come off, keep them safely off to the side.
-
-
-
-
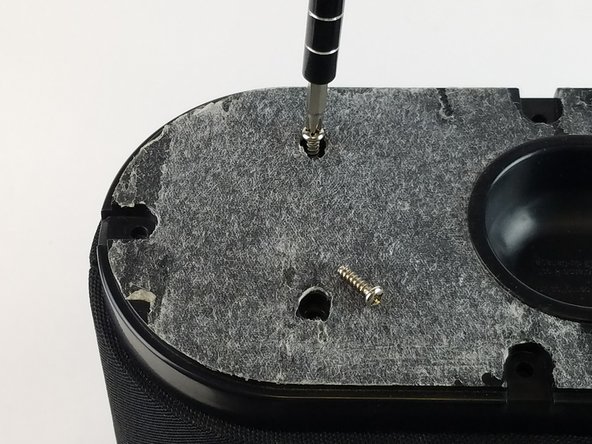
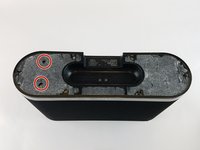
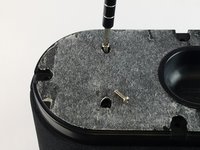
Remove the two remaining 11 mm Philips #1 screws holding the base and set them aside.
-
-
-
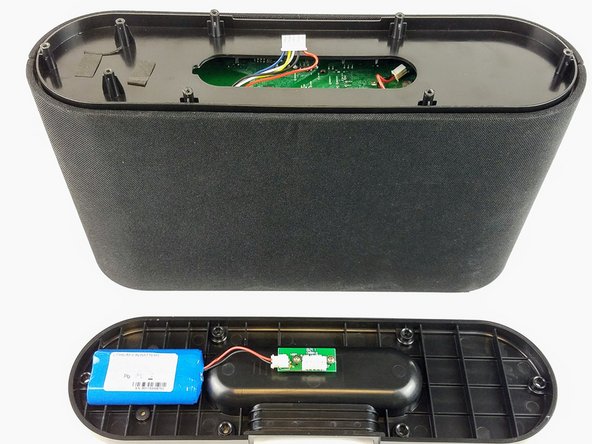
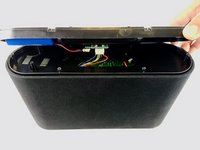
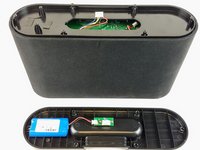
Lift the base up gently keeping in mind that the base is connected with wires to internal parts of the speaker.
-
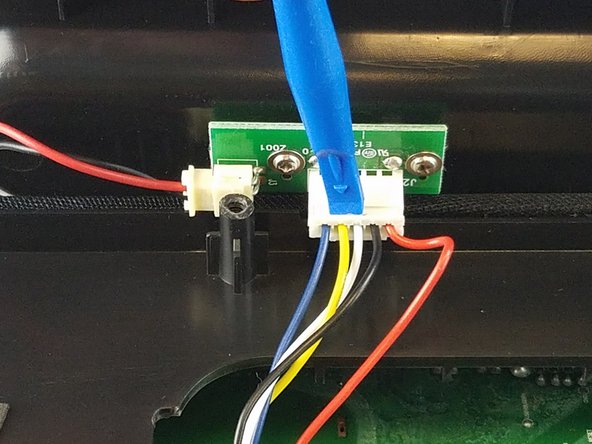
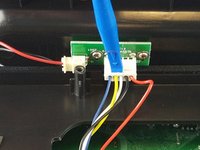
Disconnect the white bundled cable connector attached to the charging node using a spudger. The base of the speaker is now free to be removed.
-
-
-
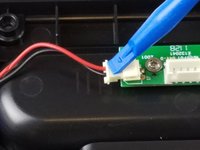
Remove the white power cable connector that connects the charging node to the battery, using the plastic spudger.
-
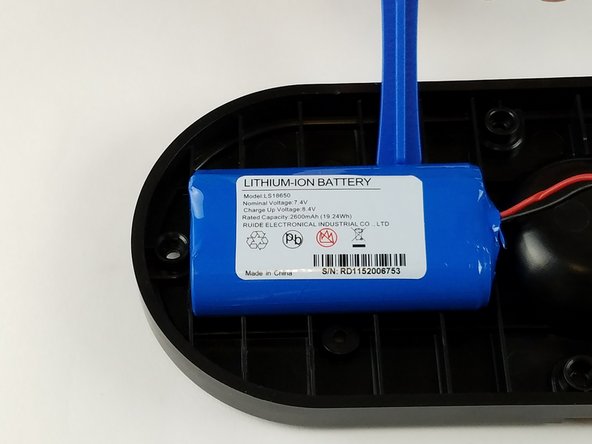
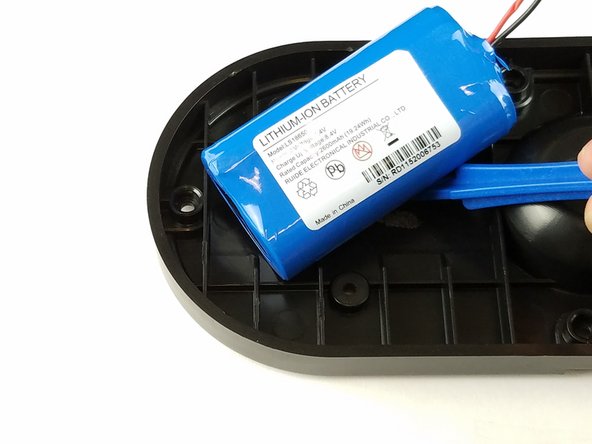
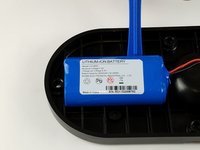
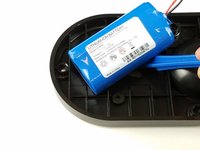
Pry the battery off using the plastic spudger.
-
-





To reassemble your device, follow these instructions in reverse order.
Отменить: Я не выполнил это руководство.
2 человек успешно провели ремонт по этому руководству.

Команда

USF Tampa, Team 20-6, Remmell Spring 2017 Участник USF Tampa, Team 20-6, Remmell Spring 2017
USFT-REMMELL-S17S20G6
4 членов
Автор 18 руководств
