Перейти к основному содержанию

iPhone 16 Pro 5G mmWave Antenna Removal

Абсолютно необходимое руководство
Это руководство предназначено только для использования в качестве обязательного условия для других руководств. Оно не полностью само по себе.

Выберете то, что вам нужно

  1. iPhone 16 Pro 5G mmWave Antenna Removal, Prepare your phone for disassembly: шаг 1, изображение 1 из 2 iPhone 16 Pro 5G mmWave Antenna Removal, Prepare your phone for disassembly: шаг 1, изображение 2 из 2
    • Allow your phone's battery to drain below 25%, as a charged lithium-ion battery is a potential safety hazard.

    • Unplug any cables from your phone.

    • Hold the power and either volume buttons and slide to power off your phone.

  2. iPhone 16 Pro 5G mmWave Antenna Removal, Tape over any cracks: шаг 2, изображение 1 из 2 iPhone 16 Pro 5G mmWave Antenna Removal, Tape over any cracks: шаг 2, изображение 2 из 2
    • If your screen or back glass is badly cracked, lay overlapping strips of packing tape over the glass to protect yourself and make disassembly easier.

    • Make sure there's a smooth area near the bottom edge that's big enough for a suction cup to stick to.

  3. iPhone 16 Pro 5G mmWave Antenna Removal, Mark your opening picks: шаг 3, изображение 1 из 3 iPhone 16 Pro 5G mmWave Antenna Removal, Mark your opening picks: шаг 3, изображение 2 из 3 iPhone 16 Pro 5G mmWave Antenna Removal, Mark your opening picks: шаг 3, изображение 3 из 3
    • If inserted too far, an opening pick can damage your device. Follow this step to mark your pick and prevent damage.

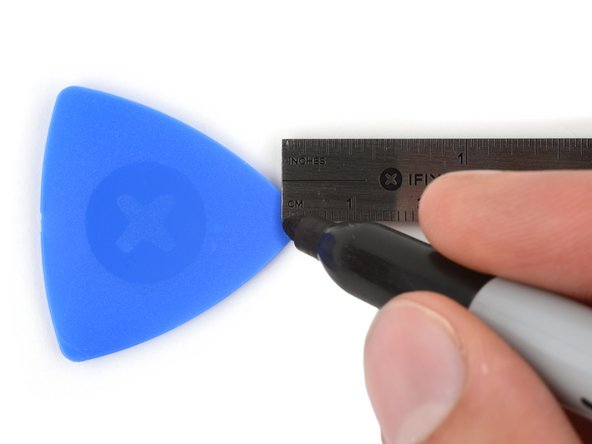
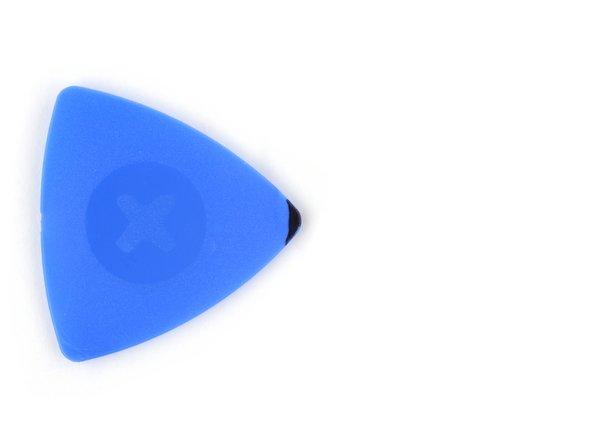
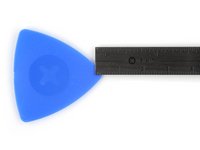
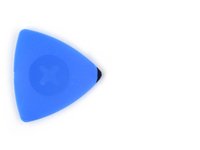
    • Measure 3 mm from the tip and mark the opening pick with a permanent marker.

    • You can also mark the other corners of the pick with different measurements.

    • Alternatively, tape a coin to a pick 3 mm from the tip.

  4. iPhone 16 Pro 5G mmWave Antenna Removal, Remove the pentalobe screws: шаг 4, изображение 1 из 2 iPhone 16 Pro 5G mmWave Antenna Removal, Remove the pentalobe screws: шаг 4, изображение 2 из 2
    • Use a P2 pentalobe screwdriver to remove the two 7.4 mm‑long screws on either side of the USB-C port.

  5. iPhone 16 Pro 5G mmWave Antenna Removal, Disconnect the earpiece speaker: шаг 5, изображение 1 из 3 iPhone 16 Pro 5G mmWave Antenna Removal, Disconnect the earpiece speaker: шаг 5, изображение 2 из 3 iPhone 16 Pro 5G mmWave Antenna Removal, Disconnect the earpiece speaker: шаг 5, изображение 3 из 3
    • The 5G mmWave antenna is only in United States and Puerto Rico iPhone 16 Pros (model A3083). For all other models, skip the next four steps.

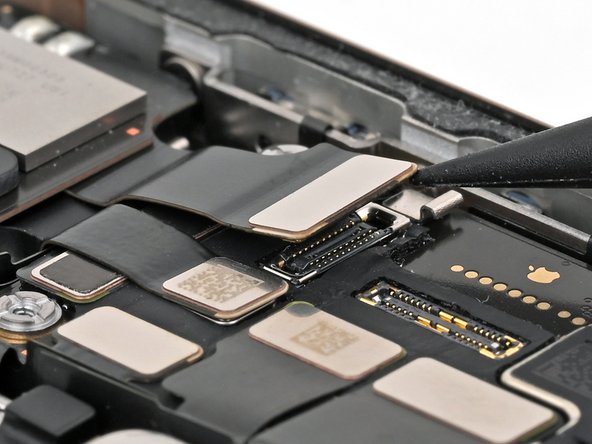
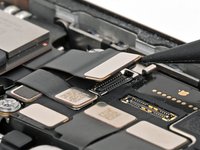
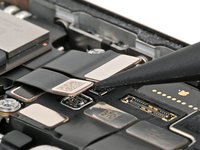
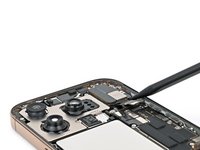
    • Use the point of a spudger to pry up and disconnect the earpiece speaker and 5G mmWave antenna press connectors, located on the top right corner of the logic board.

  6. iPhone 16 Pro 5G mmWave Antenna Removal, Remove the earpiece speaker: шаг 6, изображение 1 из 1
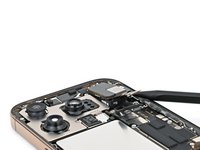
    • Use a Phillips screwdriver to remove the six screws securing the earpiece speaker:

    • Three 1.2 mm‑long screws

    • Two 1.8 mm‑long screws

    • One 1.7 mm‑long screw

  7. iPhone 16 Pro 5G mmWave Antenna Removal: шаг 7, изображение 1 из 3 iPhone 16 Pro 5G mmWave Antenna Removal: шаг 7, изображение 2 из 3 iPhone 16 Pro 5G mmWave Antenna Removal: шаг 7, изображение 3 из 3
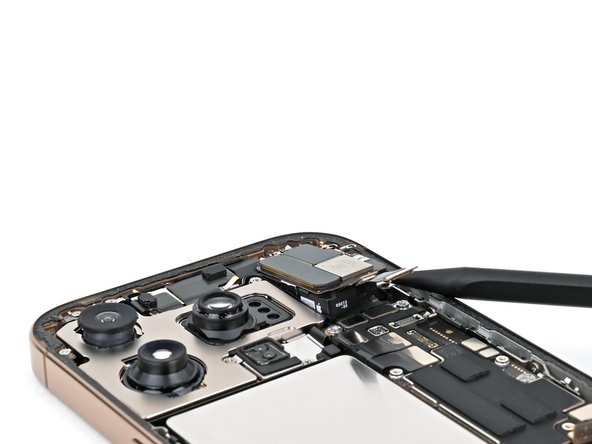
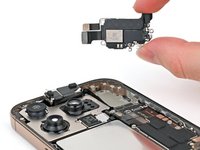
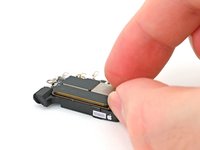
    • Insert the point of a spudger in the bottom-right corner of the earpiece speaker and pry it up to remove it.

    • You may feel some resistance near the top edge, where the speaker gasket seals against the frame. Pull the speaker out gently to release the seal.

    • During reassembly, insert the top edge of the earpiece speaker into its cutout at a downward angle before pressing it flat to the frame.

    • You may have to lift the front camera assembly slightly to get the earpiece speaker in its cutout. Insert the antenna and earpiece speaker cables to the right of the front camera cables, then gently press the front camera into its cutout before pushing its cables flush with the rear cameras.

  8. iPhone 16 Pro 5G mmWave Antenna Removal, Remove the stretch release adhesive: шаг 8, изображение 1 из 3 iPhone 16 Pro 5G mmWave Antenna Removal, Remove the stretch release adhesive: шаг 8, изображение 2 из 3 iPhone 16 Pro 5G mmWave Antenna Removal, Remove the stretch release adhesive: шаг 8, изображение 3 из 3
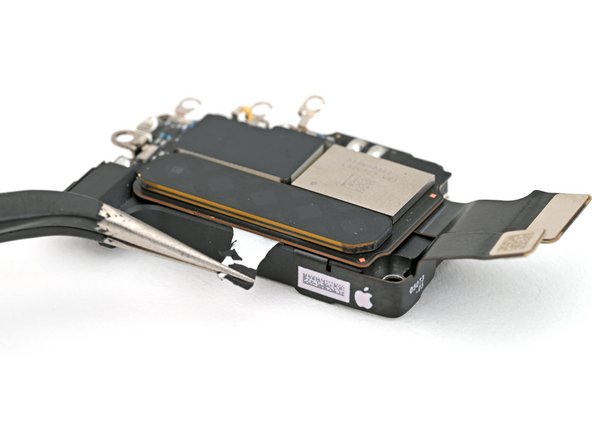
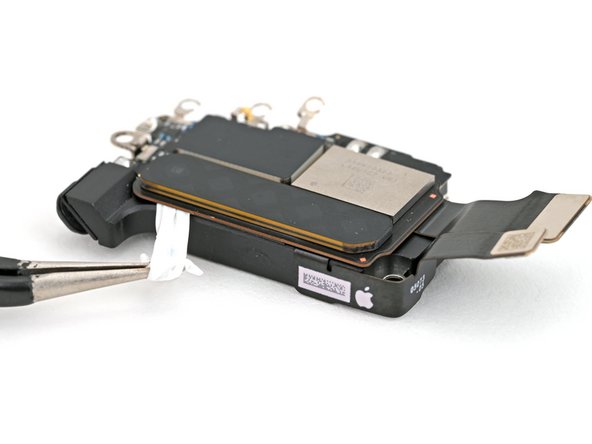
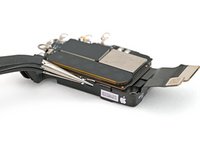
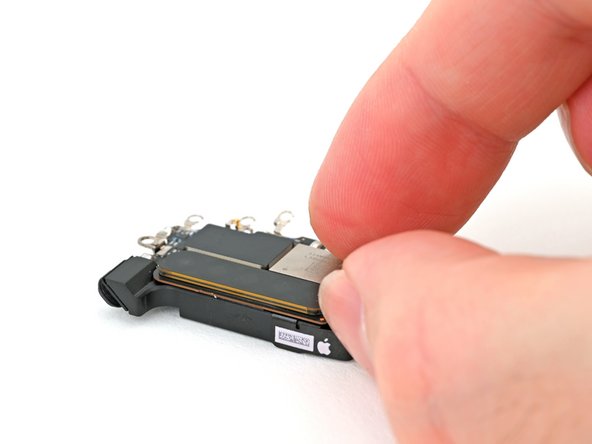
    • Use your tweezers to grab the stretch release adhesive pull tab, located on the edge of the 5G mmWave antenna.

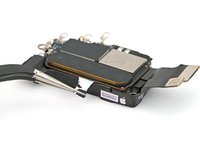
    • Use your tweezers to pull the stretch release adhesive strip out slowly and steadily at a low angle. Give it plenty of time to stretch and un-stick from under the antenna.

    • For additional grip, you can twist the adhesive around the tip of the tweezers while you pull.

    • If the adhesive strip breaks off, try to retrieve it with your tweezers and continue pulling.

  9. iPhone 16 Pro 5G mmWave Antenna Removal, Remove the antenna: шаг 9, изображение 1 из 2 iPhone 16 Pro 5G mmWave Antenna Removal, Remove the antenna: шаг 9, изображение 2 из 2
    Инструмент, используемый на этом этапе:
    Tesa 61395 Tape
    $2.99
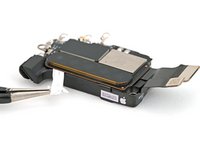
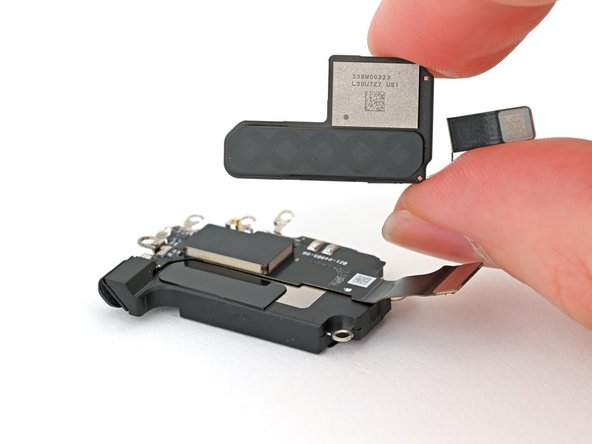
    • Lift the 5G mmWave antenna off the earpiece speaker and remove it.

    • During reassembly:

    • Use tweezers or a spudger to remove the old adhesive from the top of the earpiece speaker and back of the antenna.

    • If your replacement part doesn't include new adhesive, use a 4 mm x 16 mm strip and pre-cut square of thin, double-sided tape to secure the antenna to the earpiece speaker.

    • Press the antenna onto the earpiece speaker to adhere it.

Заключение

To reassemble your iPhone, follow these instructions in reverse order.

Take your e-waste to an R2 or e-Stewards certified recycler.

Repair didn’t go as planned? Try some basic troubleshooting, or ask our iPhone 16 Pro Answers Community for help.

Nick Schultz

Участник с: 03/24/24

19 174 Репутация

Автор 113 руководств

Команду

iFixit Участник iFixit

Staff

118 членов

Автор 19 547 руководств

0 Комментариев

Добавить комментарий

Статистика просмотров:

За последние 24 час(ов): 0

За последние 7 дней: 12

За последние 30 дней: 12

За всё время: 15