Перейти к основному содержанию
Присоединяйся к сообществу ремонтников - Создай аккаунт

iRobot Braava 320 Wheel Replacement

Выберете то, что вам нужно

  1. iRobot Braava 320 Wheel Replacement, Battery: шаг 1, изображение 1 из 1
    • Flip your device over and locate the battery cover.

    • The battery cover is located in the center of the device in between both wheels.

    Спросите у FixBot
    Добавить комментарий

  2. iRobot Braava 320 Wheel Replacement: шаг 2, изображение 1 из 1
    • Using a Flathead #4 screwdriver, gently turn the 12mm screw that holds the battery cover in.

    • The screw does not remove, it stays attached to the cover.

    Спросите у FixBot

    Добавить комментарий

  3. iRobot Braava 320 Wheel Replacement: шаг 3, изображение 1 из 2 iRobot Braava 320 Wheel Replacement: шаг 3, изображение 2 из 2
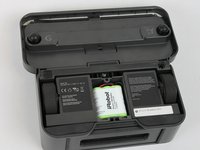
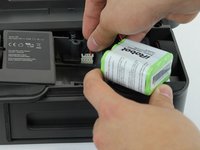
    • Gently remove the battery from the tray and disconnect the battery cable.

    • To remove the battery, pull it straight up. To disconnect the cable, gently pull it straight out of the connector.

    • To reinstall the cable, hold it near the end and gently push it in the connector.

    Спросите у FixBot
    Добавить комментарий

  4. iRobot Braava 320 Wheel Replacement, Body Shell and Control Panel: шаг 4, изображение 1 из 1
    • With the battery removed, rotate your device so the front of it is facing you.

    • Remove the four 10mm Phillips #2 screws that attach the shell.

    Спросите у FixBot
    Добавить комментарий

  5. iRobot Braava 320 Wheel Replacement: шаг 5, изображение 1 из 2 iRobot Braava 320 Wheel Replacement: шаг 5, изображение 2 из 2
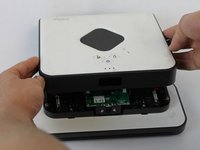
    • Using both hands, hold the device together while you flip it over.

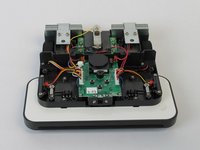
    • Starting from the front, gently lift up the shell and slowly tilt back until it is fully removed.

    Спросите у FixBot
    Добавить комментарий

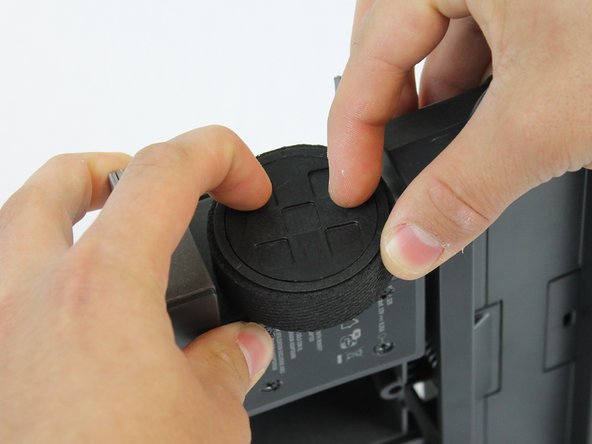
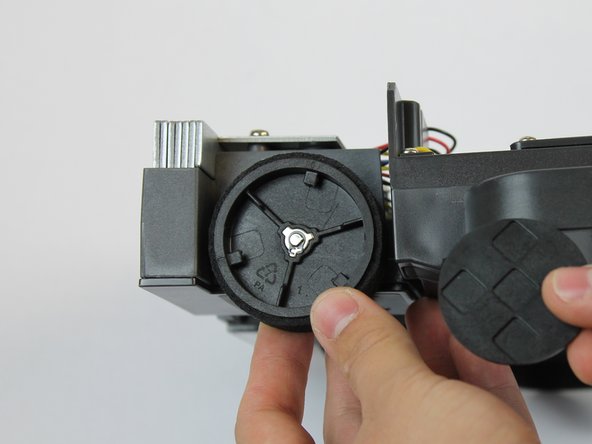
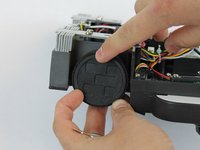
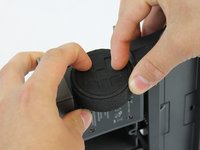
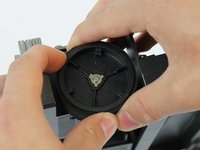
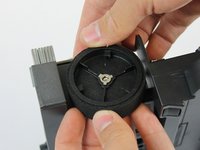
  6. iRobot Braava 320 Wheel Replacement, Wheel: шаг 6, изображение 1 из 3 iRobot Braava 320 Wheel Replacement, Wheel: шаг 6, изображение 2 из 3 iRobot Braava 320 Wheel Replacement, Wheel: шаг 6, изображение 3 из 3
    • To remove the wheel covers, hold the wheel in place with one hand while turning the cover clock-wise with the other.

    • The cover should come off as soon as you hear a 'click' sound.

    • When replacing the cover, align the notches on the cover just to the right of the ones on the wheel.

    Спросите у FixBot
    Добавить комментарий

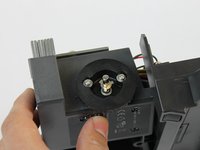
  7. iRobot Braava 320 Wheel Replacement: шаг 7, изображение 1 из 3 iRobot Braava 320 Wheel Replacement: шаг 7, изображение 2 из 3 iRobot Braava 320 Wheel Replacement: шаг 7, изображение 3 из 3
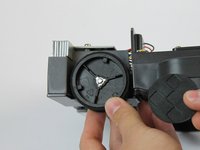
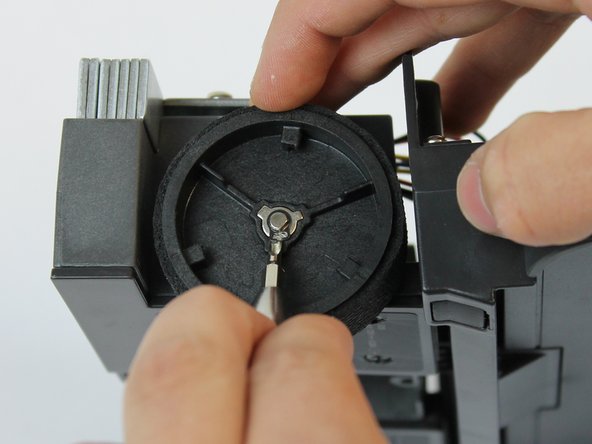
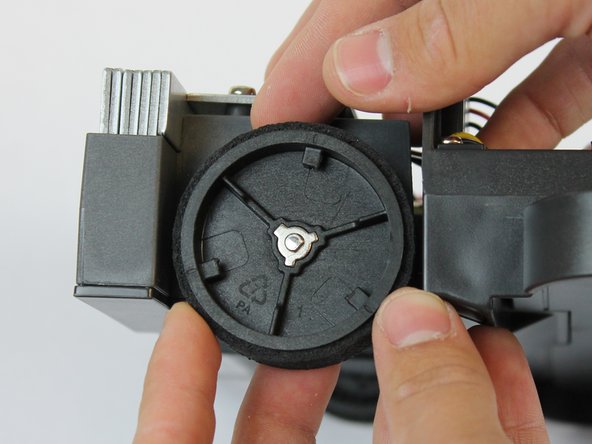
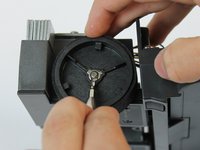
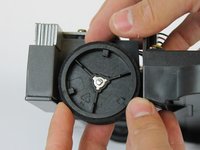
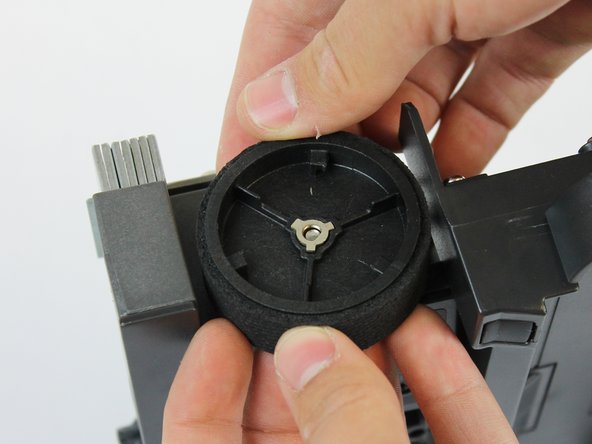
    • Using a small Flathead screwdriver, remove the small black clip in the center of the wheel.

    • To ensure the clip does not fly off, place your hand over the wheel to cover it as you remove the clip.

    Спросите у FixBot
    Добавить комментарий

  8. iRobot Braava 320 Wheel Replacement: шаг 8, изображение 1 из 3 iRobot Braava 320 Wheel Replacement: шаг 8, изображение 2 из 3 iRobot Braava 320 Wheel Replacement: шаг 8, изображение 3 из 3
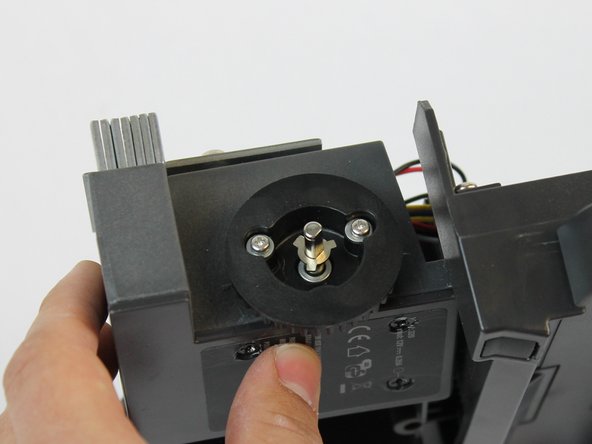
    • Once the small black clip is removed, the wheel should come off by gently pulling on it.

    • Be careful not to lose the two small chrome pieces located on each side of the wheel.

    Спросите у FixBot

    Добавить комментарий

Заключение

To reassemble your device, follow these instructions in reverse order.

Отменить: Я не выполнил это руководство.

14 человек успешно провели ремонт по этому руководству.

Ruven Tapia-Vargas

Участник с: 02/28/17

409 Репутация

1 руководство автора

Команда

USF Tampa, Team S1-G3, Nance Spring 2017 Участник USF Tampa, Team S1-G3, Nance Spring 2017

USFT-NANCE-S17S1G3

4 членов

Автор 10 руководств

1 Комментарий к руководству

O roteiro descritivo para a troca das rodas do Braava foi muito útil. Obrigada!

Vanilda Chueiri - Ответить Поделиться

Добавить комментарий

Статистика просмотров:

За последние 24 часов: 0

За последние 7 дней: 11

За последние 30 дней: 48

За всё время: 10,679