Перейти к основному содержанию
Присоединяйся к сообществу ремонтников - Создай аккаунт

Backbone One Right Mainboard Replacement

Выберете то, что вам нужно

    1. Backbone One Right Mainboard Replacement, Remove the screws: шаг 1, изображение 1 из 1
      • Use a Phillips screwdriver to remove the four 5.9 mm-long screws.

      Спросите у FixBot

      Добавить комментарий

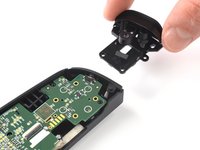
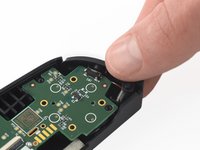
    2. Backbone One Right Mainboard Replacement, Rotate the upper part: шаг 2, изображение 1 из 3 Backbone One Right Mainboard Replacement, Rotate the upper part: шаг 2, изображение 2 из 3 Backbone One Right Mainboard Replacement, Rotate the upper part: шаг 2, изображение 3 из 3
      • Lift up the upper cover of the controller.

      • Swing the upper cover over and place it on the controller case.

      • Make sure that the interconnecting cable has no tension.

      Спросите у FixBot

      Добавить комментарий

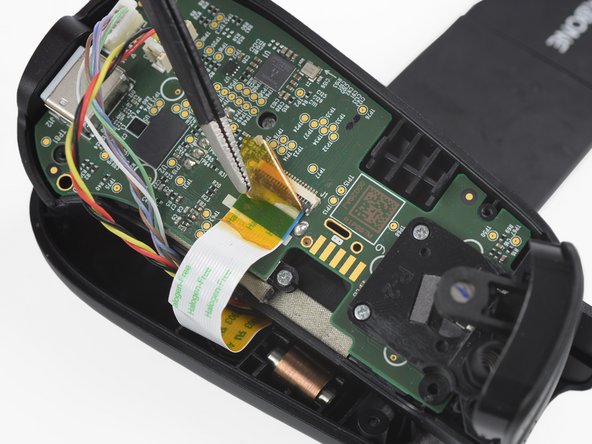
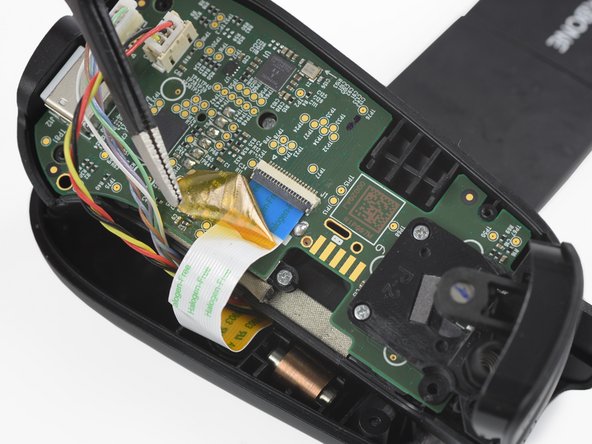
    1. Backbone One Right Mainboard Replacement, Remove the protective tape: шаг 3, изображение 1 из 3 Backbone One Right Mainboard Replacement, Remove the protective tape: шаг 3, изображение 2 из 3 Backbone One Right Mainboard Replacement, Remove the protective tape: шаг 3, изображение 3 из 3
      Инструмент, используемый на этом этапе:
      Tweezers
      $4.99
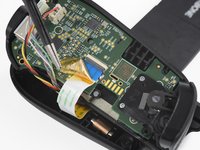
      • Use a pair of tweezers to remove the yellow protective tape which is placed over the interconnect cable and the connector.

      Спросите у FixBot

      Добавить комментарий

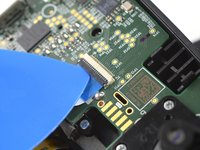
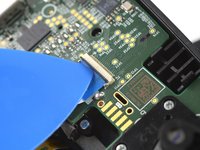
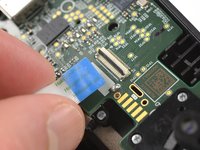
    2. Backbone One Right Mainboard Replacement, Open the interconnect cable ZIF connector: шаг 4, изображение 1 из 3 Backbone One Right Mainboard Replacement, Open the interconnect cable ZIF connector: шаг 4, изображение 2 из 3 Backbone One Right Mainboard Replacement, Open the interconnect cable ZIF connector: шаг 4, изображение 3 из 3
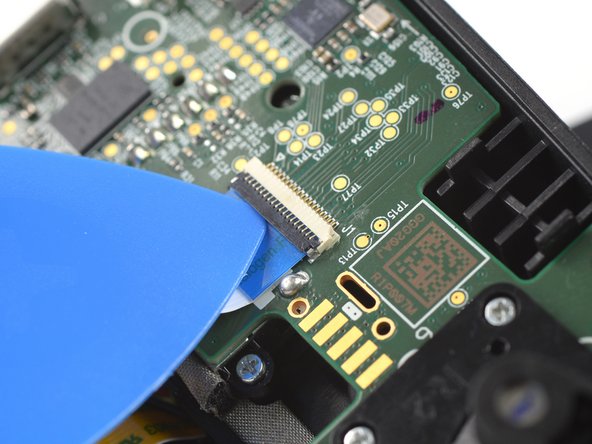
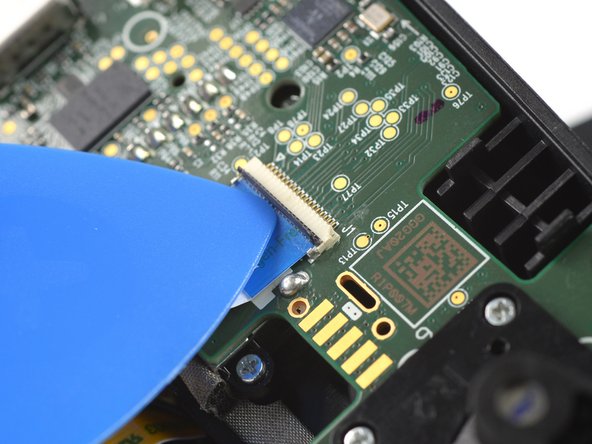
      • Use the tip of an opening pick to open the gray flap of the interconnect cable ZIF connector by pushing it upwards.

      Спросите у FixBot

      Добавить комментарий

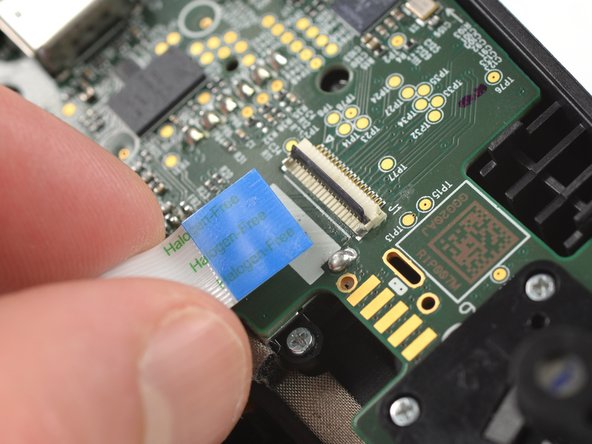
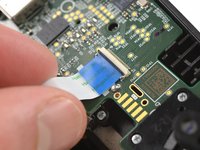
    3. Backbone One Right Mainboard Replacement, Disconnect the interconnect cable: шаг 5, изображение 1 из 2 Backbone One Right Mainboard Replacement, Disconnect the interconnect cable: шаг 5, изображение 2 из 2
      • Disconnect the cable by pulling it straight out the ZIF connector.

      Спросите у FixBot

      Добавить комментарий

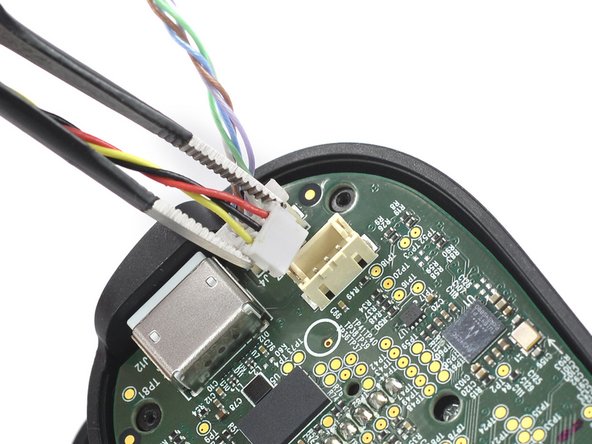
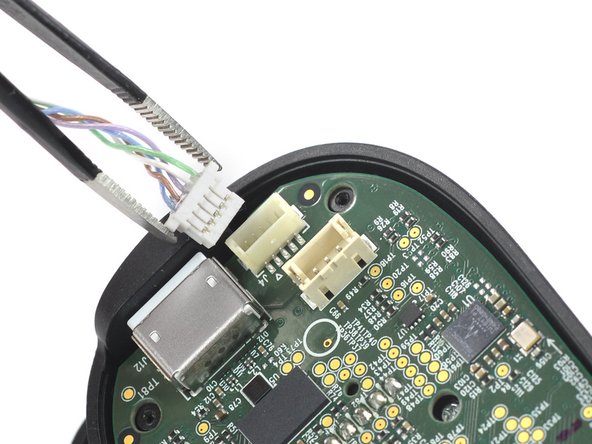
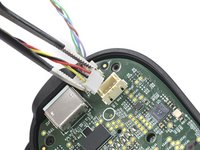
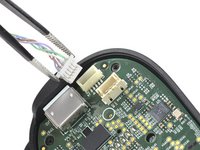
    4. Backbone One Right Mainboard Replacement, Disconnect the phone connector cables: шаг 6, изображение 1 из 3 Backbone One Right Mainboard Replacement, Disconnect the phone connector cables: шаг 6, изображение 2 из 3 Backbone One Right Mainboard Replacement, Disconnect the phone connector cables: шаг 6, изображение 3 из 3
      • Use a pair of tweezers to disconnect the phone connector cables out from their sockets.

      Спросите у FixBot

      Добавить комментарий

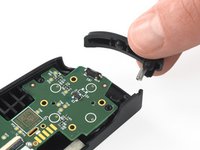
    5. Backbone One Right Mainboard Replacement, Separate the upper case: шаг 7, изображение 1 из 1
      • Separate the the upper case of the left controller handle.

      Спросите у FixBot

      Добавить комментарий

    6. Backbone One Right Mainboard Replacement, Remove the screws: шаг 8, изображение 1 из 1
      • Use a Phillips screwdriver to remove the three 5.9 mm-long screws.

      Спросите у FixBot

      Добавить комментарий

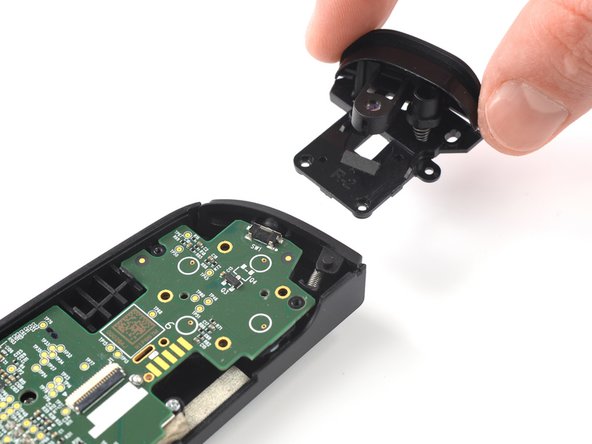
    7. Backbone One Right Mainboard Replacement, Remove the trigger: шаг 9, изображение 1 из 2 Backbone One Right Mainboard Replacement, Remove the trigger: шаг 9, изображение 2 из 2
      • Remove the trigger.

      Спросите у FixBot

      Добавить комментарий

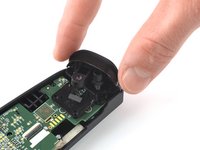
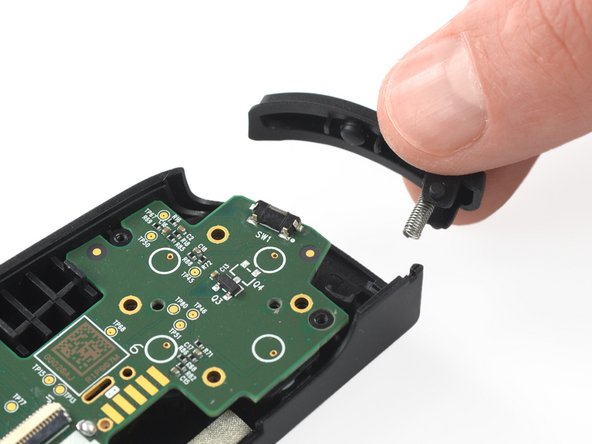
    1. Backbone One Right Mainboard Replacement, Remove the bumper: шаг 10, изображение 1 из 2 Backbone One Right Mainboard Replacement, Remove the bumper: шаг 10, изображение 2 из 2
      • Remove the bumper.

      Спросите у FixBot

      Добавить комментарий

    1. Backbone One Right Mainboard Replacement, Remove the screws: шаг 11, изображение 1 из 1
      • Use a Phillips screwdriver to remove the two 3.9 mm-long screws.

      Спросите у FixBot

      Добавить комментарий

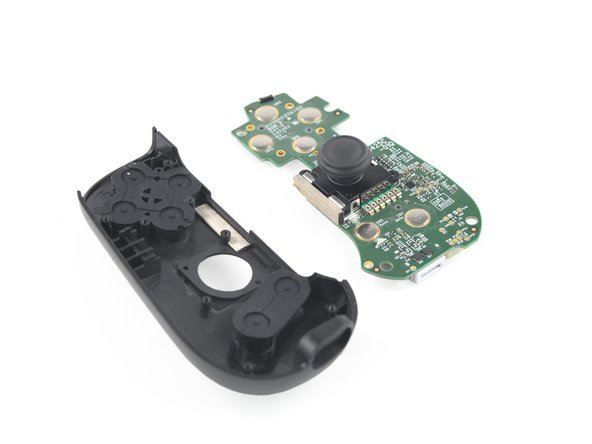
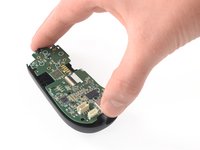
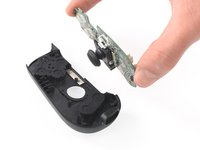
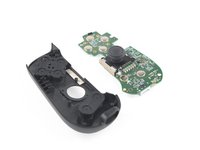
    2. Backbone One Right Mainboard Replacement, Remove the mainboard: шаг 12, изображение 1 из 3 Backbone One Right Mainboard Replacement, Remove the mainboard: шаг 12, изображение 2 из 3 Backbone One Right Mainboard Replacement, Remove the mainboard: шаг 12, изображение 3 из 3
      • Remove the mainboard.

      Спросите у FixBot

      Добавить комментарий

Заключение

To reassemble your device, follow these instructions in reverse order.

Take your e-waste to an R2 or e-Stewards certified recycler.

Repair didn’t go as planned? Ask our Answers community for help.

Отменить: Я не выполнил это руководство.

Еще один человек закончил это руководство.

Adriana Zwink

Участник с: 12/18/19

68 115 Репутация

Автор 167 руководств

Команда

iFixit Участник iFixit

Staff

123 членов

Автор 67 903 руководств

1 Комментарий к руководству

Where do I find this replacement part?

pete_r10@live.com - Ответить Поделиться
Добавить комментарий

Статистика просмотров:

За последние 24 часов: 1

За последние 7 дней: 22

За последние 30 дней: 46

За всё время: 2,136