Введение
If your Blu Grand M2 smartphone has a display problem—a shattered screen, a screen with vertical lines, or a flickering screen, use this guide to replace the display screen of your phone in six easy steps.
The display screen is used to provide inputs and outputs to the user. A faulty display screen will prevent a user from using the smartphone functionalities such as the touch screen feature.
Before using this guide, be aware that this solution works only with the Blu Grand M2 smartphones. Be sure to check your phone model before using this guide.
Step 5 requires you to use an iOpener from the iFixit toolkit before you can remove the display screen. Be careful not to overheat the iOpener during the repair. Overheating may cause the iOpener to burst.
Before beginning, make sure to power off your phone completely and disconnect from any external power source.
Выберете то, что вам нужно
-
-
-
Before beginning the guide, be sure that this replacement guide addresses your specific problem.
-
Locate the two Torx screws at the bottom of the phone and remove them.
 Спросите у FixBot
-
-
-
Use the pry tool to wedge between the phone's frame and the back plate.
-
Carefully remove the back plate using the suction tool.
-
-
-
-
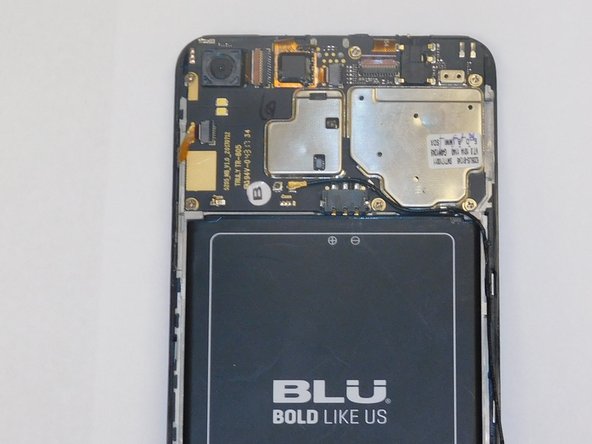
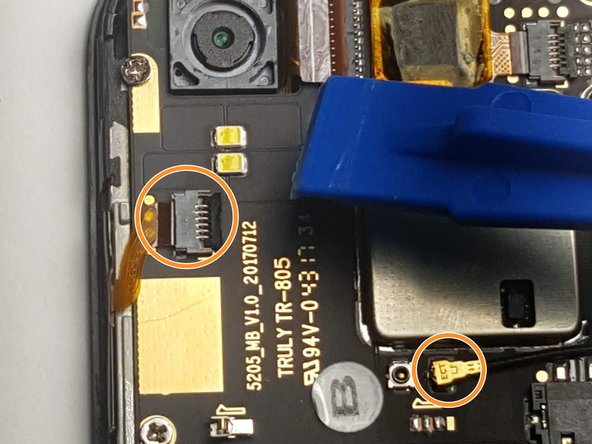
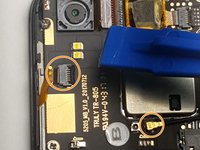
Once the back panel is removed, locate the connector of the display shown in figure 1 on the motherboard side.
-
There will be an orange sticker above the previously mentioned connector. You can gently lift the connector up to release it.
-
Disconnect the two remaining connectors shown in figure 3.
-
-
-
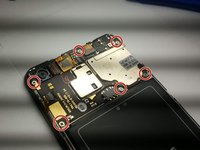
After removing the connectors, locate the six Phillips screws on the motherboard side and remove them.
-
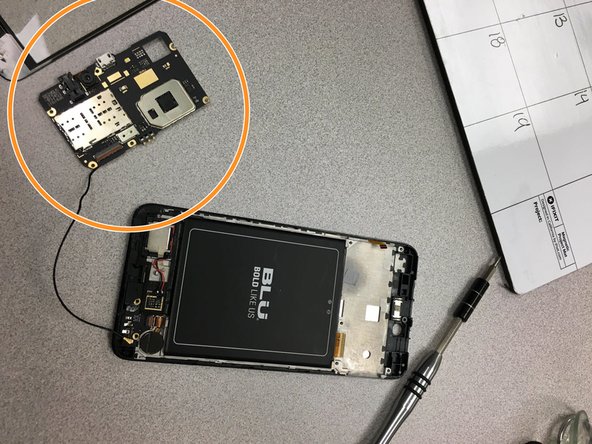
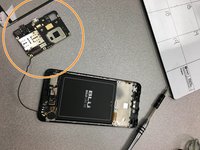
After removing the six Phillips screws, remove the motherboard piece.
-
-
-
Once you have removed the motherboard piece, flip the phone so the screen is facing up and begin using the iOpener.
-
Heat up the iOpener from the iFixit kit for 30 seconds in a microwave and apply it on top of the screen to loosen the phone's adhesive.
-
-
-
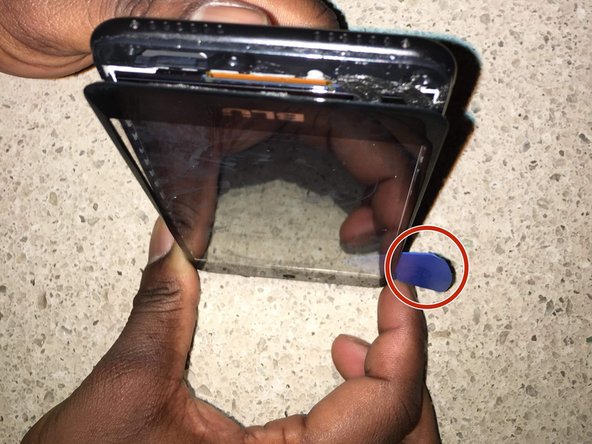
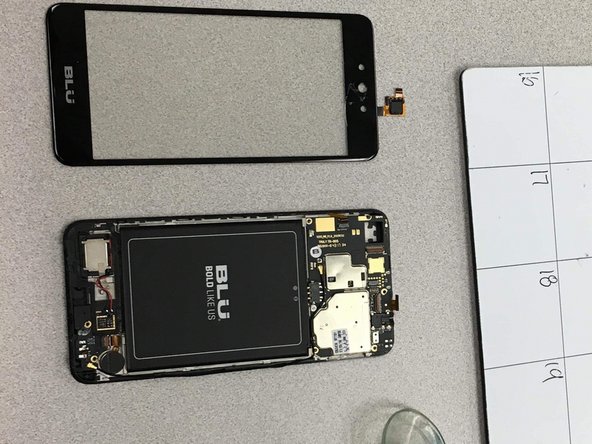
Using the suction tool, slowly pull out the display screen shown in figure 1.
-
Use the pry tool to completely detach the display screen from the phone.
-
When the display is removed, attach your new screen.
-
After applying the new screen, use the steps in reverse order to reassemble the phone.
-
-





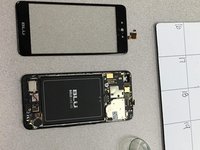
To reassemble your device, follow these instructions in reverse order.

Команда

Gateway, Team S1-G3, Luster Fall 2018 Участник Gateway, Team S1-G3, Luster Fall 2018
GCC-LUSTER-F18S1G3
4 членов
Автор 36 руководств
1 Комментарий к руководству
What type of torx screwdriver did you use?
