Перейти к основному содержанию
Присоединяйся к сообществу ремонтников - Создай аккаунт

Chromo Noria Battery Replacement

Выберете то, что вам нужно

    1. Chromo Noria Battery Replacement, Back Panel: шаг 1, изображение 1 из 3 Chromo Noria Battery Replacement, Back Panel: шаг 1, изображение 2 из 3 Chromo Noria Battery Replacement, Back Panel: шаг 1, изображение 3 из 3
      • Insert your Plastic Opening Tool into the crease between the front panel and back panel.

      • Slide the Opening Tool around the entire device. As you progress, you should see the device open.

      Спросите у FixBot

      Добавить комментарий

    2. Chromo Noria Battery Replacement: шаг 2, изображение 1 из 1
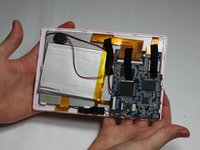
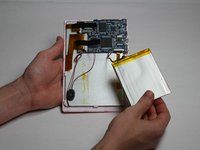
      • Carefully turn the device over.

      • Lay the back panel aside so you can see the device's parts.

      Спросите у FixBot

      Добавить комментарий

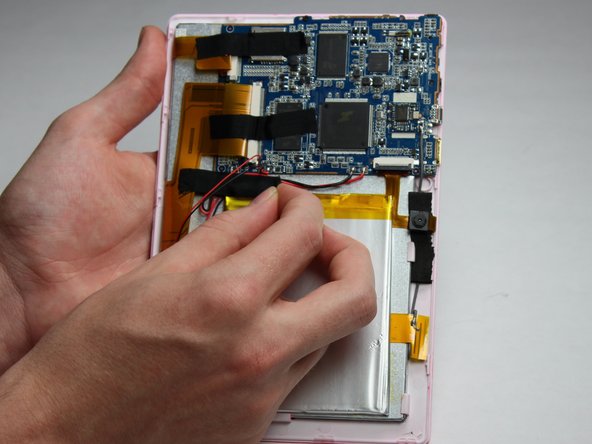
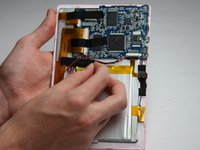
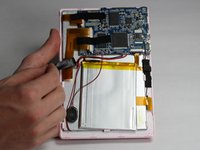
    1. Chromo Noria Battery Replacement, Battery: шаг 3, изображение 1 из 3 Chromo Noria Battery Replacement, Battery: шаг 3, изображение 2 из 3 Chromo Noria Battery Replacement, Battery: шаг 3, изображение 3 из 3
      • Place your finger at the end of the tape closest to the battery.

      • Peel the tape towards the flex cables to free the battery wires.

      Спросите у FixBot

      Добавить комментарий

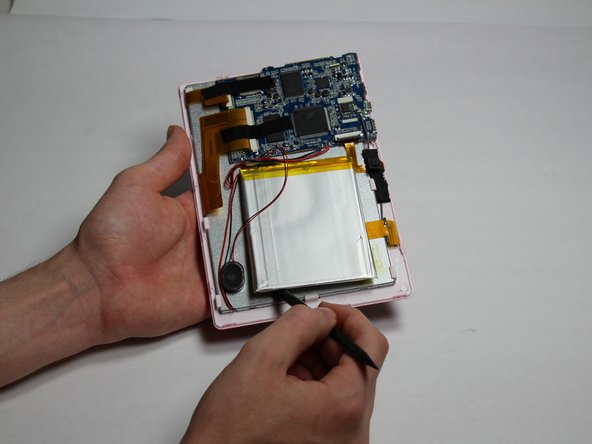
    2. Chromo Noria Battery Replacement: шаг 4, изображение 1 из 3 Chromo Noria Battery Replacement: шаг 4, изображение 2 из 3 Chromo Noria Battery Replacement: шаг 4, изображение 3 из 3
      • Using the spudger tool, place the tool along an edge of the battery.

      • Be careful not to bend or break the battery! Batteries contain hazards materials.

      • Move the spudger around the edges of the battery to detach it from the tablet.

      Спросите у FixBot

      Добавить комментарий

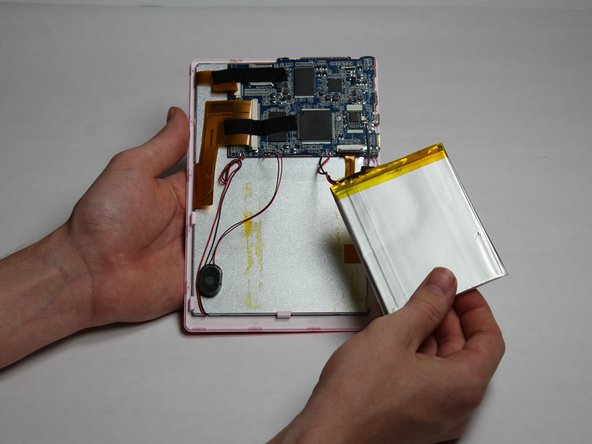
    3. Chromo Noria Battery Replacement: шаг 5, изображение 1 из 1
      • Soldering irons get very hot! Be careful when handling one. If you'd like a tutorial on how to use one, click here.

      • Using a soldering iron, desolder both of the battery wires. The battery's wires are located to the left of the camera's flex cable.

      • Remove the battery.

      Спросите у FixBot

      Добавить комментарий

Заключение

To reassemble your device, follow these instructions in reverse order.

Отменить: Я не выполнил это руководство.

Еще один человек закончил это руководство.

Kevin Nguyen

Участник с: 10/31/16

159 Репутация

1 руководство автора

Команда

Baylor, Team 5-6, Williams Fall 2016 Участник Baylor, Team 5-6, Williams Fall 2016

BU-WILLIAMS-F16S5G6

3 членов

Автор 12 руководств

0 Комментарии к руководству

Добавить комментарий

Статистика просмотров:

За последние 24 часов: 4

За последние 7 дней: 9

За последние 30 дней: 30

За всё время: 836