Введение
The purpose of this guide is to communicate steps on how to replace or repair the controller ports on a ColecoVision.
Выберете то, что вам нужно
-
-
Flip the ColecoVision over with the pegs facing the ceiling.
-
Remove the eight 15mm screws holding the bottom of the ColecoVision in place using the Phillips #1 screwdriver.
 Спросите у FixBot
-
-
-
Carefully remove the bottom of the ColecoVision out of the top.
-
I would recommend running a metal spudger along the rim of the case to remove the bottom.
-
-
-
-
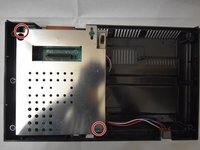
Remove the two 15mm screws holding the casing in place using the Phillips #1 screwdriver.
-
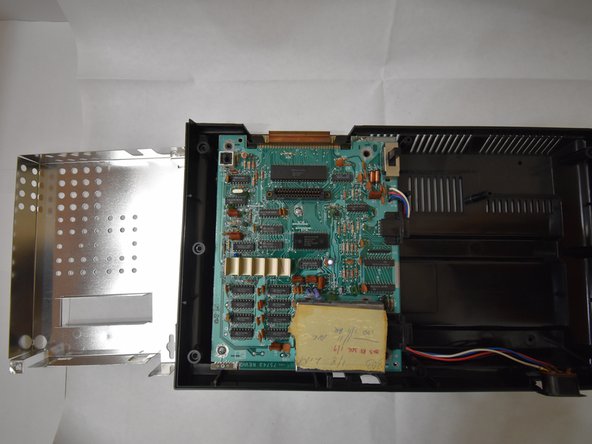
Remove the casing and put it to the side.
-
-
-
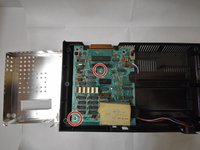
Remove the two 15mm screws on the motherboard with a Phillips #1 screwdriver.
-
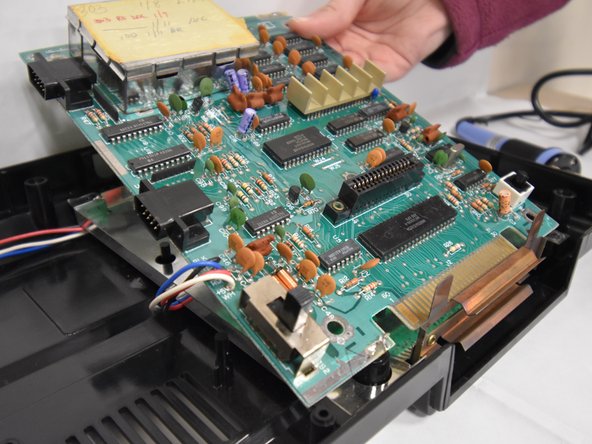
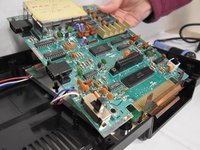
Pull the entire motherboard towards the back of the system and carefully lift the entire motherboard.
-
-
-
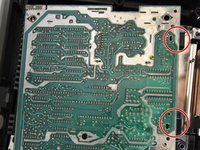
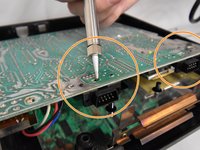
Flip the motherboard over and locate the two controller ports.
-
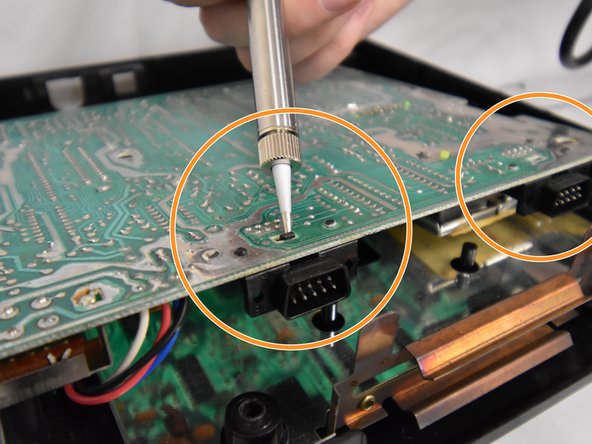
Using a soldering iron, desolder the controller ports.
-
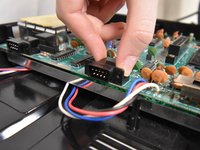
After waiting for controller ports to cool down, flip motherboard back over and carefully lift controller ports to remove.
-





To reassemble your device, follow these instructions in reverse order.

Команда

UW Tacoma, Team S1-G2, Rose Fall 2018 Участник UW Tacoma, Team S1-G2, Rose Fall 2018
UWT-ROSE-F18S1G2
4 членов
Автор 12 руководств
