Введение
This guide is a replacement guide for the motors on the DROCON Ninja DC-014 drone. The motors are a critical part of the device that power the propellers. If the drone isn’t flying straight or won’t take off the motors may need to be replaced. To determine if the motors need to be replaced check out the troubleshooting guide linked here. A Phillips 00 screwdriver, pliers, and an opening tool are required for this guide.
Выберете то, что вам нужно
-
-
-
To turn the drone off, press and hold the black button on the top of the drone until all lights are off.
-
Firmly grasp the battery tab between your thumb and index finger.
-
Pull the battery away from the drone's body
 Спросите у FixBot
-
-
-
-
-
Using a Phillips #00 Screwdriver remove the eight 4mm screws on the bottom of the drone.
-
-
-
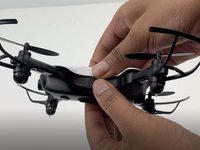
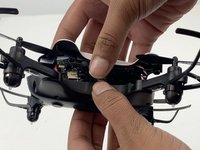
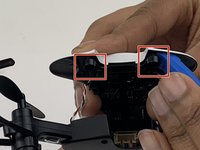
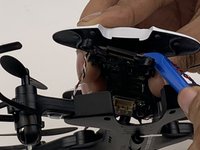
Insert the opening tool under one of the black plastic connector slots that connects the circuit-board to the casing.
-
Gently pull the opening tool toward you to disconnect the circuit-board from the plastic casing.
-
-
-
-
-
-
Firmly grasp the blade guard from the bottom of the drone
-
Pull the blade guard straight down away from motor.
-
-
-
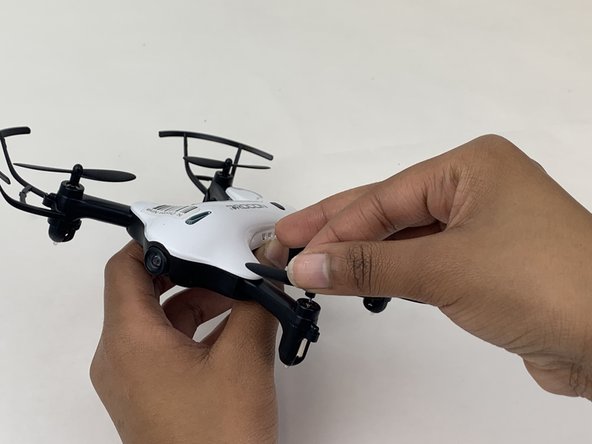
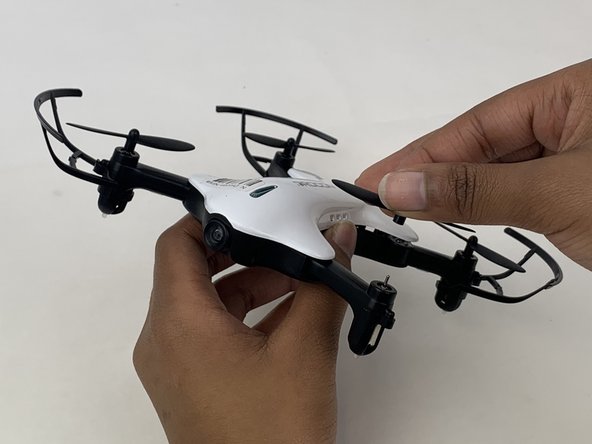
Grasp the center of the propeller that needs to be replaced.
-
Pull the propeller directly up and away from the motor.
-
-
-
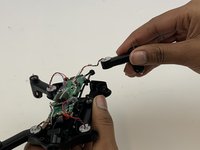
Use a Phillips #00 screwdriver to remove the two 5mm screws connecting the motor arm to the drone's body.
-
Use your fingers to gently pull the white plastic disc out of the motor arm.
-
-
-
Grasp the motor arm and pull up and away from the drone's body.
-
-
-
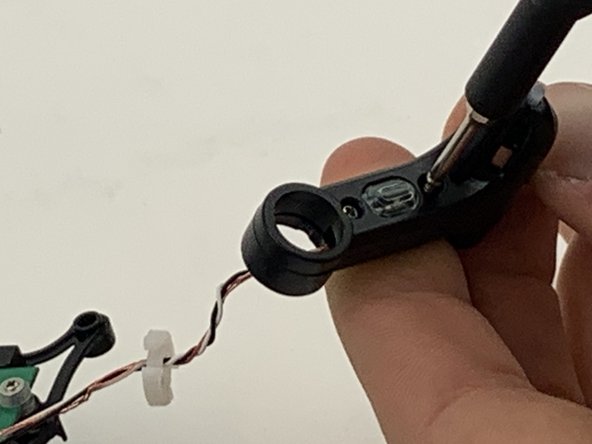
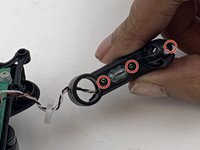
Use a Phillips #00 screwdriver to remove the three 4mm screws on the plate of the motor arm.
-
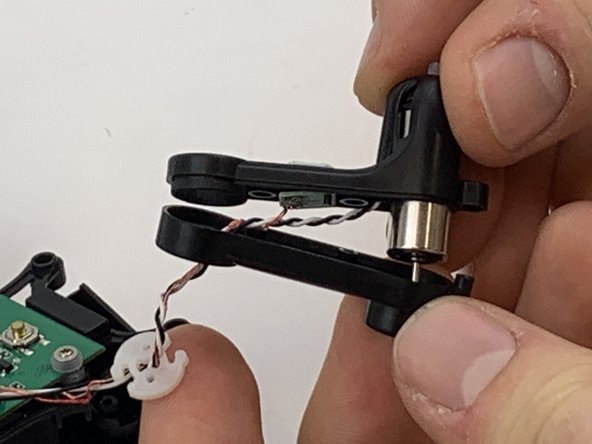
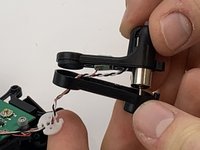
Using your fingers, pull apart the top and bottom pieces of the casing.
-
-
-
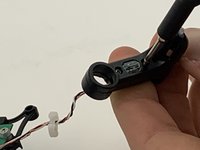
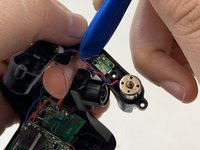
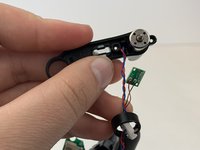
Use the opening tool to remove the small circuit board from the motor arm.
-
-
-
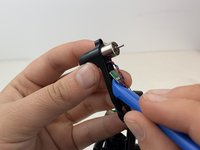
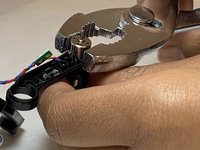
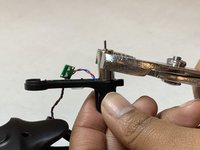
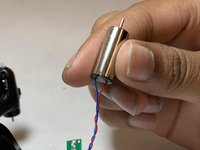
Use a pair of pliers to remove the motor by pulling up and away from the propeller arm.
-
-




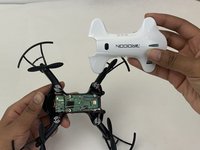

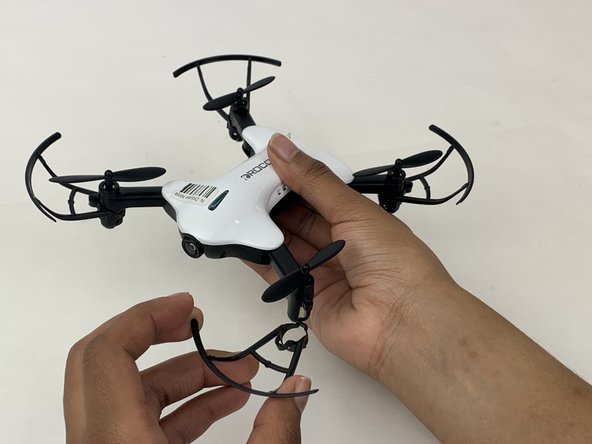

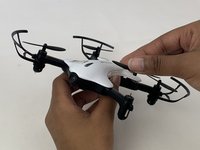

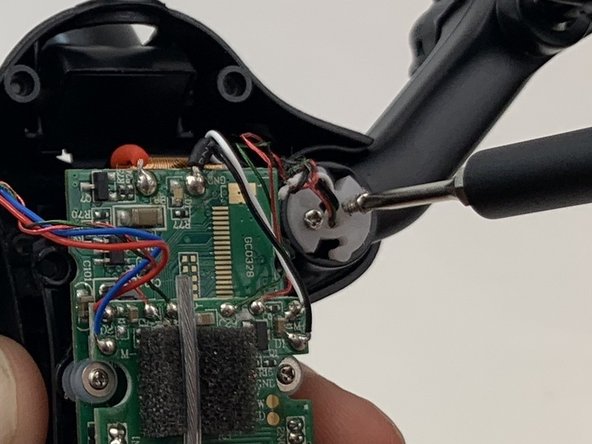
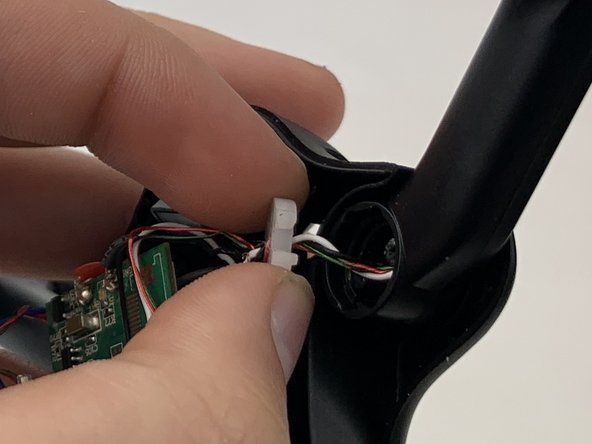
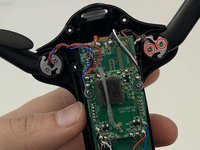
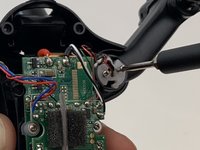
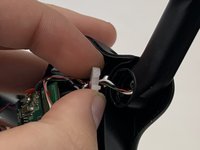


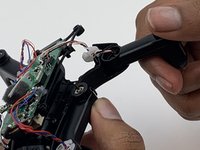
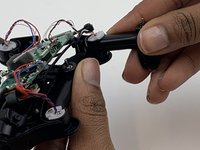





To reassemble your device, follow these instructions in reverse order.
Отменить: Я не выполнил это руководство.
3 человек успешно провели ремонт по этому руководству.

Команда

Embry-Riddle Aeronautical University, Team S3-G5, Watkins Spring 2020 Участник Embry-Riddle Aeronautical University, Team S3-G5, Watkins Spring 2020
ERAU-WATKINS-S20S3G5
4 членов
Автор 5 руководств
1 Комментарий к руководству
I’ve got the motor out. Thank you! Now to find a suitable replacement. Do you know the specs of the motor or a source for a working one?
