Перейти к основному содержанию
Присоединяйся к сообществу ремонтников - Создай аккаунт

Dell Streak 7 Battery Replacement

Выберете то, что вам нужно

    1. Dell Streak 7 Battery Replacement, Front Panel Assembly: шаг 1, изображение 1 из 1
      • Insert the spudger under the capacitive button panel, and slide the spudger all the way around.

      • You will want to heat up the screen edges with the iOpener to help facilitate removal.

      Спросите у FixBot

      Добавить комментарий

    2. Dell Streak 7 Battery Replacement: шаг 2, изображение 1 из 1
      • Remove the button cover by lifting the cover away from the tablet.

      Спросите у FixBot

      Добавить комментарий

    3. Dell Streak 7 Battery Replacement: шаг 3, изображение 1 из 1
      • Using the Torx screwdriver, remove the 4mm screws.

      Спросите у FixBot

      Добавить комментарий

    4. Dell Streak 7 Battery Replacement: шаг 4, изображение 1 из 1
      • With the Torx screwdriver, remove the two 5mm screws.

      Спросите у FixBot

      Добавить комментарий

    5. Dell Streak 7 Battery Replacement: шаг 5, изображение 1 из 2 Dell Streak 7 Battery Replacement: шаг 5, изображение 2 из 2
      • Using the spudger, insert it under the black side panel. Slide the spudger all the way around until the cover piece comes off.

      • With the Torx screwdriver, remove the two 4mm screws.

      Спросите у FixBot

      Добавить комментарий

    6. Dell Streak 7 Battery Replacement: шаг 6, изображение 1 из 1
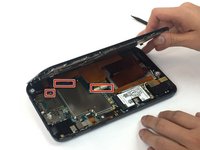
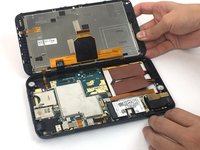
      • Use the spudger to go along the edges of the device and pop out the latches securing the display to the case.

      Спросите у FixBot

      Добавить комментарий

    7. Dell Streak 7 Battery Replacement: шаг 7, изображение 1 из 2 Dell Streak 7 Battery Replacement: шаг 7, изображение 2 из 2
      • Ribbon cables are very sensitive and prone to breaking

      • Disconnect the ribbon cables by unlocking the connector and pulling the cable out slowly.

      • Make sure all the cables are unplugged before opening the device completely. Failure to do so might lead to broken or torn cables.

      Спросите у FixBot

      Добавить комментарий

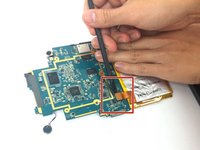
    1. Dell Streak 7 Battery Replacement, Headphone Jack: шаг 8, изображение 1 из 1
      • Using the spudger, disconnect the ribbon cable by lifting up on the connector.

      • Ribbon cables are fragile and easily broken.

      Спросите у FixBot

      Добавить комментарий

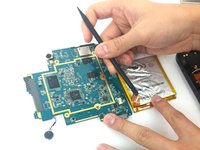
    2. Dell Streak 7 Battery Replacement: шаг 9, изображение 1 из 2 Dell Streak 7 Battery Replacement: шаг 9, изображение 2 из 2
      • Pull the headphone jack up, away from the case.

      Спросите у FixBot

      Добавить комментарий

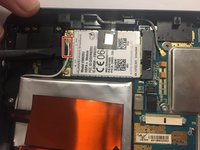
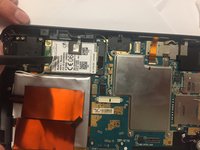
    1. Dell Streak 7 Battery Replacement, GSM Module: шаг 10, изображение 1 из 2 Dell Streak 7 Battery Replacement, GSM Module: шаг 10, изображение 2 из 2
      • With the spudger, disconnect the antenna cable located on the module.

      Спросите у FixBot

      Добавить комментарий

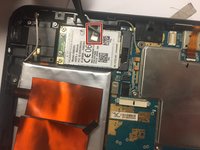
    2. Dell Streak 7 Battery Replacement: шаг 11, изображение 1 из 2 Dell Streak 7 Battery Replacement: шаг 11, изображение 2 из 2
      Инструмент, используемый на этом этапе:
      Tweezers
      $4.99
      • Using tweezers, remove the tape connected to the GSM module.

      Спросите у FixBot

      Добавить комментарий

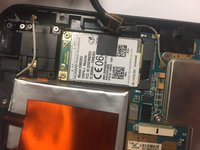
    3. Dell Streak 7 Battery Replacement: шаг 12, изображение 1 из 2 Dell Streak 7 Battery Replacement: шаг 12, изображение 2 из 2
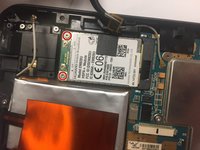
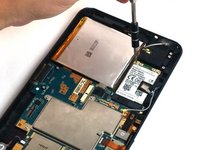
      • Remove the two 3mm screws securing the GSM module. Use the Torx screwdriver.

      Спросите у FixBot

      Добавить комментарий

    4. Dell Streak 7 Battery Replacement: шаг 13, изображение 1 из 1
      • Disconnect the GSM module by lifting the module up, out of the case.

      Спросите у FixBot

      Добавить комментарий

    1. Dell Streak 7 Battery Replacement, Motherboard: шаг 14, изображение 1 из 3 Dell Streak 7 Battery Replacement, Motherboard: шаг 14, изображение 2 из 3 Dell Streak 7 Battery Replacement, Motherboard: шаг 14, изображение 3 из 3
      • Using the spudger, disconnect the front camera by lifting up on the connector.

      Спросите у FixBot

      Добавить комментарий

    2. Dell Streak 7 Battery Replacement: шаг 15, изображение 1 из 1
      • Using the Torx screwdriver, remove the six 3mm screws .

      Спросите у FixBot

      Добавить комментарий

    3. Dell Streak 7 Battery Replacement: шаг 16, изображение 1 из 2 Dell Streak 7 Battery Replacement: шаг 16, изображение 2 из 2
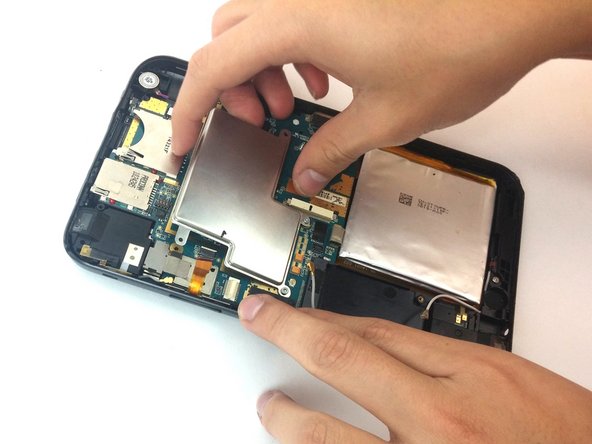
      • Lift up the metal cover.

      Спросите у FixBot

      Добавить комментарий

    4. Dell Streak 7 Battery Replacement: шаг 17, изображение 1 из 1
      • Use the spudger to lift the vibration motor out of the case.

      Спросите у FixBot

      Добавить комментарий

    5. Dell Streak 7 Battery Replacement: шаг 18, изображение 1 из 1
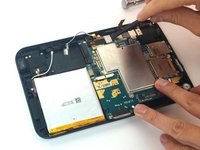
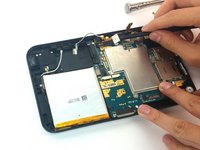
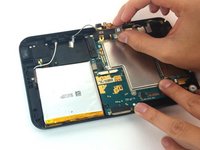
      • Pull out the motherboard and the battery.

      Спросите у FixBot

      Добавить комментарий

    1. Dell Streak 7 Battery Replacement, Battery: шаг 19, изображение 1 из 2 Dell Streak 7 Battery Replacement, Battery: шаг 19, изображение 2 из 2
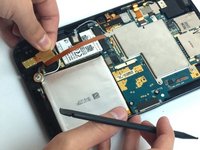
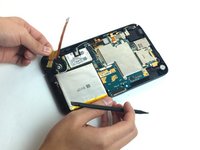
      • Use the spudger to lift up and detach the cable connecting the battery to the motherboard.

      Спросите у FixBot

      Добавить комментарий

Заключение

To reassemble your device, follow these instructions in reverse order.

Отменить: Я не выполнил это руководство.

4 человек успешно провели ремонт по этому руководству.

Jair Garcia Varela

Участник с: 09/29/16

337 Репутация

Автор 2 руководств

Команда

USF Tampa, Team 4-6, Passmore Fall 2016 Участник USF Tampa, Team 4-6, Passmore Fall 2016

USFT-PASSMORE-F16S4G6

3 членов

Автор 36 руководств

0 Комментарии к руководству

Добавить комментарий

Статистика просмотров:

За последние 24 часов: 1

За последние 7 дней: 2

За последние 30 дней: 30

За всё время: 1,541