Перейти к основному содержанию
Присоединяйся к сообществу ремонтников - Создай аккаунт

DualSense Controller V5 Buttons Replacement

Выберете то, что вам нужно

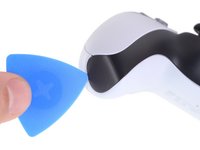
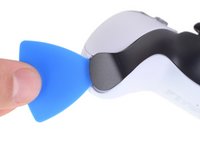
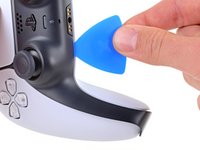
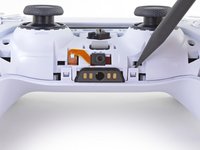
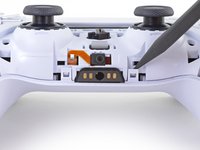
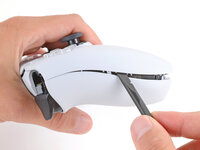
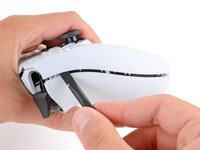
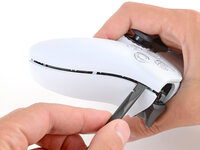
  1. DualSense Controller V5 Buttons Replacement, Unclip the right end of the middle trim: шаг 1, изображение 1 из 2 DualSense Controller V5 Buttons Replacement, Unclip the right end of the middle trim: шаг 1, изображение 2 из 2
    • Disconnect and power down your controller before you begin.

    • Insert an opening pick underneath the middle trim at the bottom-right corner of the controller to release the clips securing it to the case.

    Спросите у FixBot

    Добавить комментарий

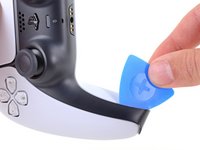
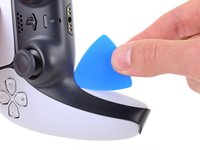
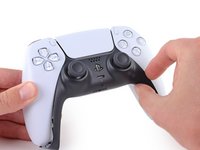
  2. DualSense Controller V5 Buttons Replacement, Unclip the lower-right edge of the middle trim: шаг 2, изображение 1 из 3 DualSense Controller V5 Buttons Replacement, Unclip the lower-right edge of the middle trim: шаг 2, изображение 2 из 3 DualSense Controller V5 Buttons Replacement, Unclip the lower-right edge of the middle trim: шаг 2, изображение 3 из 3
    • Slide the opening pick along the lower-right edge of the middle trim to release the clips securing it to the case.

    Спросите у FixBot

    Добавить комментарий

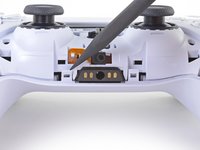
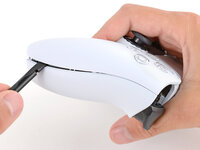
  3. DualSense Controller V5 Buttons Replacement, Unclip the left end of the middle trim: шаг 3, изображение 1 из 2 DualSense Controller V5 Buttons Replacement, Unclip the left end of the middle trim: шаг 3, изображение 2 из 2
    • Insert an opening pick underneath the middle trim at the bottom-left corner of the controller to release the clips securing it to the case.

    Спросите у FixBot

    Добавить комментарий

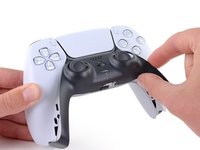
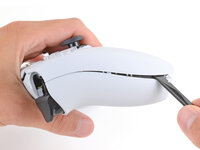
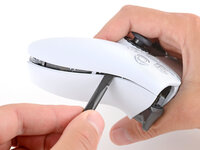
  4. DualSense Controller V5 Buttons Replacement, Unclip the lower-left edge of the middle trim: шаг 4, изображение 1 из 3 DualSense Controller V5 Buttons Replacement, Unclip the lower-left edge of the middle trim: шаг 4, изображение 2 из 3 DualSense Controller V5 Buttons Replacement, Unclip the lower-left edge of the middle trim: шаг 4, изображение 3 из 3
    • Slide the opening pick along the lower-left edge of the middle trim to release the clips securing it to the case.

    Спросите у FixBot

    Добавить комментарий

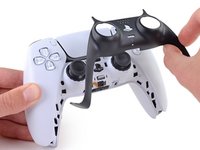
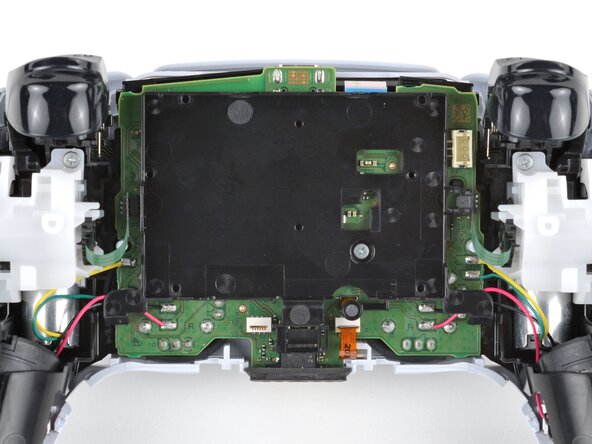
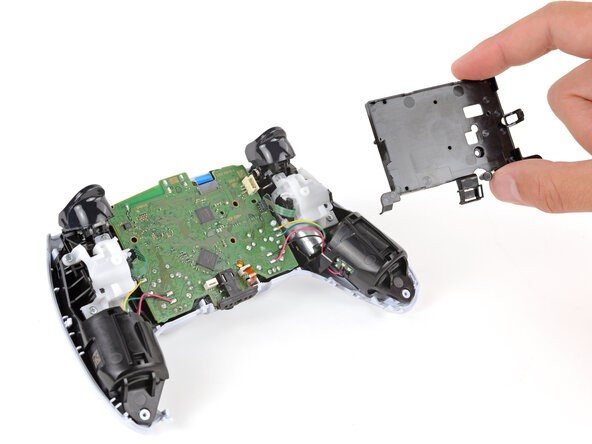
  5. DualSense Controller V5 Buttons Replacement, Remove the middle trim: шаг 5, изображение 1 из 3 DualSense Controller V5 Buttons Replacement, Remove the middle trim: шаг 5, изображение 2 из 3 DualSense Controller V5 Buttons Replacement, Remove the middle trim: шаг 5, изображение 3 из 3
    • Use your fingers to lift up the bottom edge of the middle trim to release the remaining clips.

    • Lift the middle trim over the joysticks to remove it.

    Спросите у FixBot

    Добавить комментарий

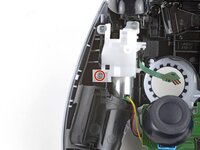
  6. DualSense Controller V5 Buttons Replacement, Remove the L1 button: шаг 6, изображение 1 из 3 DualSense Controller V5 Buttons Replacement, Remove the L1 button: шаг 6, изображение 2 из 3 DualSense Controller V5 Buttons Replacement, Remove the L1 button: шаг 6, изображение 3 из 3
    • With one hand, grip the controller and use your thumb to hold down the left trigger.

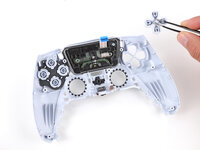
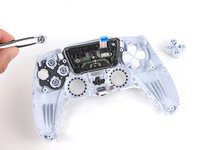
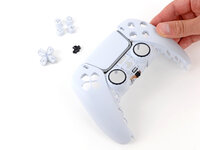
    • With your free hand, insert the flat end of a spudger between the L1 and L2 buttons.

    • Use the spudger to gently pry the L1 button away from the controller and remove it, holding your finger over the button so it doesn't eject.

    Спросите у FixBot

    Добавить комментарий

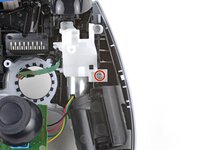
  7. DualSense Controller V5 Buttons Replacement, Remove the R1 button: шаг 7, изображение 1 из 3 DualSense Controller V5 Buttons Replacement, Remove the R1 button: шаг 7, изображение 2 из 3 DualSense Controller V5 Buttons Replacement, Remove the R1 button: шаг 7, изображение 3 из 3
    • Repeat the previous step to remove the R1 button.

    Спросите у FixBot

    Добавить комментарий

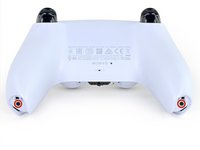
  8. DualSense Controller V5 Buttons Replacement, Remove the rear case screws: шаг 8, изображение 1 из 2 DualSense Controller V5 Buttons Replacement, Remove the rear case screws: шаг 8, изображение 2 из 2
    • Use a Phillips screwdriver to remove the two 6.4 mm screws securing the bottom corners of the lower case.

    Спросите у FixBot

    Добавить комментарий

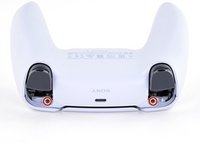
  9. DualSense Controller V5 Buttons Replacement: шаг 9, изображение 1 из 2 DualSense Controller V5 Buttons Replacement: шаг 9, изображение 2 из 2
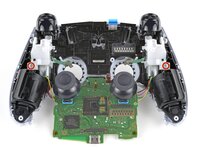
    • Use a Phillips screwdriver to remove the two 6.4 mm screws behind the L1 and R1 buttons.

    Спросите у FixBot

    Добавить комментарий

  10. DualSense Controller V5 Buttons Replacement, Separate the rear case: шаг 10, изображение 1 из 3 DualSense Controller V5 Buttons Replacement, Separate the rear case: шаг 10, изображение 2 из 3 DualSense Controller V5 Buttons Replacement, Separate the rear case: шаг 10, изображение 3 из 3
    • Be gentle when releasing the rear cover clips—they're delicate and can easily break.

    • Use the point of a spudger to release the two clips on either side of the headset jack.

    Спросите у FixBot

    Добавить комментарий

  11. DualSense Controller V5 Buttons Replacement: шаг 11, изображение 1 из 3 DualSense Controller V5 Buttons Replacement: шаг 11, изображение 2 из 3 DualSense Controller V5 Buttons Replacement: шаг 11, изображение 3 из 3
    • Tight plastic clips secure the left and right edges of the rear case.

    • Insert the flat end of a spudger between the front and rear shells near the bottom of the left edge.

    • Slide the spudger along the left edge and gently pry the shells apart to release the clips.

    Спросите у FixBot

    Добавить комментарий

  12. DualSense Controller V5 Buttons Replacement: шаг 12, изображение 1 из 3 DualSense Controller V5 Buttons Replacement: шаг 12, изображение 2 из 3 DualSense Controller V5 Buttons Replacement: шаг 12, изображение 3 из 3
    • Repeat the previous step on the right edge to release its clips.

    Спросите у FixBot

    Добавить комментарий

  13. DualSense Controller V5 Buttons Replacement: шаг 13, изображение 1 из 2 DualSense Controller V5 Buttons Replacement: шаг 13, изображение 2 из 2
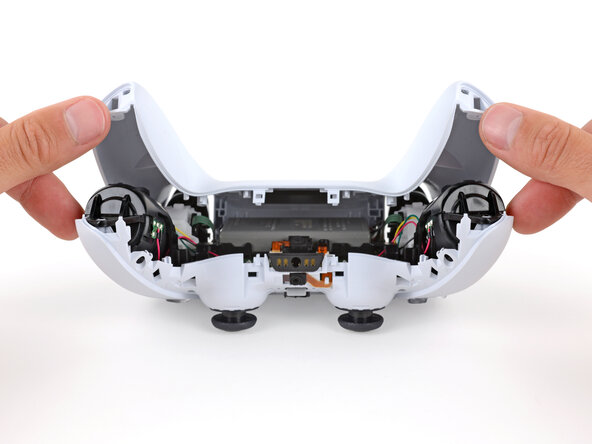
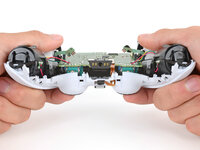
    • Lay your controller upside down so the joysticks are on your work surface.

    • Hold the controller down with your fingers and use your thumbs to lift the rear case away from the controller to fully separate it.

    Спросите у FixBot

    Добавить комментарий

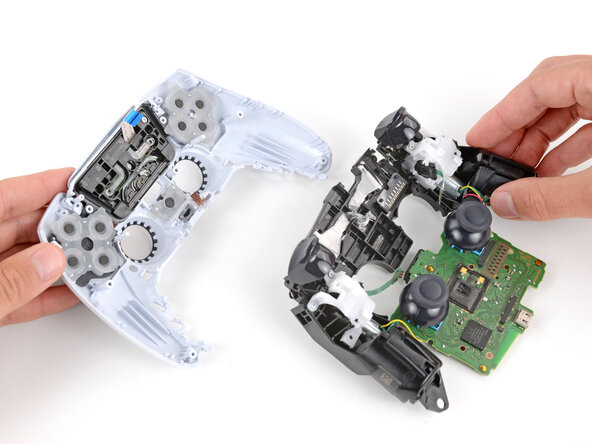
  14. DualSense Controller V5 Buttons Replacement, Remove the rear case: шаг 14, изображение 1 из 1
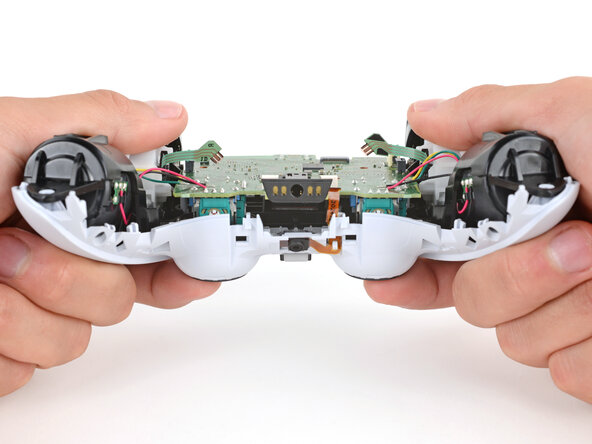
    • Remove the rear case.

    Спросите у FixBot

    Добавить комментарий

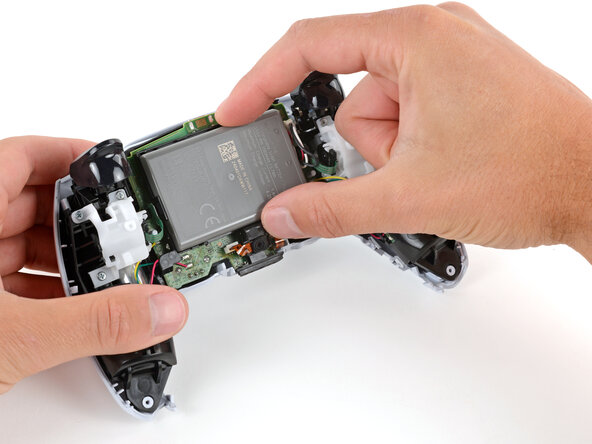
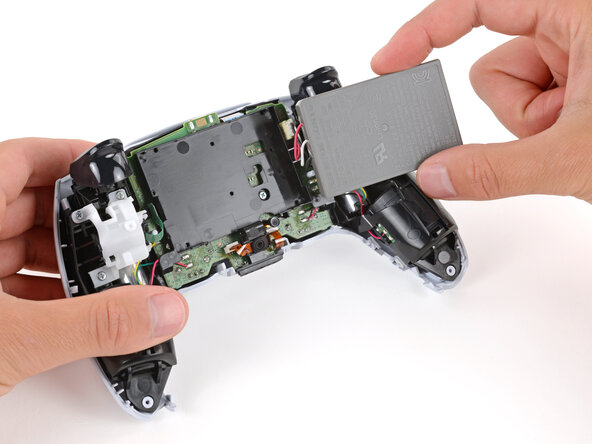
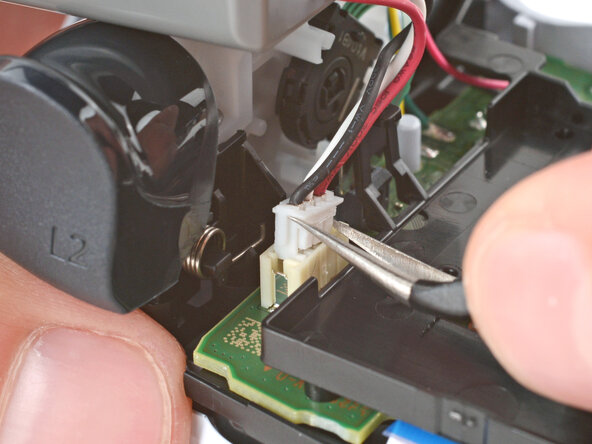
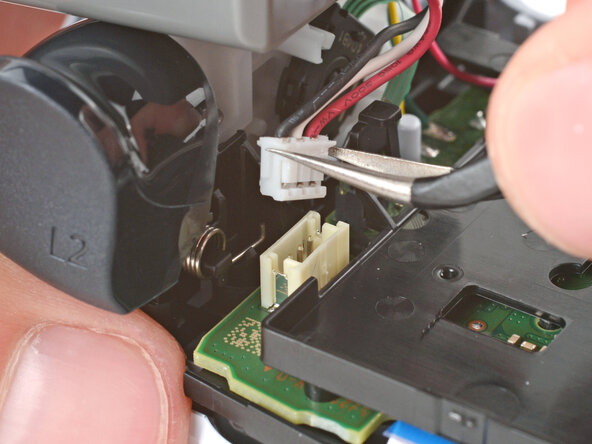
  15. DualSense Controller V5 Buttons Replacement, Disconnect the battery: шаг 15, изображение 1 из 2 DualSense Controller V5 Buttons Replacement, Disconnect the battery: шаг 15, изображение 2 из 2
    • Don't try to fully remove the battery, as it's still connected to the controller by delicate cables.

    • Swing the battery out of its recess so you can access its connector, making sure to not strain the cables.

    • Keep the battery supported so it doesn't fall during the next step.

    Спросите у FixBot

    Добавить комментарий

  16. DualSense Controller V5 Buttons Replacement: шаг 16, изображение 1 из 3 DualSense Controller V5 Buttons Replacement: шаг 16, изображение 2 из 3 DualSense Controller V5 Buttons Replacement: шаг 16, изображение 3 из 3
    • Use a pair of angled tweezers to firmly grip the short sides of the battery connector.

    • To get a stronger hold on the connector, grip the tweezers as close to the connector as you can.

    • Rock the connector side‑to‑side to walk it out of its socket and disconnect it.

    Спросите у FixBot

    Добавить комментарий

  17. DualSense Controller V5 Buttons Replacement, Remove the battery: шаг 17, изображение 1 из 1
    • Remove the battery.

    Спросите у FixBot

    Добавить комментарий

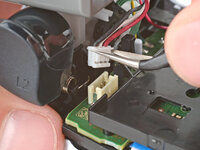
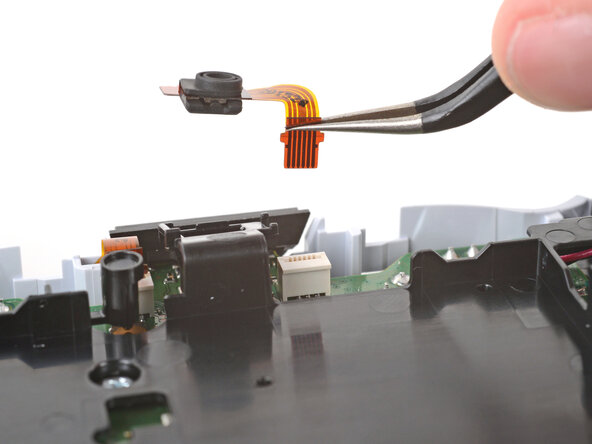
  18. DualSense Controller V5 Buttons Replacement, Remove the lower microphone: шаг 18, изображение 1 из 2 DualSense Controller V5 Buttons Replacement, Remove the lower microphone: шаг 18, изображение 2 из 2
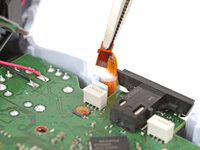
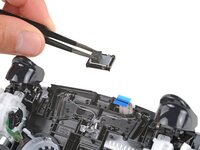
    • Use tweezers to grip the lower microphone cable's plastic tab and pull it straight out of the socket to remove the microphone.

    • During reassembly, make sure the microphone has its rubber gasket and that the alignment tab goes into its cutout.

    Спросите у FixBot

    Добавить комментарий

  19. DualSense Controller V5 Buttons Replacement, Remove the battery bracket: шаг 19, изображение 1 из 2 DualSense Controller V5 Buttons Replacement, Remove the battery bracket: шаг 19, изображение 2 из 2
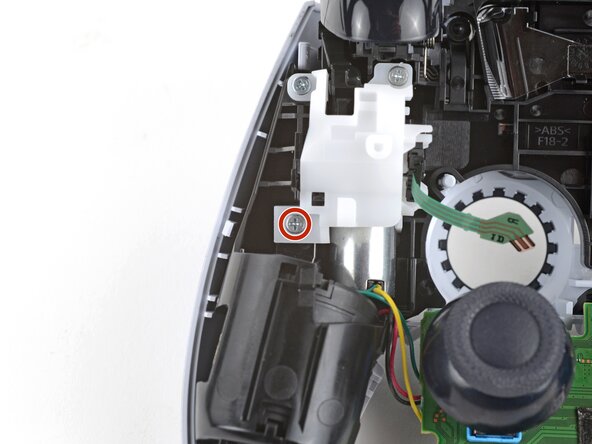
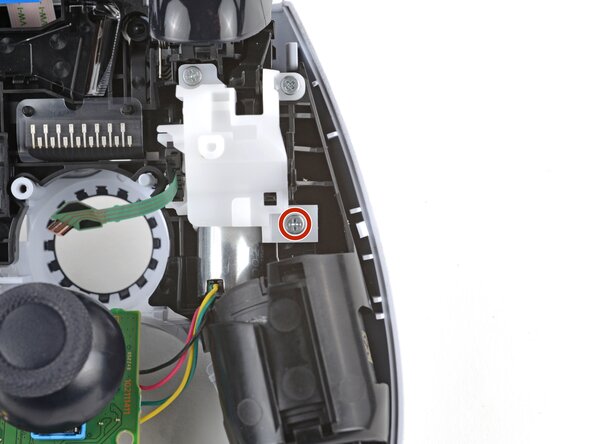
    • Use a Phillips screwdriver to remove the 6.5 mm‑long screw securing the battery bracket.

    Спросите у FixBot

    Добавить комментарий

  20. DualSense Controller V5 Buttons Replacement: шаг 20, изображение 1 из 2 DualSense Controller V5 Buttons Replacement: шаг 20, изображение 2 из 2
    • Remove the battery bracket.

    Спросите у FixBot

    Добавить комментарий

  21. DualSense Controller V5 Buttons Replacement, Disconnect the motherboard: шаг 21, изображение 1 из 2 DualSense Controller V5 Buttons Replacement, Disconnect the motherboard: шаг 21, изображение 2 из 2
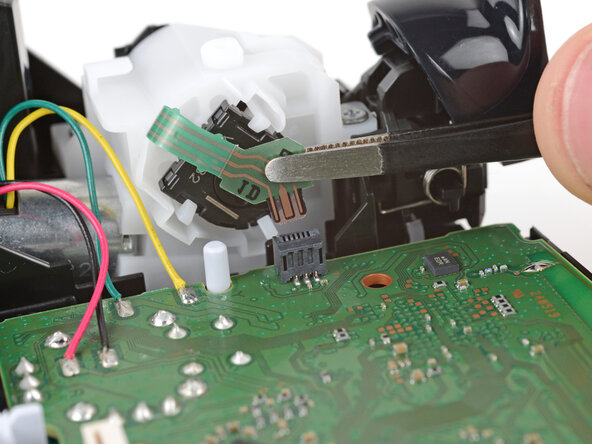
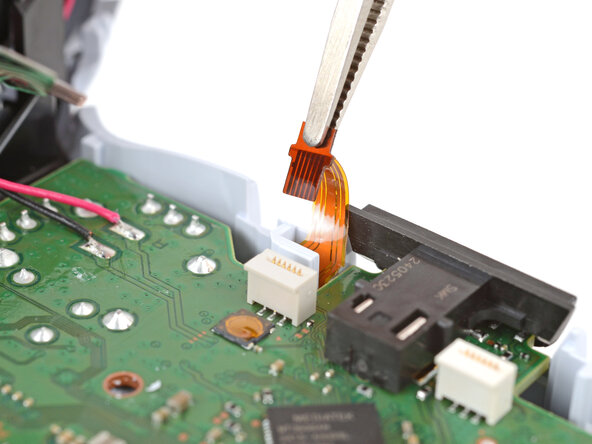
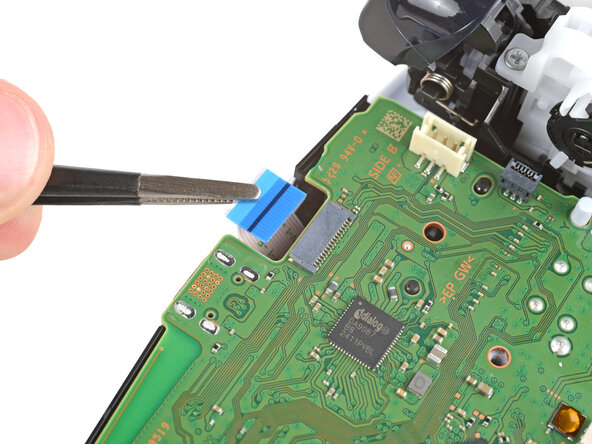
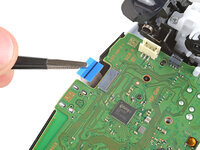
    • Use tweezers to grip the hard plastic section of the right trigger ribbon cable and pull the cable straight out of its socket to disconnect it.

    • If you're having trouble, try gripping the tweezers as close to the cable as possible to get a better hold.

    Спросите у FixBot

    Добавить комментарий

  22. DualSense Controller V5 Buttons Replacement: шаг 22, изображение 1 из 3 DualSense Controller V5 Buttons Replacement: шаг 22, изображение 2 из 3 DualSense Controller V5 Buttons Replacement: шаг 22, изображение 3 из 3
    Спросите у FixBot

    Добавить комментарий

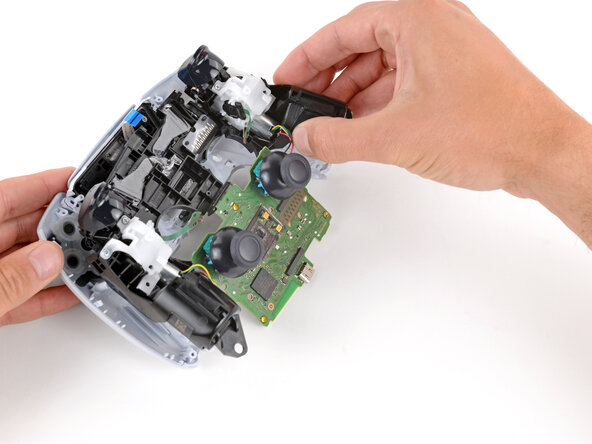
  23. DualSense Controller V5 Buttons Replacement, Reposition the motherboard: шаг 23, изображение 1 из 2 DualSense Controller V5 Buttons Replacement, Reposition the motherboard: шаг 23, изображение 2 из 2
    • Throughout the rest of your repair, be very careful not to strain the delicate wires attached to the bottom edge of the board. They can easily tear, requiring soldering to fix them.

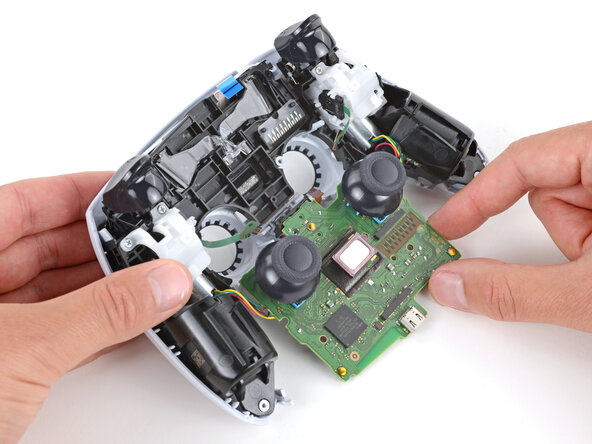
    • Use your fingers to gently push the joysticks through their cutouts on the shell to separate the motherboard.

    Спросите у FixBot

    Добавить комментарий

  24. DualSense Controller V5 Buttons Replacement: шаг 24, изображение 1 из 2 DualSense Controller V5 Buttons Replacement: шаг 24, изображение 2 из 2
    • Carefully flip the motherboard down so the joysticks are facing up.

    Спросите у FixBot

    Добавить комментарий

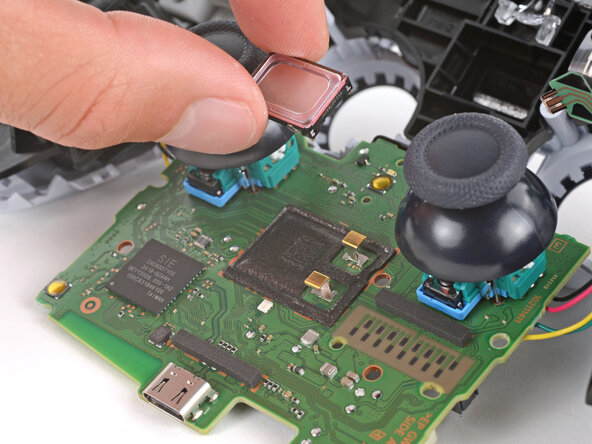
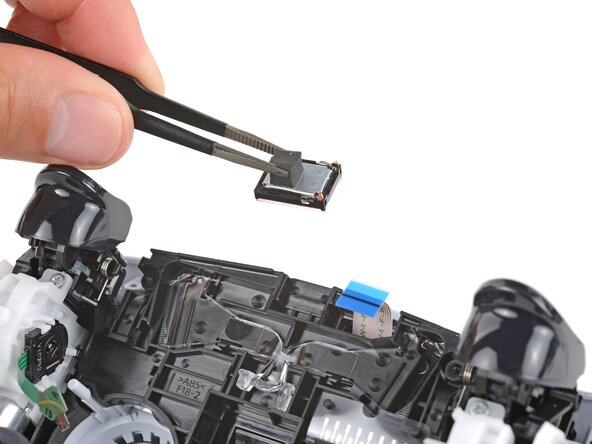
  25. DualSense Controller V5 Buttons Replacement, Remove the speaker: шаг 25, изображение 1 из 3 DualSense Controller V5 Buttons Replacement, Remove the speaker: шаг 25, изображение 2 из 3 DualSense Controller V5 Buttons Replacement, Remove the speaker: шаг 25, изображение 3 из 3
    Спросите у FixBot

    Добавить комментарий

  26. DualSense Controller V5 Buttons Replacement, Remove the midframe: шаг 26, изображение 1 из 3 DualSense Controller V5 Buttons Replacement, Remove the midframe: шаг 26, изображение 2 из 3 DualSense Controller V5 Buttons Replacement, Remove the midframe: шаг 26, изображение 3 из 3
    • Use a Phillips screwdriver to remove the two 6.5 mm‑long screws securing the midframe.

    Спросите у FixBot

    Добавить комментарий

  27. DualSense Controller V5 Buttons Replacement: шаг 27, изображение 1 из 3 DualSense Controller V5 Buttons Replacement: шаг 27, изображение 2 из 3 DualSense Controller V5 Buttons Replacement: шаг 27, изображение 3 из 3
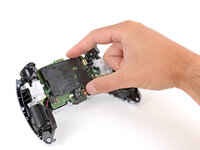
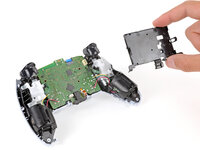
    • Carefully lift the midframe and motherboard up and out of the front case.

    Спросите у FixBot

    Добавить комментарий

  28. DualSense Controller V5 Buttons Replacement, Remove the buttons: шаг 28, изображение 1 из 3 DualSense Controller V5 Buttons Replacement, Remove the buttons: шаг 28, изображение 2 из 3 DualSense Controller V5 Buttons Replacement, Remove the buttons: шаг 28, изображение 3 из 3
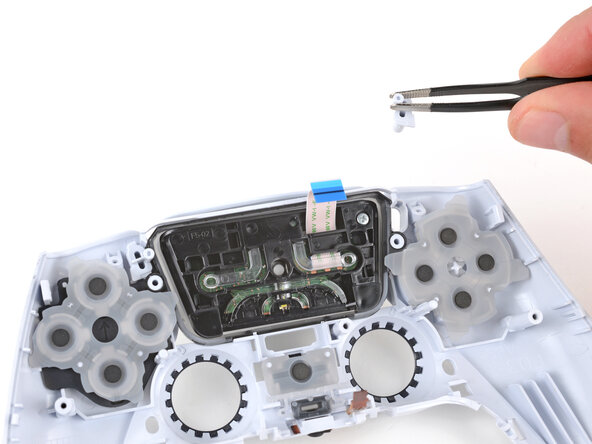
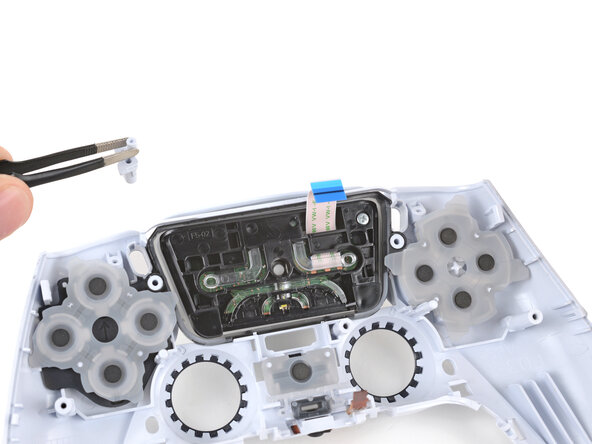
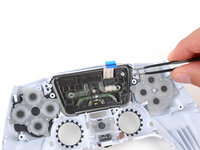
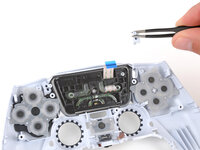
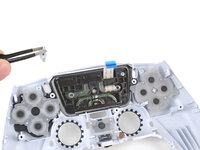
    • Use tweezers or your fingers to remove the Options and Create buttons.

    Спросите у FixBot

    Добавить комментарий

  29. DualSense Controller V5 Buttons Replacement: шаг 29, изображение 1 из 3 DualSense Controller V5 Buttons Replacement: шаг 29, изображение 2 из 3 DualSense Controller V5 Buttons Replacement: шаг 29, изображение 3 из 3
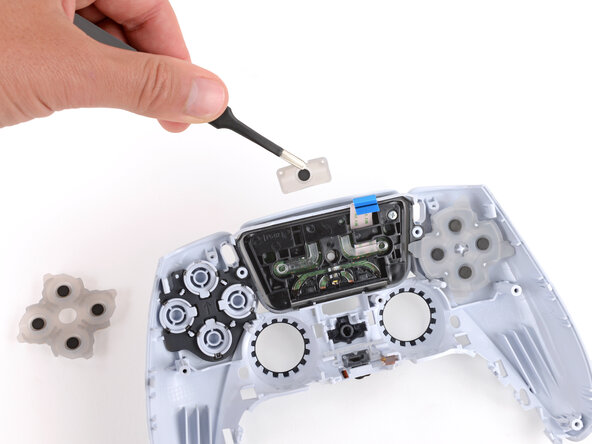
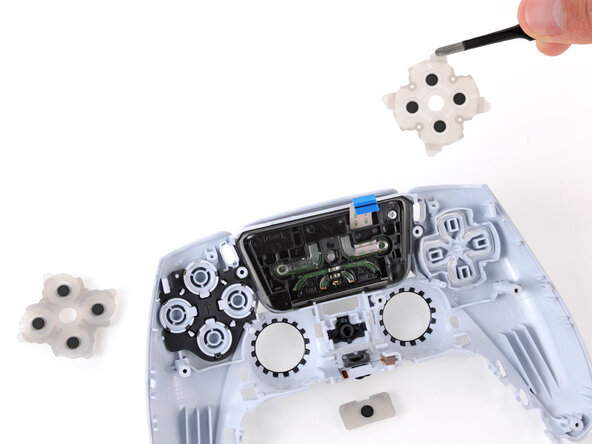
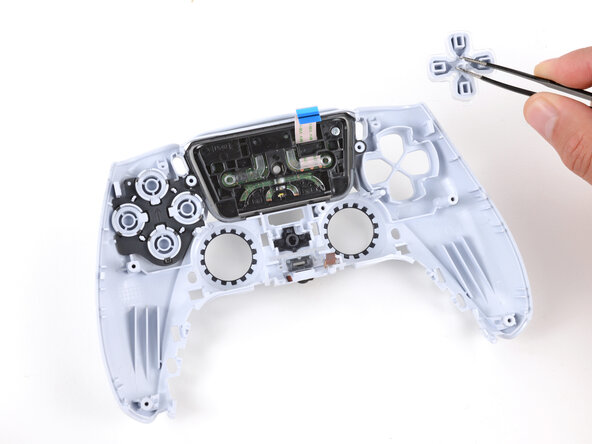
    • Use tweezers or your fingers to remove the three silicone pads covering the Action, PS, and Directional buttons.

    Спросите у FixBot

    Добавить комментарий

  30. DualSense Controller V5 Buttons Replacement: шаг 30, изображение 1 из 3 DualSense Controller V5 Buttons Replacement: шаг 30, изображение 2 из 3 DualSense Controller V5 Buttons Replacement: шаг 30, изображение 3 из 3
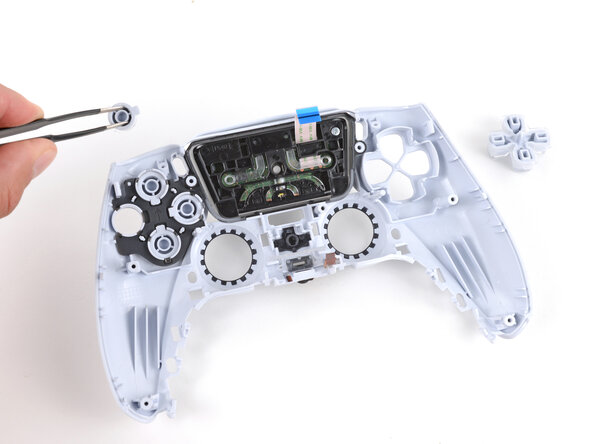
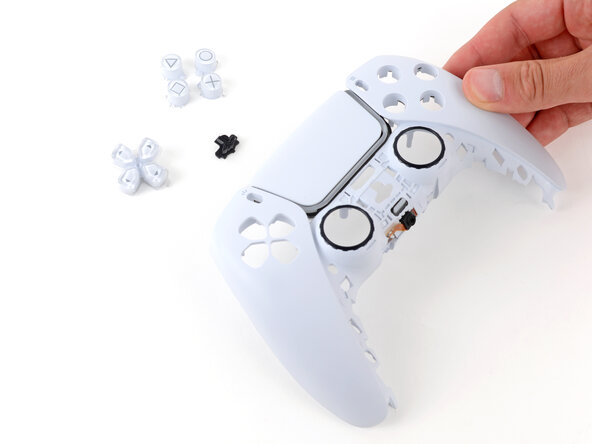
    • Use tweezers or your fingers to remove the Action, PS, and Directional buttons.

    • Alternatively, you can slowly flip the front case over to let the buttons fall out.

    • During reassembly, use the alignment tabs to orient each button into its recess—each one is keyed specifically for its recess and proper orientation.

    Спросите у FixBot

    Добавить комментарий

Заключение

To reassemble your device, follow these instructions in reverse order.

Repair didn’t go as planned? Try some basic troubleshooting, or ask our Answers community for help.

Отменить: Я не выполнил это руководство.

6 человек успешно провели ремонт по этому руководству.

Spencer Day

Участник с: 09/14/22

196 502 Репутация

Автор 1 243 руководств

Команда

iFixit Участник iFixit

Staff

123 членов

Автор 30 155 руководств

0 Комментарии к руководству

Добавить комментарий

Статистика просмотров:

За последние 24 часов: 19

За последние 7 дней: 130

За последние 30 дней: 564

За всё время: 4,758