Перейти к основному содержанию
Присоединяйся к сообществу ремонтников - Создай аккаунт

DualShock 4 CUH-ZCT2 Charging Assembly Replacement

Выберете то, что вам нужно

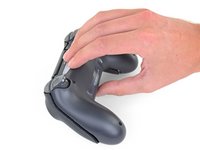
  1. DualShock 4 CUH-ZCT2 Charging Assembly Replacement, Remove the rear panel screws: шаг 1, изображение 1 из 2 DualShock 4 CUH-ZCT2 Charging Assembly Replacement, Remove the rear panel screws: шаг 1, изображение 2 из 2
    • Use a Phillips screwdriver to remove the four 6.4 mm-long screws from the rear panel.

    Спросите у FixBot

    Добавить комментарий

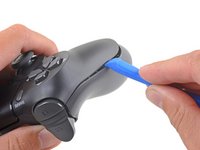
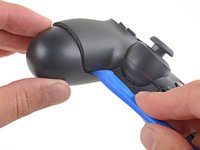
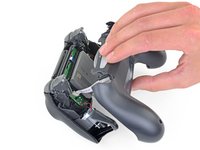
  2. DualShock 4 CUH-ZCT2 Charging Assembly Replacement, Separate the rear panel: шаг 2, изображение 1 из 2 DualShock 4 CUH-ZCT2 Charging Assembly Replacement, Separate the rear panel: шаг 2, изображение 2 из 2
    • Four fragile plastic clips hold the panels together. You can see their locations more clearly in this guide.

    • The clips help hold the seams together. If you break these clips, the controller will still work.

    • Insert an opening tool into the crease where the front and rear panel meet, starting from the outside edge of either handle.

    • Gently pry the rear panel off of the front panel until they become partially separated.

    Спросите у FixBot

    Добавить комментарий

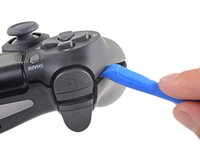
  3. DualShock 4 CUH-ZCT2 Charging Assembly Replacement, Release the plastic clips: шаг 3, изображение 1 из 3 DualShock 4 CUH-ZCT2 Charging Assembly Replacement, Release the plastic clips: шаг 3, изображение 2 из 3 DualShock 4 CUH-ZCT2 Charging Assembly Replacement, Release the plastic clips: шаг 3, изображение 3 из 3
    • Use the opening tool to separate the panels by releasing the plastic clips around the perimeter of the controller.

    Спросите у FixBot

    Добавить комментарий

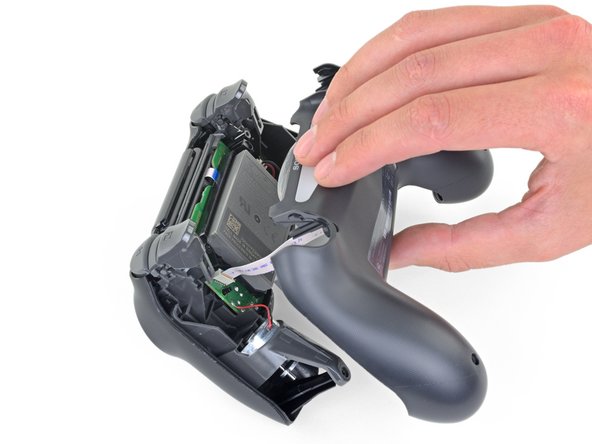
  4. DualShock 4 CUH-ZCT2 Charging Assembly Replacement, Remove the rear panel: шаг 4, изображение 1 из 2 DualShock 4 CUH-ZCT2 Charging Assembly Replacement, Remove the rear panel: шаг 4, изображение 2 из 2
    • Lift the rear panel directly away from the controller.

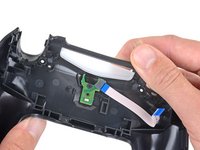
    • Do not completely remove the rear panel. It is still attached to the controller by a ribbon cable.

    Спросите у FixBot

    Добавить комментарий

  5. DualShock 4 CUH-ZCT2 Charging Assembly Replacement: шаг 5, изображение 1 из 2 DualShock 4 CUH-ZCT2 Charging Assembly Replacement: шаг 5, изображение 2 из 2
    Инструмент, используемый на этом этапе:
    Tweezers
    $4.99
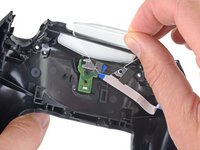
    • Use your fingers to gently pull the ribbon cable straight out of its connector on the motherboard.

    • Since this cable's pull tab is too small to grab with fingers or tweezers, grab the cable itself. Otherwise utilize pull tabs whenever possible.

    • During reassembly, grab the ribbon cable by the blue tab and gently press the cable straight into the connector. Push the blue tab rather than the ribbon cable itself.

    Спросите у FixBot

    Добавить комментарий

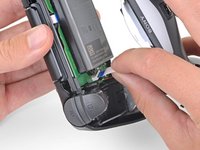
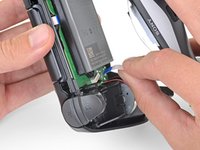
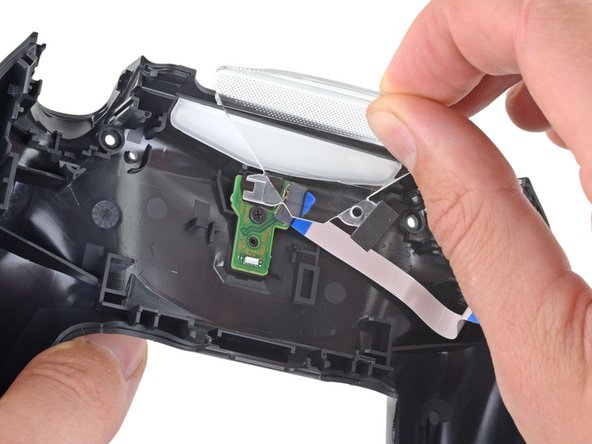
  6. DualShock 4 CUH-ZCT2 Charging Assembly Replacement, Remove the light guide: шаг 6, изображение 1 из 3 DualShock 4 CUH-ZCT2 Charging Assembly Replacement, Remove the light guide: шаг 6, изображение 2 из 3 DualShock 4 CUH-ZCT2 Charging Assembly Replacement, Remove the light guide: шаг 6, изображение 3 из 3
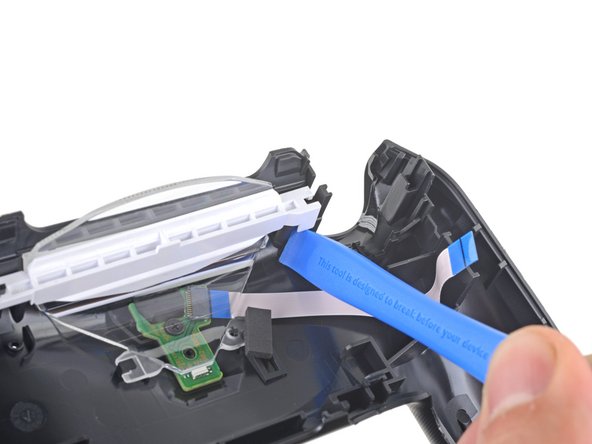
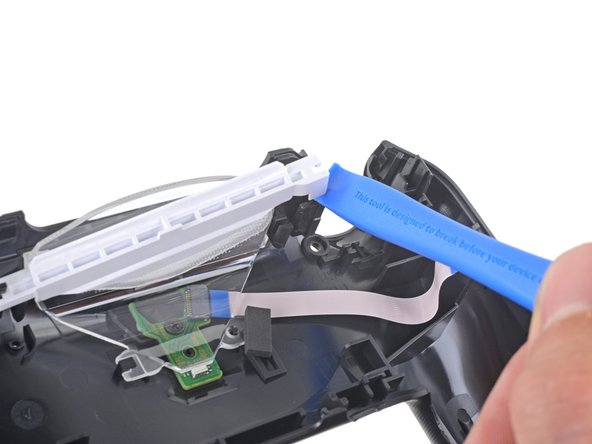
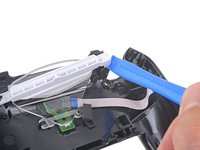
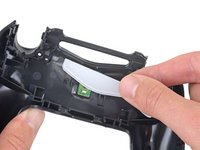
    • Use an opening tool or spudger to separate the white plastic bar from the rear panel.

    Спросите у FixBot

    Добавить комментарий

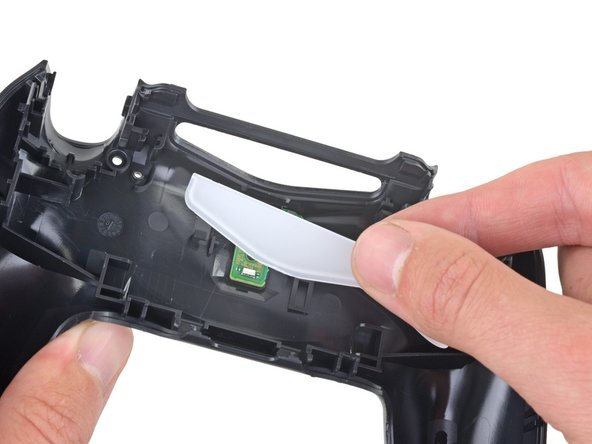
  7. DualShock 4 CUH-ZCT2 Charging Assembly Replacement: шаг 7, изображение 1 из 2 DualShock 4 CUH-ZCT2 Charging Assembly Replacement: шаг 7, изображение 2 из 2
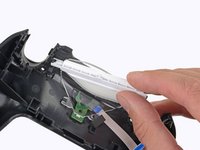
    • Remove the white plastic bar.

    Спросите у FixBot

    Добавить комментарий

  8. DualShock 4 CUH-ZCT2 Charging Assembly Replacement: шаг 8, изображение 1 из 3 DualShock 4 CUH-ZCT2 Charging Assembly Replacement: шаг 8, изображение 2 из 3 DualShock 4 CUH-ZCT2 Charging Assembly Replacement: шаг 8, изображение 3 из 3
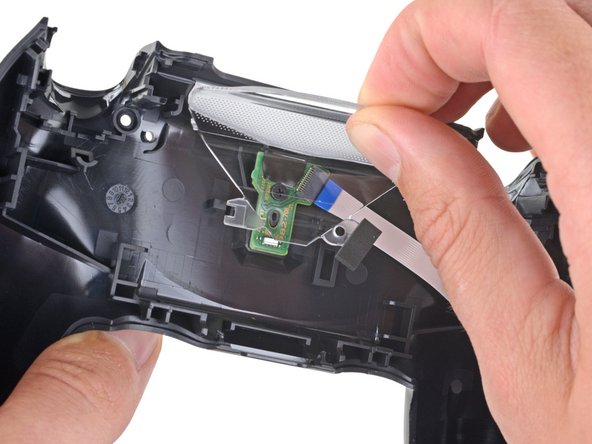
    • Lift the light guide away from the rear panel to remove it.

    • During reassembly, align the light guide with the rear panel using the notch near the bottom left.

    Спросите у FixBot

    Добавить комментарий

  9. DualShock 4 CUH-ZCT2 Charging Assembly Replacement: шаг 9, изображение 1 из 3 DualShock 4 CUH-ZCT2 Charging Assembly Replacement: шаг 9, изображение 2 из 3 DualShock 4 CUH-ZCT2 Charging Assembly Replacement: шаг 9, изображение 3 из 3
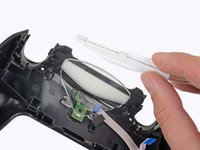
    • Use your fingers to press the translucent plastic piece down through the top of the controller.

    • Remove the translucent plastic piece.

    Спросите у FixBot

    Добавить комментарий

  10. DualShock 4 CUH-ZCT2 Charging Assembly Replacement, Remove the charging assembly: шаг 10, изображение 1 из 2 DualShock 4 CUH-ZCT2 Charging Assembly Replacement, Remove the charging assembly: шаг 10, изображение 2 из 2
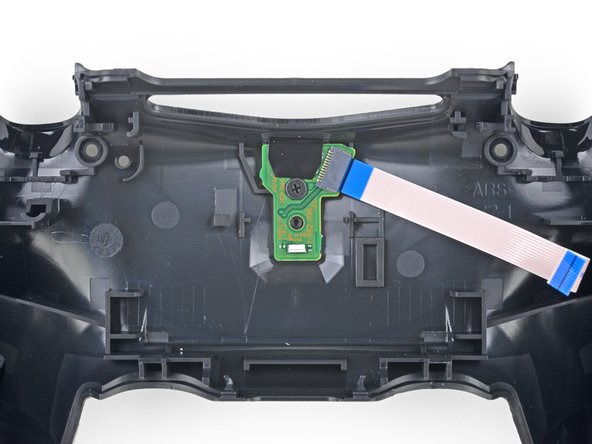
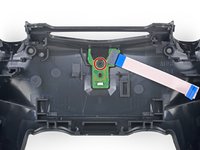
    • Use a Phillips screwdriver to remove the 4.4 mm-long screw from the charging assembly.

    Спросите у FixBot

    Добавить комментарий

  11. DualShock 4 CUH-ZCT2 Charging Assembly Replacement: шаг 11, изображение 1 из 2 DualShock 4 CUH-ZCT2 Charging Assembly Replacement: шаг 11, изображение 2 из 2
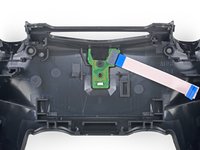
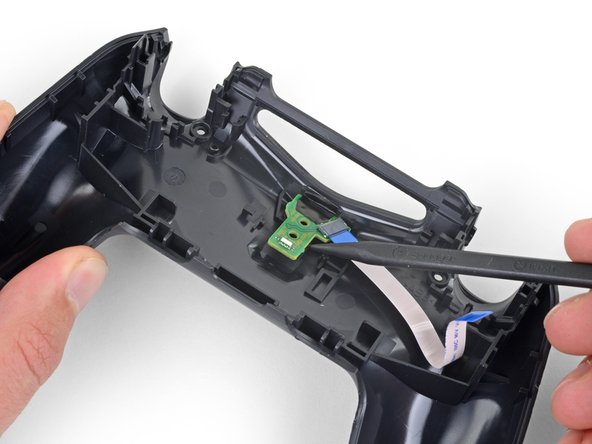
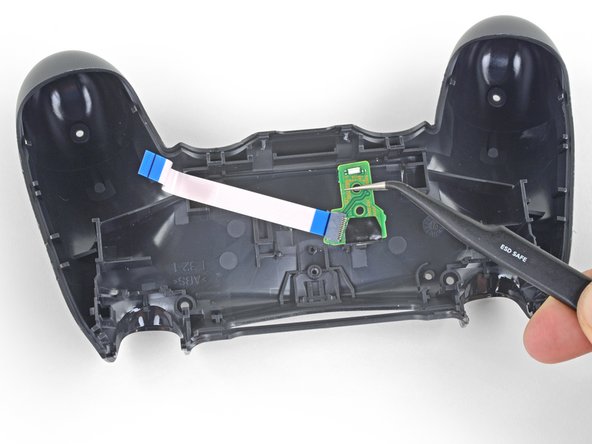
    • Use the pointed end of a spudger to lift the charging assembly away from the rear panel.

    Спросите у FixBot

    Добавить комментарий

  12. DualShock 4 CUH-ZCT2 Charging Assembly Replacement: шаг 12, изображение 1 из 2 DualShock 4 CUH-ZCT2 Charging Assembly Replacement: шаг 12, изображение 2 из 2
    Инструмент, используемый на этом этапе:
    Tweezers
    $4.99
    • Use your fingers or a pair of tweezers to remove the charging assembly from the rear panel.

    Спросите у FixBot

    Добавить комментарий

Заключение

To reassemble your device, follow the above steps in reverse order.

Take your e-waste to an R2 or e-Stewards certified recycler.

Repair didn’t go as planned? Check out our Answers community for troubleshooting help.

Отменить: Я не выполнил это руководство.

27 человек успешно провели ремонт по этому руководству.

Sam Omiotek

Участник с: 02/25/19

99 149 Репутация

Автор 290 руководств

3 Комментарии к руководству

Question:

I have a ps4 controller model CUH-ZCT2U. My charging board model is jds 050.

Can I buy the jds 055 charging board and put that in? Is the jds 050 and the jds 055 charging board interchangeable?

I can't seem to find the jds 050 charging boards anywhere. Only the jds 055. Any help would be very much appreciated. Thanks.

Treadway Customs - Ответить Поделиться
I have not tested the JDS-055 and JDS-050 in a ZCT2U so I cannot guarantee it will work. However, visually they appear to be the same part made by a different manufacturer. I suspect that it will work, but understand that it’s a gamble and make sure the store you buy from has a good return policy like iFixit. If you can wait, add yourself to the notify list for the JDS-050 and order once they become available again.

Sam Omiotek - Ответить Поделиться
Great guide but the correct controller model is CUH-ZCT2U. The title has it as CHU-ZCT2U.

Marco Salvatori - Ответить Поделиться

Добавить комментарий

Статистика просмотров:

За последние 24 часов: 16

За последние 7 дней: 94

За последние 30 дней: 594

За всё время: 24,877