Перейти к основному содержанию
Присоединяйся к сообществу ремонтников - Создай аккаунт

Ematic Genesis Button Replacement

Выберете то, что вам нужно

    1. Ematic Genesis Button Replacement, Ematic Genesis Casing: шаг 1, изображение 1 из 3 Ematic Genesis Button Replacement, Ematic Genesis Casing: шаг 1, изображение 2 из 3 Ematic Genesis Button Replacement, Ematic Genesis Casing: шаг 1, изображение 3 из 3
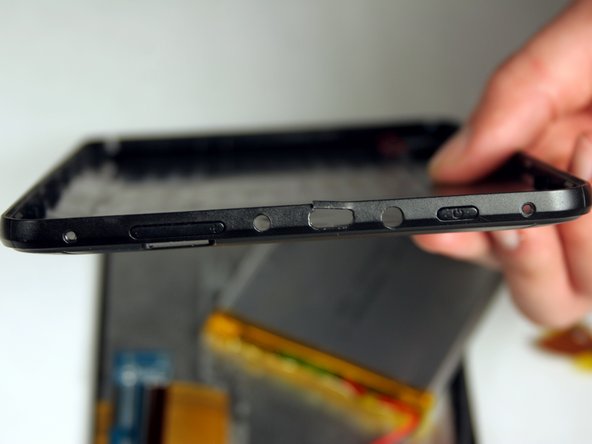
      • Unscrew the two (2) 1.3mm Phillips #00 screws found on the bottom edge of the tablet, where the power and volume buttons are located.

      Спросите у FixBot

      Добавить комментарий

    2. Ematic Genesis Button Replacement: шаг 2, изображение 1 из 3 Ematic Genesis Button Replacement: шаг 2, изображение 2 из 3 Ematic Genesis Button Replacement: шаг 2, изображение 3 из 3
      • Insert plastic opening tool into the edge between the screen plate and the back plate to create a separation between the casings.

      • Insert the flat end of the spudger next to the plastic opening tool and carefully pry the edges apart. Continue this all around the edges until the casings separate.

      • There may be cracking sounds when prying them apart. If carefully done, this is only the locks coming apart and is not harmful.

      • Be careful when separating the two plates as they are connected by the speaker wires and could be disconnected during this process.

      Спросите у FixBot

      Добавить комментарий

    3. Ematic Genesis Button Replacement: шаг 3, изображение 1 из 1
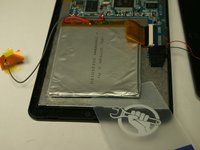
      • Remove back plate from screen plate and lay both down flat next to each other.

      • Be careful when separating the two plates as they are connected by the speaker wires and could be disconnected during this process.

      Спросите у FixBot

      Добавить комментарий

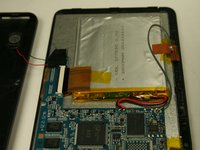
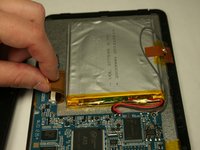
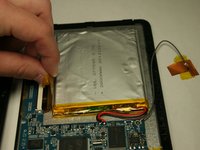
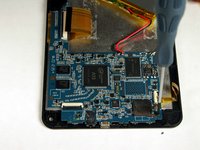
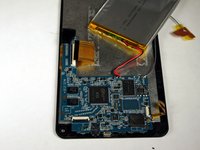
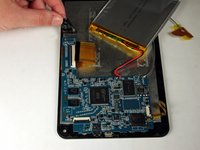
    1. Ematic Genesis Button Replacement, Battery: шаг 4, изображение 1 из 3 Ematic Genesis Button Replacement, Battery: шаг 4, изображение 2 из 3 Ematic Genesis Button Replacement, Battery: шаг 4, изображение 3 из 3
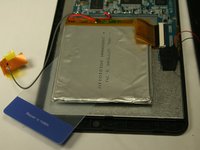
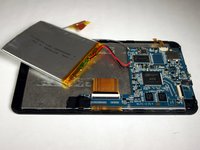
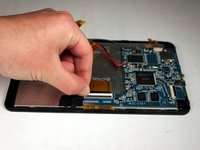
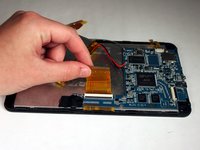
      • Lift up the two pieces of tape holding the copper plate and the connector ribbon to the battery. Gently hold or place away from the battery.

      Спросите у FixBot

      Добавить комментарий

    2. Ematic Genesis Button Replacement: шаг 5, изображение 1 из 3 Ematic Genesis Button Replacement: шаг 5, изображение 2 из 3 Ematic Genesis Button Replacement: шаг 5, изображение 3 из 3
      Инструмент, используемый на этом этапе:
      Plastic Cards
      $2.99
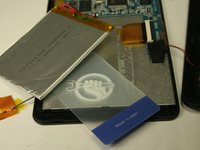
      • Using a plastic card, gently break the adhesive that holds the battery to the metal screen plate.

      • The battery is very bendable. Although it may not be working, there are still dangerous contents inside batteries.

      Спросите у FixBot

      Добавить комментарий

    3. Ematic Genesis Button Replacement: шаг 6, изображение 1 из 1
      • If replacing the battery, disconnect the wires that connect the battery to the motherboard.

      • If not replacing the battery, do NOT disconnect the wires.

      • To reconnect the new battery, a soldering kit will be necessary. Use the iFixit soldering guide to gain further information on how to complete this step.

      • Как паять и выпаивать соединения

      Спросите у FixBot

      Добавить комментарий

    1. Ematic Genesis Button Replacement, Camera: шаг 7, изображение 1 из 2 Ematic Genesis Button Replacement, Camera: шаг 7, изображение 2 из 2
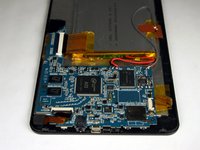
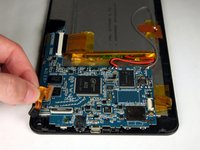
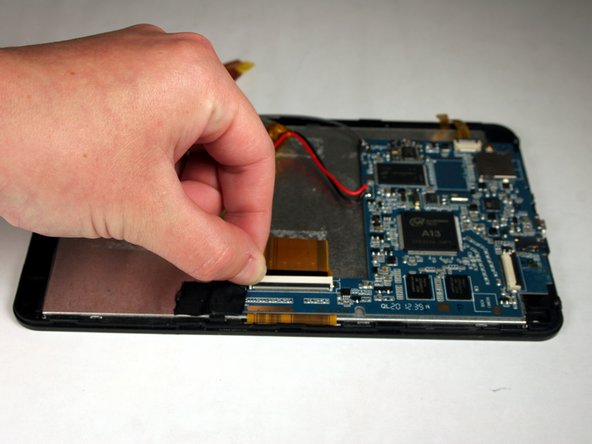
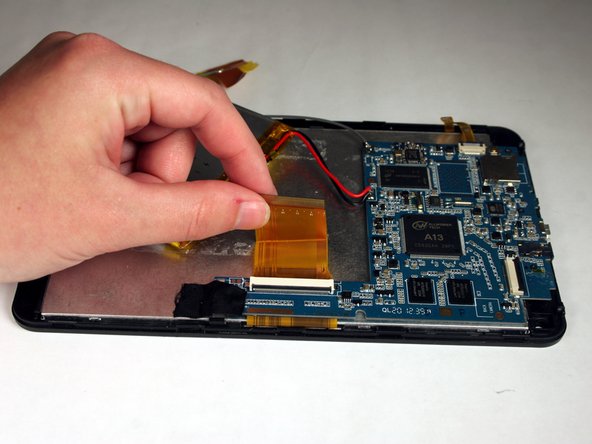
      • Once the panels are separated, remove the tape holding down the ribbon connector that is connecting the camera to the motherboard.

      Спросите у FixBot

      Добавить комментарий

    2. Ematic Genesis Button Replacement: шаг 8, изображение 1 из 2 Ematic Genesis Button Replacement: шаг 8, изображение 2 из 2
      • Lift up the black lever of the connector that holds the camera ribbon in place.

      Спросите у FixBot

      Добавить комментарий

    3. Ematic Genesis Button Replacement: шаг 9, изображение 1 из 2 Ematic Genesis Button Replacement: шаг 9, изображение 2 из 2
      • Gently pull the ribbon out of the connector and lift the camera out of the casing.

      • There is adhesive holding the camera in the case. Pull up strong enough to separate the camera from the casing without damaging the components.

      Спросите у FixBot

      Добавить комментарий

    1. Ematic Genesis Button Replacement, Button: шаг 10, изображение 1 из 3 Ematic Genesis Button Replacement, Button: шаг 10, изображение 2 из 3 Ematic Genesis Button Replacement, Button: шаг 10, изображение 3 из 3
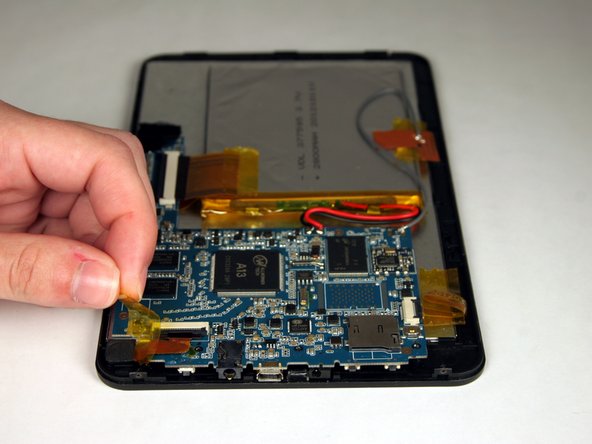
      • Once battery is removed, flip up the black lever of the connector that is holding the wide ribbon in place for the screen. Remove the ribbon from the connector.

      Спросите у FixBot

      Добавить комментарий

    2. Ematic Genesis Button Replacement: шаг 11, изображение 1 из 3 Ematic Genesis Button Replacement: шаг 11, изображение 2 из 3 Ematic Genesis Button Replacement: шаг 11, изображение 3 из 3
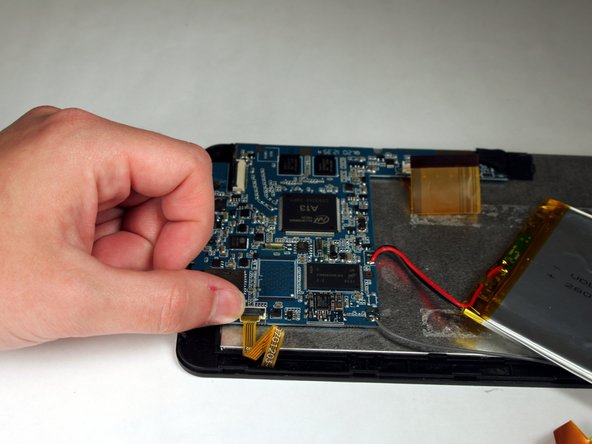
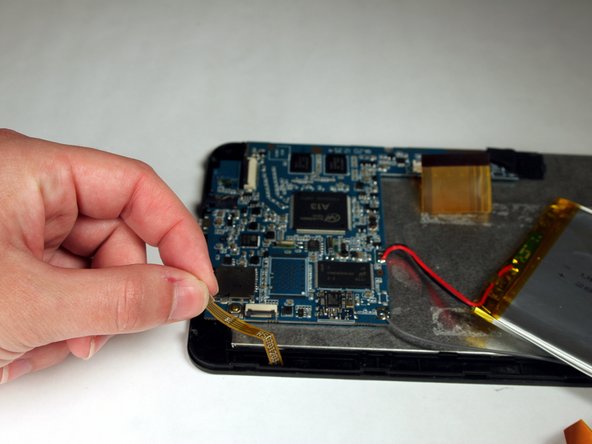
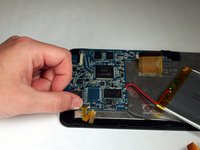
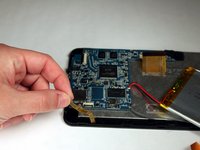
      • Rotate the tablet 180 degrees and flip up the black lever of the connector holding the small, yellow ribbon. Remove ribbon from the connector.

      Спросите у FixBot

      Добавить комментарий

    3. Ematic Genesis Button Replacement: шаг 12, изображение 1 из 3 Ematic Genesis Button Replacement: шаг 12, изображение 2 из 3 Ematic Genesis Button Replacement: шаг 12, изображение 3 из 3
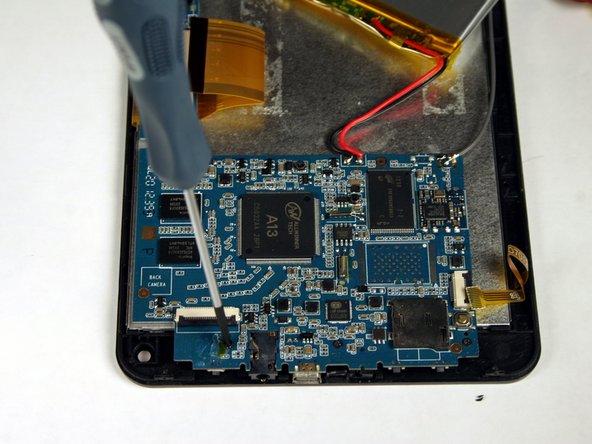
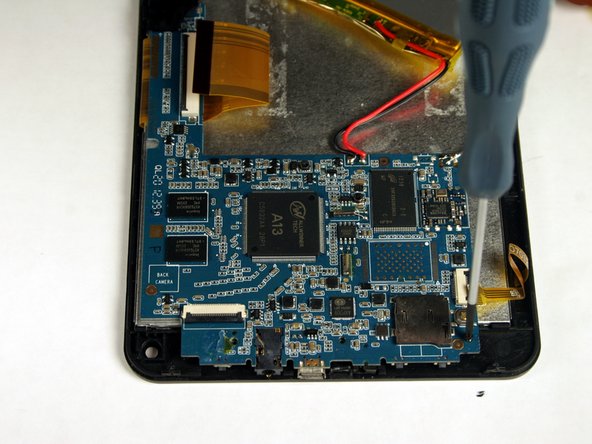
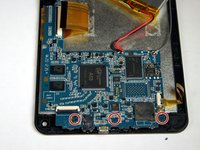
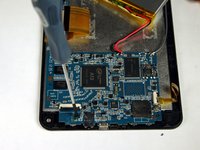
      • Rotate the tablet 90 degrees and remove the three (3) 1.3 mm Phillips #00 screws that hold the motherboard in place.

      Спросите у FixBot

      Добавить комментарий

    4. Ematic Genesis Button Replacement: шаг 13, изображение 1 из 2 Ematic Genesis Button Replacement: шаг 13, изображение 2 из 2
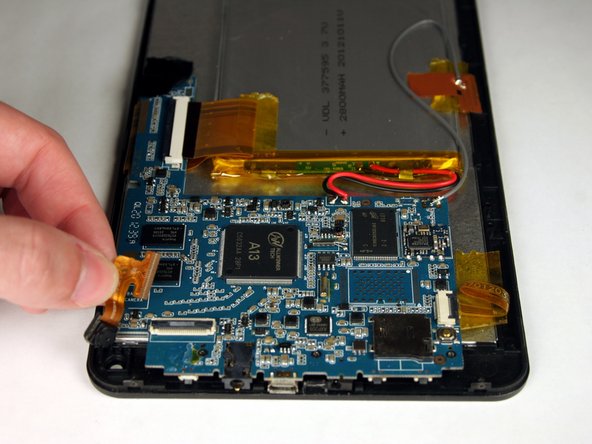
      • Lift up the tape that covers the speaker wires and holds the motherboard in place.

      • This picture does not show speaker wires attached. These do NOT have to be disconnected for this.

      • Be careful not to disconnect the speaker wires from the motherboard. Otherwise, they will need to be soldered back on.

      Спросите у FixBot

      Добавить комментарий

    5. Ematic Genesis Button Replacement: шаг 14, изображение 1 из 2 Ematic Genesis Button Replacement: шаг 14, изображение 2 из 2
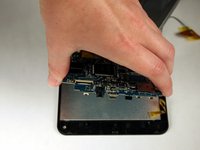
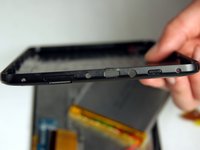
      • With the motherboard detached from the screen plate, there is now access to the electrical components under the motherboard and the mechanical button components on the back plate.

      Спросите у FixBot

      Добавить комментарий

Заключение

To reassemble your device, follow these instructions in reverse order.

Отменить: Я не выполнил это руководство.

Justin Rohrman

Участник с: 03/23/15

745 Репутация

Автор 6 руководств

Команда

Baylor, Team 4-3, Williams Spring 2015 Участник Baylor, Team 4-3, Williams Spring 2015

BU-WILLIAMS-S15S4G3

3 членов

Автор 12 руководств

0 Комментарии к руководству

Добавить комментарий

Статистика просмотров:

За последние 24 часов: 2

За последние 7 дней: 11

За последние 30 дней: 31

За всё время: 605