Перейти к основному содержанию
Присоединяйся к сообществу ремонтников - Создай аккаунт

First Act MA2039 Damaged Wire Replacement

Выберете то, что вам нужно

  1. First Act MA2039 Damaged Wire Replacement, First Act MA2039 Damaged Wire Replacement: шаг 1, изображение 1 из 2 First Act MA2039 Damaged Wire Replacement, First Act MA2039 Damaged Wire Replacement: шаг 1, изображение 2 из 2
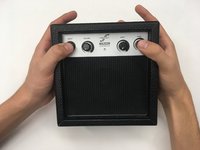
    • Place the speaker with its front side facing down.

    • Use a Phillips #0 screwdriver to remove the two 25 mm screws from the left and right sides of the battery cartridges.

    • Open both lids to the battery cartridges.

    Спросите у FixBot

    Добавить комментарий

  2. First Act MA2039 Damaged Wire Replacement: шаг 2, изображение 1 из 3 First Act MA2039 Damaged Wire Replacement: шаг 2, изображение 2 из 3 First Act MA2039 Damaged Wire Replacement: шаг 2, изображение 3 из 3
    • As you begin to lift the back panel off the amplifier, push the battery terminals through the open slots of the battery cartridges.

    • Use your fingers to prop the back panel and lift it away from the amplifier.

    • Lift the back panel off completely and set it to the side.

    Спросите у FixBot

    Добавить комментарий

  3. First Act MA2039 Damaged Wire Replacement: шаг 3, изображение 1 из 3 First Act MA2039 Damaged Wire Replacement: шаг 3, изображение 2 из 3 First Act MA2039 Damaged Wire Replacement: шаг 3, изображение 3 из 3
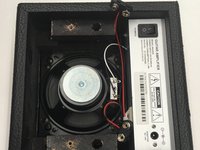
    • With the back panel off, this will help make space for the silver compartment to be removed.

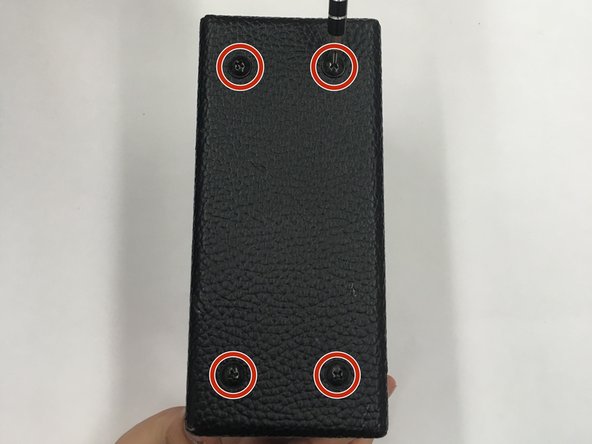
    • Unscrew four 25 mm screws with a Phillips #0 screwdriver from the top of the amplifier.

    • Press firmly on the input jack and tone adjustment knob of the silver compartment to free it from its resting position.

    Спросите у FixBot

    Добавить комментарий

  4. First Act MA2039 Damaged Wire Replacement: шаг 4, изображение 1 из 3 First Act MA2039 Damaged Wire Replacement: шаг 4, изображение 2 из 3 First Act MA2039 Damaged Wire Replacement: шаг 4, изображение 3 из 3
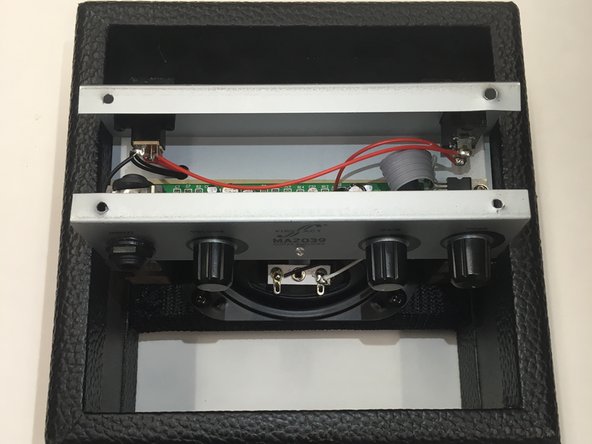
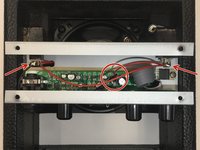
    • Rotate the silver compartment so that you have a clear visual of the motherboard and its components.

    • For effective work on the wiring, lodge the compartment on top of the back portion of the amplifier.

    • Check the wiring components for blown fuses or damaged connections.

    Спросите у FixBot

    Добавить комментарий

  5. First Act MA2039 Damaged Wire Replacement: шаг 5, изображение 1 из 1
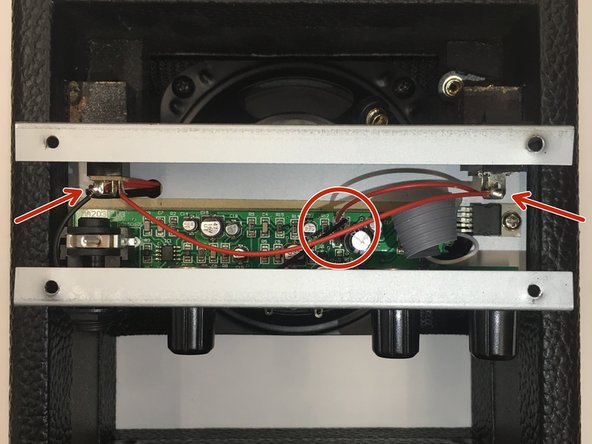
    • Lift the silver compartment to see where the wires are further connected.

    • Make sure that the terminals from the circuit to the amplifier are connected securely.

    • Check to see if there is loose wiring from the motherboard.

    • If there is damaged wire to the amplifier or motherboard in the silver compartment, refer this Soldering guide to replace wires and fix connections.

    Спросите у FixBot

    Добавить комментарий

Заключение

To reassemble your device, follow these instructions in reverse order.

Отменить: Я не выполнил это руководство.

Luke VanBuskirk

Участник с: 04/05/18

279 Репутация

Автор 2 руководств

Команда

Linn Benton Community College, Team S1-G5, Johnson Spring 2018 Участник Linn Benton Community College, Team S1-G5, Johnson Spring 2018

LBCC-JOHNSON-S18S1G5

3 членов

Автор 6 руководств

0 Комментарии к руководству

Добавить комментарий

Статистика просмотров:

За последние 24 часов: 0

За последние 7 дней: 2

За последние 30 дней: 22

За всё время: 683