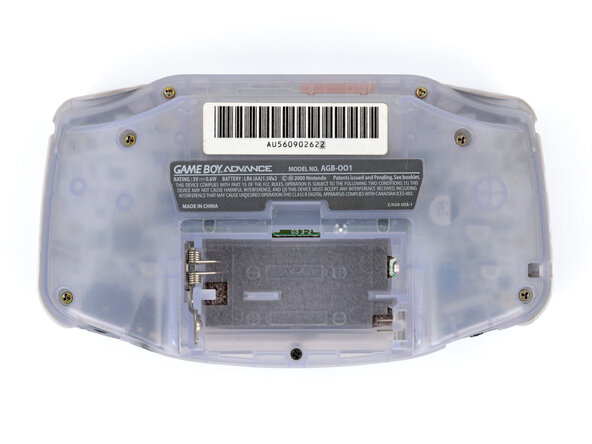
Введение
Используйте это руководство, если выключатель питания засорился и его нужно прочистить, или если требуется его полная замена.
Выберете то, что вам нужно
-
-
-
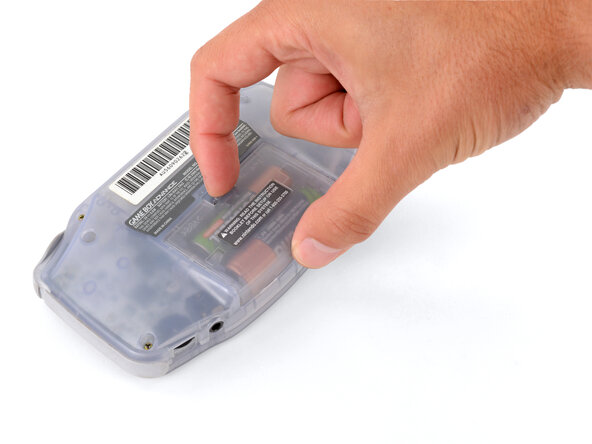
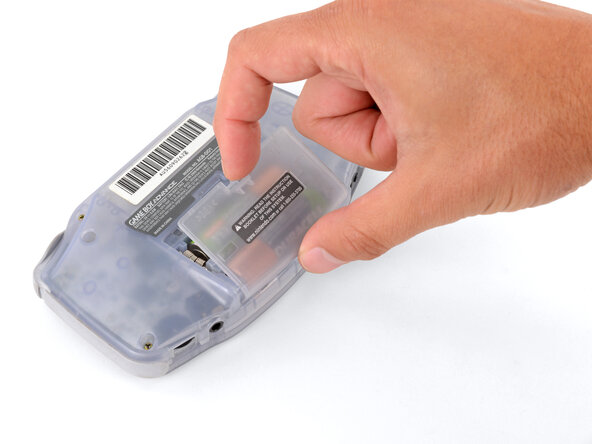
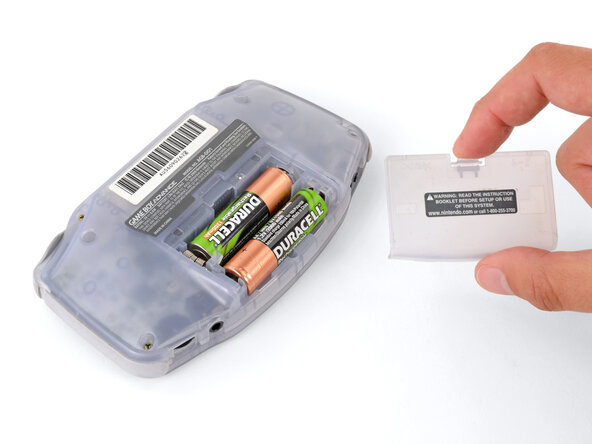
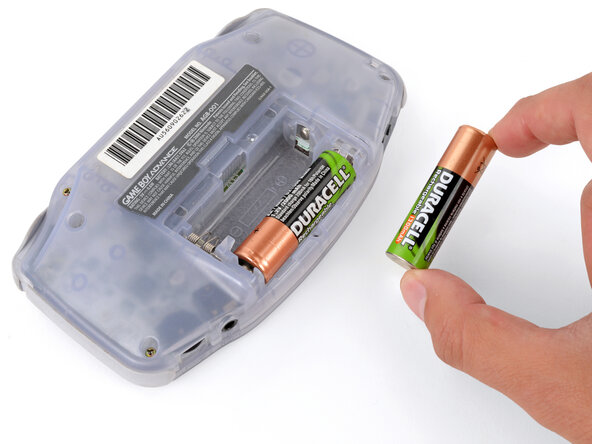
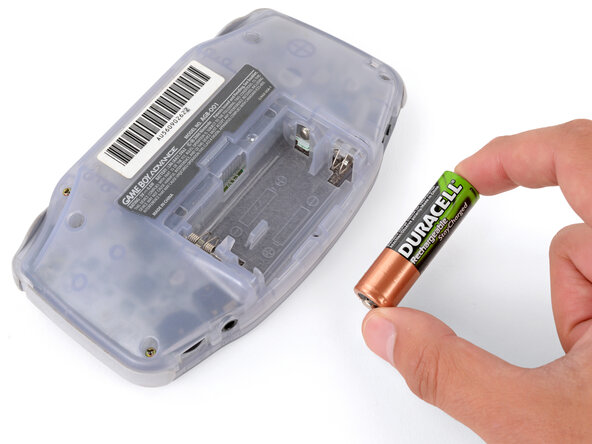
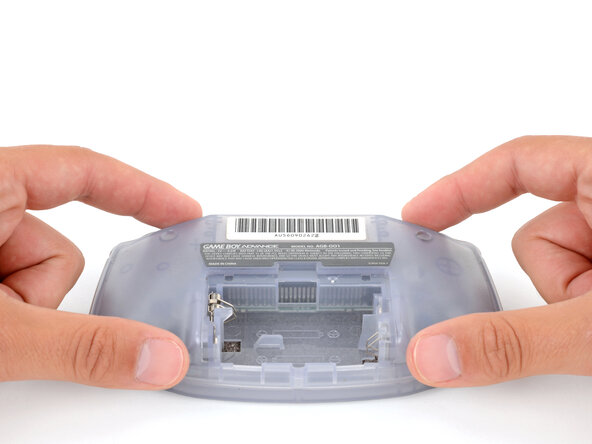
Нажмите на фиксатор крышки батарейного отсека пальцем и отведите крышку от Game Boy, чтобы снять её.
 Спросите у FixBot
-
-
-
-
-
-
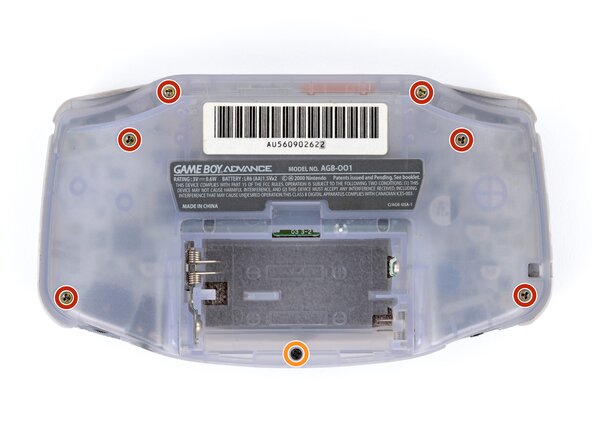
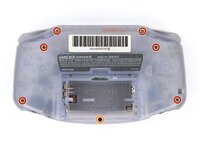
Открутите семь винтов, удерживающих заднюю крышку:
-
Шесть винтов Tri-point Y0 длиной 9,4 мм
-
Один винт JIS 1 длиной 8,5 мм
-
-
-
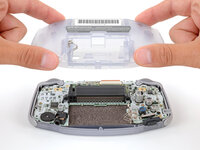
Поднимите заднюю крышку строго вверх и снимите её.
-
-
-
-
-
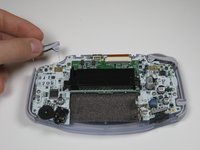
Снимите левый и правый триггеры, приподняв и потянув их в сторону от устройства.
-
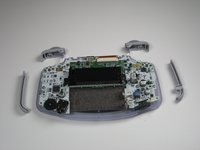
Проделайте то же самое для боковых панелей
-
-
-
-
-
Снимите серый выключатель, потянув его вверх и в сторону от устройства. При необходимости замените его на новый.
-
-


Для сборки устройства выполните эти действия в обратном порядке.
Отменить: Я не выполнил это руководство.
6 человек успешно провели ремонт по этому руководству.
Особая благодарность этим переводчикам:
100%

Translation Bot помогает нам починить мир! Хотите внести свой вклад?
Начните переводить ›
Команда

Cal Poly, Team 16-29, Maness Winter 2010 Участник Cal Poly, Team 16-29, Maness Winter 2010
CPSU-MANESS-W10S16G29
5 членов
Автор 145 руководств