Введение
If you’re facing issues with your Garmin Rino 700 screen such as indistinct images or maybe even no image at all, you may need to replace your screen entirely. You may experience issues with your screen brightness, the screen timing out, etc. This guide will show you how to take the screen out of your Garmin Rino 700 so that you may replace it with another one. For this guide you will need a TR6 Torx Security Screwdriver, a T5 Torx Screwdriver, and a spudger. The process is rather simple and presents little to no hazard whilst operating. Going forward, you can see how to prevent these issues on our troubleshooting page: Garmin Rino 700 Troubleshooting
Выберете то, что вам нужно
-
-
-
Flip the Garmin Rino 700 over so that the underside is facing up.
-
Using the TR6 Torx Security screwdriver, remove the six 9.5 mm screws on the backside of the device.
 Спросите у FixBot
-
-
-
-
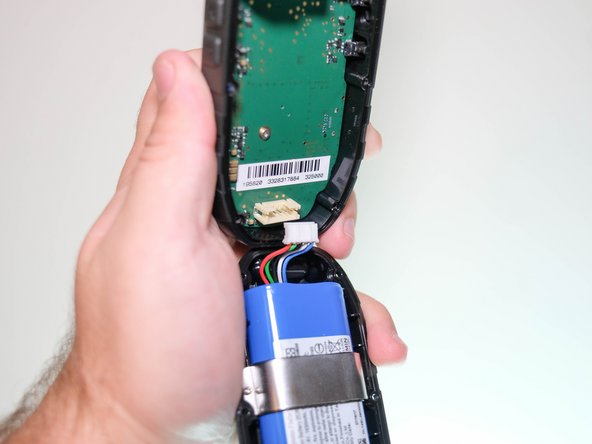
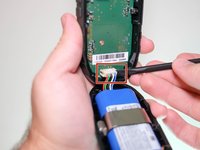
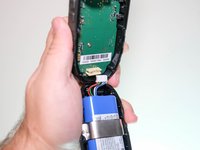
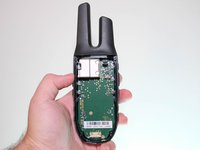
Use the spudger to disconnect the battery wire port from the motherboard.
-
-
-
-
-
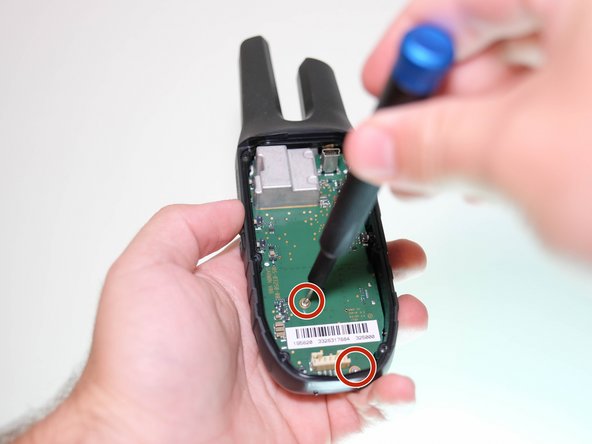
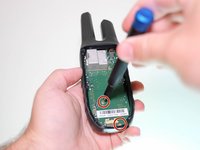
Using the T5 Torx screwdriver, remove the two 6.4 mm screws on the motherboard.
-
-
-
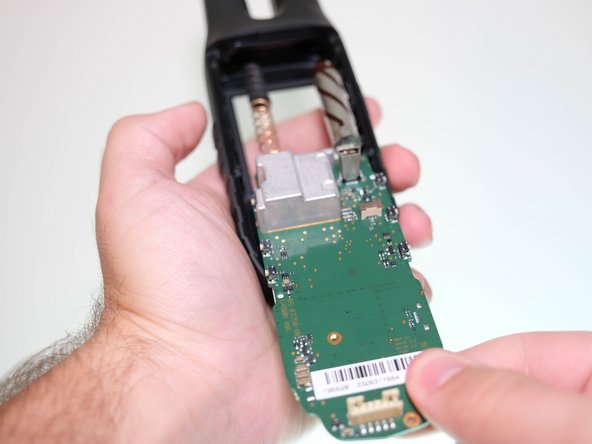
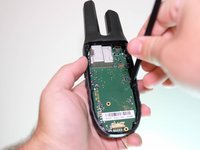
Using the nylon spudger, lift the motherboard out of its position.
-
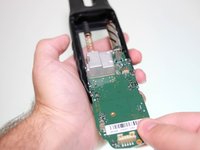
Slide the motherboard out of the front panel of the device.
-
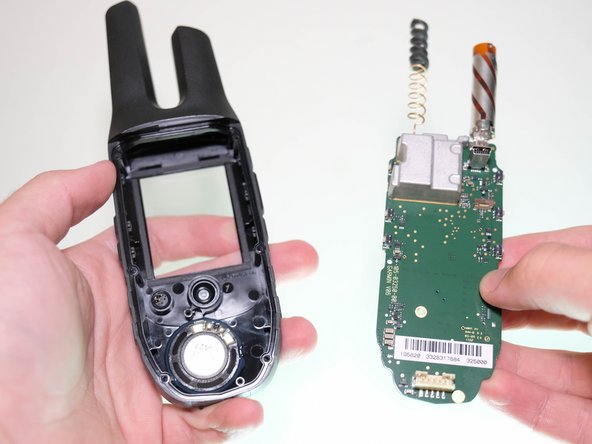
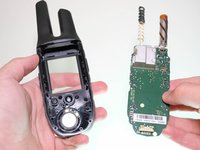
Carefully disconnect the motherboard from the panel and remove it out of the device.
-
-
-
-
-
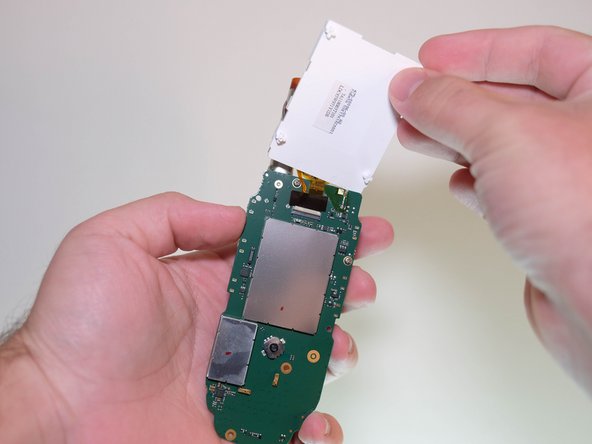
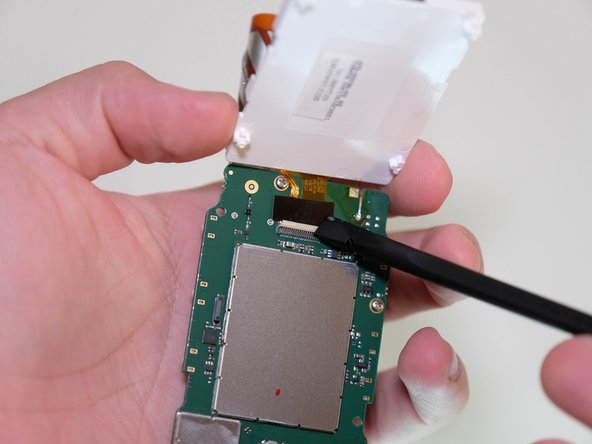
Carefully detach the screen at the bottom connections using your hands to reveal the ribbon connection.
-
-





To reassemble your device, follow these instructions in reverse order.

Команда

Clemson, Team 5-5, Hunter Fall 2021 Участник Clemson, Team 5-5, Hunter Fall 2021
CLEM-HUNTER-F21S5G5
4 членов
Автор 21 руководств
